

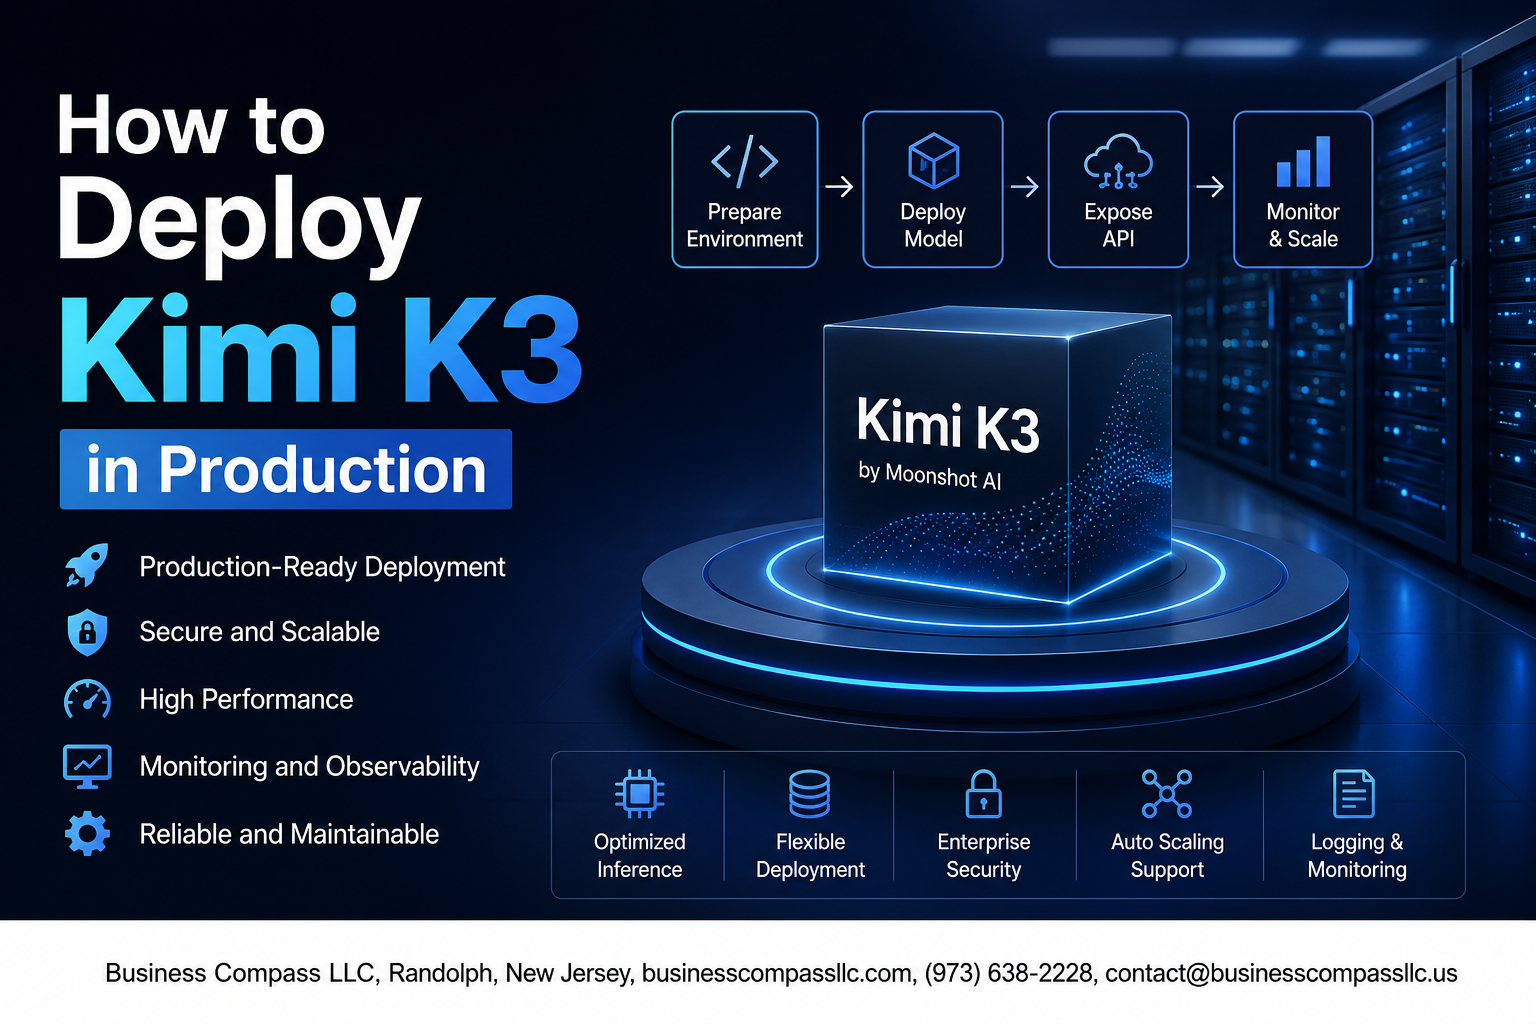
How to Deploy Kimi K1.5 in Production: A Practical Guide
So you’ve decided to move Kimi K1.5 from a sandbox experiment to a real production environment — smart move. But getting a large language model running reliably at scale is a different beast compared to spinning it up locally.
This guide is for ML engineers, DevOps teams, and backend developers who need a clear, step-by-step path to Kimi K1.5 production deployment without wading through vague documentation or trial-and-error rabbit holes.
Here’s what we’ll walk through together:
- Environment setup — the hardware, software, and configuration decisions you need to nail before you write a single deployment command
- Scaling and load management — how to keep Kimi K1.5 performing consistently when real traffic hits
- Monitoring, security hardening, and ongoing maintenance — the pieces most teams skip that come back to bite them later
By the end, you’ll have a solid foundation for running a production-ready AI deployment that’s stable, secure, and built to grow with your needs. Let’s get into it.
Understanding Kimi K1.5 Production Requirements

Key Hardware and Infrastructure Prerequisites
Before jumping into a Kimi K1.5 production deployment, you need to make sure your hardware can actually handle the workload. This isn’t a lightweight model you can run on a laptop — it demands serious compute resources:
- GPU Requirements: At minimum, NVIDIA A100 (80GB) or H100 GPUs are recommended. For full-precision inference, plan for multi-GPU setups (4x or 8x GPU nodes depending on batch size and throughput targets).
- RAM: 256GB+ system RAM per node is a safe baseline. Memory bottlenecks will crush your latency numbers fast.
- Storage: NVMe SSDs with high IOPS are a must — model checkpoints and KV cache spill can easily eat through slower disks.
- Network: High-bandwidth, low-latency interconnects (InfiniBand or 400GbE) matter a lot when you’re running distributed inference across nodes.
Supported Deployment Environments and Platforms
Kimi K1.5 plays well across several environments, giving teams flexibility in how they structure their AI model production deployment:
- Cloud Platforms: AWS (p4d/p5 instances), Google Cloud (A3 series), and Azure (NDv4/NDv5) all work well out of the box.
- On-Premise: Bare-metal GPU clusters running Ubuntu 22.04 LTS or RHEL 8/9 are fully supported.
- Containerized Environments: Docker and Kubernetes (with GPU operator support) are the go-to for teams wanting portability and easier scaling.
- Inference Frameworks: vLLM, TensorRT-LLM, and Triton Inference Server are solid choices for serving Kimi K1.5 efficiently in production.
Licensing and Compliance Considerations
Getting the licensing right early saves a lot of headaches down the road. Here’s what to keep on your radar:
- Model License: Review Moonshot AI’s terms of use carefully — commercial deployment rights, redistribution rules, and fine-tuning permissions all vary based on your agreement type.
- Data Privacy: If you’re running in regulated industries (healthcare, finance, legal), make sure your deployment architecture keeps data within compliant boundaries. That often means private cloud or on-prem over shared public endpoints.
- Export Controls: Depending on your geography and customer base, AI model exports may fall under local or international trade regulations — worth a quick check with your legal team.
- Audit Logging: For SOC 2 or ISO 27001 compliance, your deployment needs to capture and retain inference request logs in a tamper-evident way from day one.
Setting Up Your Environment for Success
Installing Essential Dependencies and Tools
Getting your stack ready before you touch a single model file saves you hours of frustration later. For a solid Kimi K1.5 environment setup, you’ll want these core pieces in place:
- Python 3.10+ — K1.5 has hard dependencies on newer async features
- CUDA 12.1+ with matching cuDNN libraries if you’re running GPU inference
- Docker & Docker Compose for containerized, reproducible deployments
- vLLM or TGI (Text Generation Inference) as your serving backend — both handle batching and memory paging well at scale
- Nginx or Envoy as a reverse proxy sitting in front of your inference endpoints
Run a quick dependency audit with pip check and nvidia-smi before moving forward so nothing surprises you mid-deployment.
Configuring Environment Variables and Secrets Securely
Hard-coded API keys and credentials are a fast track to a bad day in production. Instead, lean on a dedicated secrets manager — HashiCorp Vault, AWS Secrets Manager, or even Kubernetes Secrets with envelope encryption all work well here.
Key variables you’ll want locked down for a production-ready AI deployment:
MODEL_PATH— absolute path to your K1.5 weightsAPI_SECRET_KEY— rotated regularly, never committed to version controlMAX_BATCH_SIZEandWORKER_CONCURRENCY— controls throughput without overloading the hostLOG_LEVEL— keep this atINFOin production,DEBUGonly in stagingCUDA_VISIBLE_DEVICES— pin specific GPUs to avoid resource conflicts
Use a .env.example file in your repo as a template but always load real values from your secrets backend at runtime, never from a .env file sitting on your production server.
Optimizing System Resources for Peak Model Performance
Getting the most out of K1.5 means tuning both your hardware and OS-level settings before the model even loads. These tweaks make a real difference:
- Set
vm.swappiness=10in/etc/sysctl.conf— reduces disk swap thrashing under memory pressure - Enable huge pages (
vm.nr_hugepages) to improve GPU memory allocation efficiency - Pin CPU affinity for your inference workers to avoid cross-NUMA memory latency
- Disable GPU ECC memory scrubbing on dedicated inference nodes to reclaim extra VRAM
- Use
numactlto bind processes to NUMA nodes closest to your GPU PCIe lanes
For large language model deployment best practices, also pre-allocate your KV cache size explicitly in your serving config rather than letting the framework guess — this prevents out-of-memory crashes during sudden traffic spikes.
Validating Your Environment Before Deployment
Before shipping anything to production, run a structured validation pass that catches problems while you can still fix them easily:
- Smoke test the model load — spin up the server, hit a
/healthendpoint, confirm it returns a valid response within your latency SLA - Run a short load test using
locustork6at 10–20% of expected peak traffic - Check GPU memory headroom with
nvidia-smiunder load — you want at least 10–15% free VRAM as a buffer - Verify secret injection — log a masked version of each expected env var at startup to confirm nothing is missing
- Test graceful shutdown — send SIGTERM and confirm in-flight requests complete before the process exits
This validation step is the difference between a clean deploy Kimi K1.5 step by step rollout and a 2 AM incident call.
Deploying Kimi K1.5 Step by Step

A. Pulling and Preparing the Model Weights
Getting the model weights is your first real step toward a working Kimi K1.5 production deployment. Head over to the official Hugging Face repository or Moonshot AI’s release page and pull the weights using the huggingface-cli tool:
huggingface-cli download moonshotai/Kimi-K1.5 --local-dir ./kimi-k1.5-weights
Before you do anything else, verify the checksums. Corrupted weights are a silent killer — the model loads fine but outputs garbage. Run:
sha256sum -c checksums.txt
Once verified, organize your directory structure cleanly:
/models/
  kimi-k1.5/
    config.json
    tokenizer.json
    model-00001-of-000XX.safetensors
Keeping weights in .safetensors format is strongly recommended over raw PyTorch binaries — they load faster and are safer to share across your team.
B. Choosing Between Containerized and Bare-Metal Deployment
Both paths work, but they solve different problems.
Containerized (Docker/Kubernetes):
- Easier to scale horizontally
- Cleaner environment isolation — no “works on my machine” drama
- Rollbacks take seconds, not hours
- Best pick for teams running multiple AI services
Bare-metal:
- Squeezes every bit of GPU performance — no virtualization overhead
- Simpler networking stack
- Great for single-tenant, latency-sensitive setups
For most AI model production deployment scenarios, containerized wins. You get reproducibility, easier CI/CD integration, and sane dependency management. If raw throughput is your top priority and you’re running dedicated GPU hardware, bare-metal deserves a serious look.
C. Launching the Model Server with Recommended Settings
vLLM is the go-to serving engine for Kimi K1.5. Here’s a solid starting command:
python -m vllm.entrypoints.openai.api_server \
  --model ./kimi-k1.5-weights \
  --tensor-parallel-size 4 \
  --max-model-len 131072 \
  --gpu-memory-utilization 0.92 \
  --served-model-name kimi-k1.5 \
  --port 8000
Key settings to pay attention to:
--tensor-parallel-size— match this to your GPU count--max-model-len— Kimi K1.5 supports long context; set this based on your actual use case to avoid wasting VRAM--gpu-memory-utilization—0.92leaves a small buffer; don’t push to1.0--served-model-name— keeps your API calls consistent if you ever swap the underlying model
Run the server inside a tmux session or as a systemd service so it survives terminal disconnects.
D. Verifying a Successful and Healthy Deployment
Once the server is up, don’t assume it’s working — confirm it. Start with a quick health check:
curl http://localhost:8000/health
You should get a 200 OK. Then fire a real inference request:
curl http://localhost:8000/v1/chat/completions \
  -H "Content-Type: application/json" \
  -d '{
    "model": "kimi-k1.5",
    "messages": [{"role": "user", "content": "Say hello!"}],
    "max_tokens": 50
  }'
Check for these things specifically:
- Response time under 5 seconds for a short prompt
- No CUDA OOM errors in the server logs
- Token output makes sense (not garbled or truncated)
- GPU memory stays stable across multiple requests
Tail the logs while you test: journalctl -u kimi-server -f or docker logs -f kimi-container. Catching errors here saves you from silent failures in production traffic.
E. Connecting Your Application to the Live Model Endpoint
Kimi K1.5 serves an OpenAI-compatible API, which is great news — you can plug it into existing code with almost zero changes. Here’s a Python example using the openai SDK:
from openai import OpenAI

client = OpenAI(
    base_url="http://your-server-ip:8000/v1",
    api_key="not-needed"  # Required by SDK but unused locally
)

response = client.chat.completions.create(
    model="kimi-k1.5",
    messages=[
        {"role": "user", "content": "Summarize this document for me."}
    ],
    max_tokens=512,
    temperature=0.7
)

print(response.choices[0].message.content)
A few things worth wiring up from day one:
- Retry logic — wrap requests in exponential backoff to handle transient server hiccups
- Timeouts — set explicit
timeoutvalues; don’t let hung requests pile up - Connection pooling — if you’re calling this from a web app, reuse your HTTP client instead of spinning up a new connection every request
- Environment variables — store the base URL and any auth tokens in
.envfiles, not hardcoded in source
This keeps your deploy Kimi K1.5 step by step integration clean, testable, and easy to swap out if you move the server later.
Scaling and Load Management in Production

Horizontal Scaling Strategies to Handle Traffic Spikes
When traffic hits unexpectedly, your single-instance setup will crumble fast. The smart move is spinning up additional inference nodes automatically using Kubernetes Horizontal Pod Autoscaler (HPA) paired with custom metrics like GPU utilization or request queue depth.
- Set minimum replicas to handle baseline traffic comfortably
- Configure scale-up triggers at 70% GPU utilization to stay ahead of spikes
- Use node affinity rules to ensure pods land on GPU-equipped machines
- Pre-warm new instances before routing live traffic to them
Implementing Load Balancing for Reliable Performance
A solid load balancer keeps requests flowing evenly across your Kimi K1.5 production deployment without overloading any single node. NGINX and Traefik both work well here, but for AI workloads, you want session-aware routing to avoid mid-conversation context loss.
- Round-robin works fine for stateless requests
- Sticky sessions help with multi-turn conversations
- Set health check intervals at 10–15 seconds to catch failing nodes quickly
- Configure circuit breakers to stop routing traffic to degraded instances
Managing GPU Memory and Batch Sizes Efficiently
GPU memory mismanagement kills throughput silently. Batch size directly impacts your latency-throughput tradeoff — larger batches improve GPU utilization but increase individual request latency.
- Start with batch size 8, then benchmark upward carefully
- Enable dynamic batching to group concurrent requests automatically
- Use
--gpu-memory-utilization 0.90in vLLM to cap memory safely - Monitor VRAM headroom continuously to avoid out-of-memory crashes during spikes
Monitoring, Logging, and Alerting

Setting Up Real-Time Performance Monitoring Dashboards
Plugging Kimi K1.5 into a monitoring stack like Grafana with Prometheus gives you live visibility into latency, throughput, and error rates the moment traffic starts flowing. Track these key metrics on your dashboard:
- Token generation speed (tokens/sec per request)
- P50, P95, P99 latency across inference endpoints
- GPU/CPU utilization broken down by node
- Queue depth to spot bottlenecks before users feel them
Capturing and Analyzing Model Inference Logs
Every inference call should emit structured logs — JSON format works best — capturing the request ID, input token count, output token count, latency, and any error codes. Ship these to a centralized log aggregator like Elasticsearch or Loki so you can slice and dice patterns over time. Watching token count distributions helps catch runaway prompts that quietly inflate costs and slow down your cluster.
Configuring Alerts to Catch Issues Before They Escalate
Good alerting for Kimi K1.5 production deployment means setting thresholds that fire before users start complaining. Practical alert rules to configure:
- Latency spike alert — trigger if P95 crosses 3x your baseline for more than 2 minutes
- Error rate alert — fire if 5xx responses exceed 1% of requests in a 5-minute window
- GPU memory pressure — warn at 85% VRAM usage, critical at 95%
- Queue saturation — alert when pending requests stay above your max acceptable wait threshold
Route critical alerts to PagerDuty or Opsgenie with proper on-call rotation so nothing slips through overnight.
Tracking Costs and Resource Usage Over Time
Tag every inference request with environment, team, and feature labels so you can break down spending cleanly. Monitor these on a weekly cadence:
- Cost per 1,000 tokens across model versions
- GPU-hour consumption per deployment environment
- Idle resource waste — instances running at low utilization during off-peak hours
Combining resource usage data with your inference logs lets you right-size your infrastructure and catch cost anomalies tied to specific traffic patterns or model updates.
Hardening Security and Reliability

A. Securing API Endpoints and Access Controls
Locking down your API is non-negotiable when running Kimi K1.5 in production. Start with these essentials:
- API key rotation: Rotate keys every 30–90 days and revoke compromised credentials immediately
- JWT authentication: Enforce short-lived tokens with strict expiry windows
- IP allowlisting: Restrict access to known trusted IPs wherever possible
- TLS everywhere: Never serve traffic over plain HTTP — enforce HTTPS with modern cipher suites
- Least-privilege RBAC: Give each service or user only the permissions they actually need, nothing more
B. Implementing Rate Limiting to Prevent Abuse
Without rate limiting, a single bad actor — or even a runaway internal script — can bring your deployment to its knees. Good Kimi K1.5 security hardening means setting hard boundaries:
- Per-user limits: Cap requests per minute and per day at the user or API key level
- Tiered throttling: Warn clients at 80% of their quota before hard-blocking at 100%
- Token-bucket or sliding-window algorithms: These handle burst traffic far better than fixed windows
- 429 responses with Retry-After headers: Always tell clients when to back off instead of dropping connections silently
Tools like Kong, Nginx, or AWS API Gateway make this straightforward to configure without writing custom middleware from scratch.
C. Building Fault-Tolerant Failover Mechanisms
Production-ready AI deployment means planning for things to break — because they will. For Kimi K1.5, build redundancy into every layer:
- Multi-region deployments: Spread instances across at least two availability zones so a single datacenter failure doesn’t take everything down
- Health checks and automatic restarts: Use Kubernetes liveness and readiness probes to catch unhealthy pods early
- Circuit breakers: Libraries like Resilience4j or Hystrix stop cascading failures from rippling across your stack
- Graceful degradation: If the primary model instance is unreachable, route requests to a cached response or a lighter fallback model rather than returning raw errors
- Chaos testing: Periodically simulate node failures in staging to confirm your failover paths actually work before a real incident forces you to find out
Maintaining and Updating Your Deployment

A. Rolling Out Model Updates with Zero Downtime
Keeping your Kimi K1.5 production deployment current without interrupting live traffic comes down to a solid blue-green or canary deployment strategy:
- Blue-green switching: Run two identical environments, shift traffic from the old to the new once health checks pass, then decommission the old stack
- Canary releases: Route 5–10% of requests to the updated model first, watch error rates and latency for 15–30 minutes, then gradually increase the percentage
- Feature flags: Gate the new model version behind a flag so you can instantly roll back without redeploying
B. Running Regression Tests to Protect Production Stability
Before any Kimi K1.5 model update goes live, a regression suite acts as your safety net:
- Maintain a golden dataset of representative prompts with known acceptable outputs
- Track key metrics — response accuracy, token latency (p50/p95/p99), and refusal rates — against your baseline
- Automate tests in CI/CD so no update ships without a green regression run
- Flag regressions above a defined threshold as deployment blockers
C. Automating Routine Maintenance Tasks for Efficiency
Manual maintenance creates toil and introduces human error. Automate the predictable stuff:
- Log rotation and archival on a daily schedule to prevent disk saturation
- Dependency patching via tools like Dependabot or Renovate with auto-merge for minor/patch versions
- Health-check scripts that restart unhealthy containers or pods without human intervention
- Scheduled scaling adjustments to pre-warm capacity before known traffic peaks
D. Documenting Changes to Support Long-Term Operability
Good documentation is what separates a production deployment that ages well from one that becomes a black box:
- Keep a CHANGELOG tied directly to your deployment tags, recording what changed, why, and who approved it
- Store runbooks in the same repository as your deployment configs so they stay in sync
- Document every tuning decision — batch sizes, timeout values, replica counts — with the reasoning behind the choice
- Run a short post-deployment review after significant updates and capture findings while context is fresh

Getting Kimi K1.5 running smoothly in production comes down to a few core things: laying the right foundation with your environment setup, following a clean deployment process, and building in the scaling and monitoring tools that keep everything running without surprises. Security, reliability, and a solid maintenance routine are what separate a shaky deployment from one you can actually trust long-term.
The good news is that none of this has to be overwhelming. Take it one step at a time, get your monitoring and alerting in place early, and treat your deployment as something you actively maintain rather than a one-and-done setup. Start small, test thoroughly, and scale with confidence as your needs grow.