

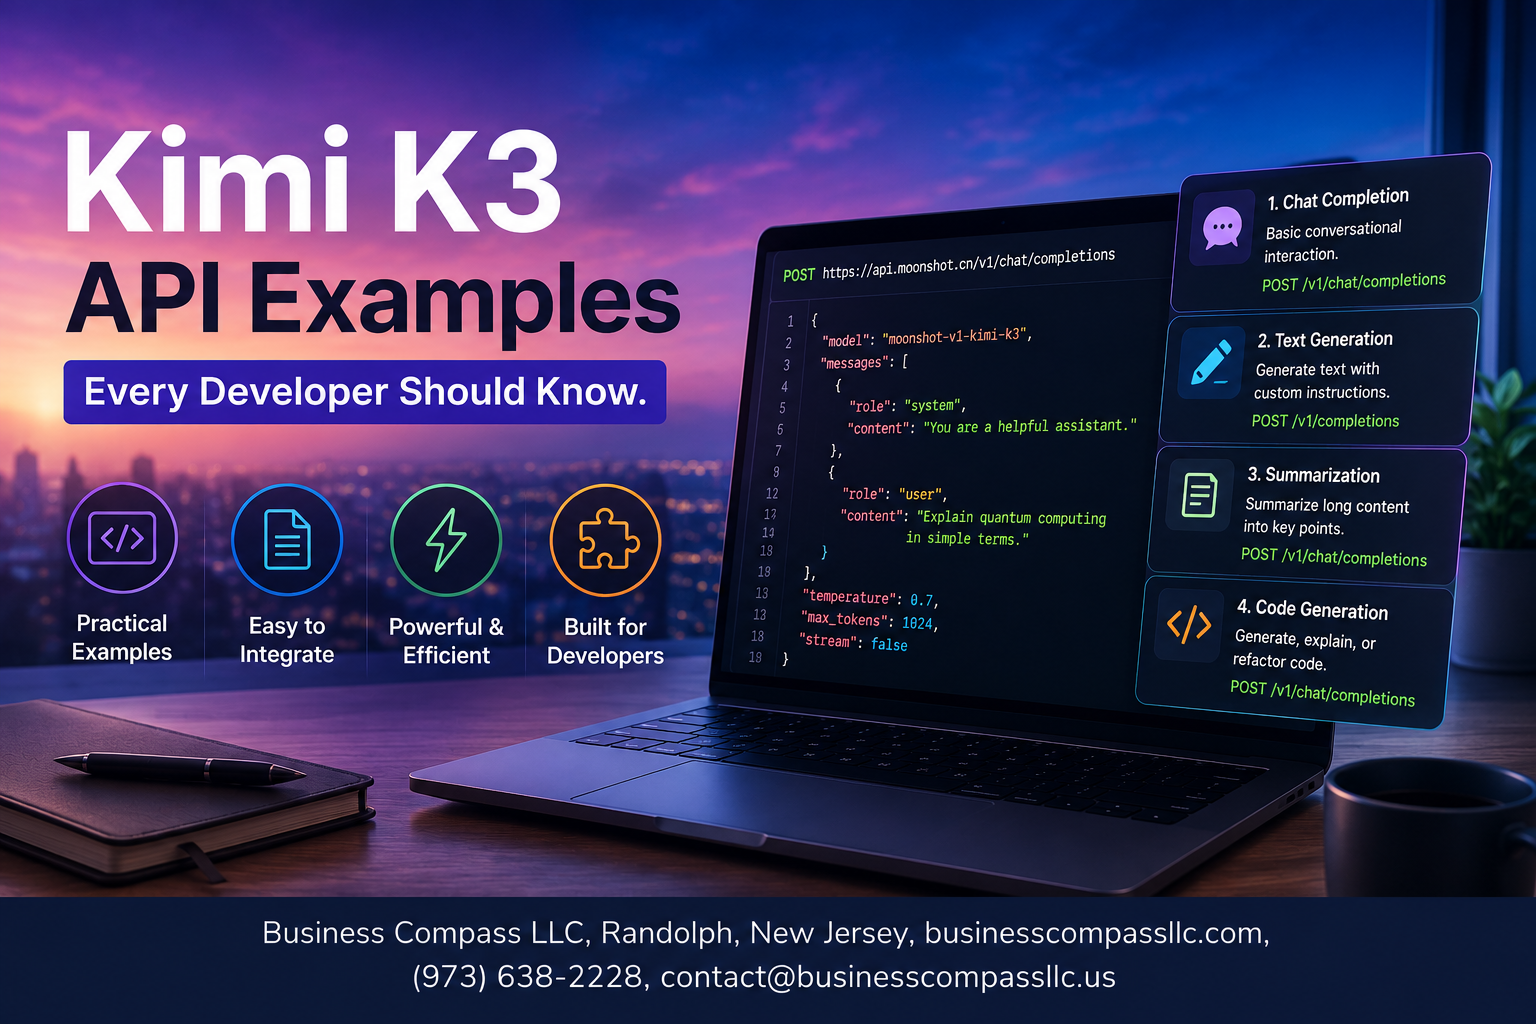
Kimi K3 API Examples Every Developer Should Know
If you’ve been hearing a lot about Kimi K3 lately and wondering how to actually put it to work in your projects, you’re in the right place. This guide is built for developers — whether you’re just getting your first API key or you’re already shipping AI features and want to level up your implementation.
We’ll walk through hands-on Kimi K3 API examples that go beyond the basics. You’ll see how Kimi K3 text generation handles real productivity workflows, how to build smooth back-and-forth conversations using the Kimi K3 chat API, and how smart prompt engineering for Kimi K3 can dramatically sharpen the quality of your outputs.
By the end, you’ll have a solid grasp of Kimi K3 API integration patterns you can drop straight into your own apps — no fluff, just code and context that actually makes sense.
Getting Started with the Kimi K3 API

Set Up Your API Key and Authentication in Minutes
Getting your Kimi K3 API key is straightforward. Head to the Moonshot AI platform, create an account, and grab your API key from the dashboard. Store it as an environment variable rather than hardcoding it directly into your project files.
export KIMI_API_KEY="your_api_key_here"
- Keep your key in a
.envfile and add that file to.gitignore - Never expose your key in client-side code or public repositories
- Rotate your key periodically as a basic security habit
Understand the Core Endpoints Every Developer Uses
The Kimi K3 API follows an OpenAI-compatible structure, so if you’ve worked with similar APIs before, you’ll feel right at home. The primary endpoint you’ll interact with is:
/v1/chat/completions— handles single-turn and multi-turn conversations/v1/models— lists available models so you can confirmmoonshot-v1-8k,moonshot-v1-32k, ormoonshot-v1-128kare accessible/v1/files— supports file uploads for document-based queries
The model name you pick determines your context window, which directly affects how much text you can send in a single request.
Send Your First Successful API Request with Ease
Here’s a simple Python example to get your first Kimi K3 API call working:
import os
import requests

api_key = os.getenv("KIMI_API_KEY")

headers = {
    "Authorization": f"Bearer {api_key}",
    "Content-Type": "application/json"
}

payload = {
    "model": "moonshot-v1-8k",
    "messages": [
        {"role": "user", "content": "Explain APIs in plain English."}
    ],
    "temperature": 0.7
}

response = requests.post(
    "https://api.moonshot.cn/v1/chat/completions",
    headers=headers,
    json=payload
)

print(response.json()["choices"][0]["message"]["content"])
Key parameters to pay attention to:
model— choose based on how long your input/output needs to betemperature— lower values (like 0.2) give more predictable outputs; higher values (like 0.9) get more creativemessages— always structured as a list with role and content pairs
Handle Common Setup Errors Before They Slow You Down
A few issues come up almost every time developers first connect to the Kimi K3 API:
- 401 Unauthorized — double-check that your API key is being passed correctly in the
Authorizationheader with theBearerprefix - 429 Rate Limit Exceeded — you’re sending too many requests too fast; add retry logic with exponential backoff
- Model not found errors — confirm the exact model string using the
/v1/modelsendpoint before hardcoding it - Empty or malformed responses — always check that your
messagesarray includes at least one user message with a non-emptycontentfield - SSL errors in some environments — make sure your SSL certificates are up to date, especially when running in Docker containers or older Linux environments
Adding basic error handling from the start saves a lot of debugging time later:
if response.status_code != 200:
    print(f"Error {response.status_code}: {response.json()}")
else:
    print(response.json()["choices"][0]["message"]["content"])
Essential Text Generation Examples to Boost Productivity

Generate High-Quality Content with Simple Prompts
The Kimi K3 API makes text generation surprisingly straightforward. With a clean REST call, you can generate blog posts, product descriptions, emails, and summaries in seconds. Here’s a quick example:
import openai

client = openai.OpenAI(
    api_key="your-kimi-api-key",
    base_url="https://api.moonshot.cn/v1"
)

response = client.chat.completions.create(
    model="kimi-k3",
    messages=[
        {"role": "user", "content": "Write a compelling product description for a noise-canceling headphone."}
    ]
)

print(response.choices[0].message.content)
This single call handles the heavy lifting. The Kimi K3 API examples like this show how quickly you can plug content generation into any workflow without complex setup.
Customize Output Length and Tone for Any Use Case
Controlling output length and tone is where Kimi K3 text generation really shines. Use max_tokens to cap response length and adjust your prompt phrasing to shift tone from casual to professional:
- Short and punchy:
"Write a 30-word tagline for a fitness app. Keep it energetic." - Long-form detailed:
"Write a 500-word blog introduction about remote work trends in 2025." - Formal tone:
"Draft a professional email declining a meeting request politely." - Casual tone:
"Write a fun, friendly Instagram caption for a coffee shop photo."
response = client.chat.completions.create(
    model="kimi-k3",
    messages=[
        {"role": "user", "content": "Write a 50-word punchy product tagline for a smart water bottle."}
    ],
    max_tokens=100,
    temperature=0.7
)
Tweaking temperature between 0.3 (focused, predictable) and 0.9 (creative, varied) gives you fine-grained control over how the model responds to your prompts.
Use System Messages to Control Model Behavior Effectively
System messages are one of the most powerful yet underused features in the Kimi K3 API. They set the ground rules for how the model behaves across the entire conversation — think of them as a permanent instruction layer sitting above your user prompts.
response = client.chat.completions.create(
    model="kimi-k3",
    messages=[
        {
            "role": "system",
            "content": "You are a senior software engineer. Always respond with concise, technically accurate answers. Avoid fluff and marketing language."
        },
        {
            "role": "user",
            "content": "Explain the difference between REST and GraphQL."
        }
    ]
)
Here’s what you can do with system messages in your Kimi K3 developer guide workflow:
- Set a persona:
"You are a friendly customer support agent for a SaaS product." - Restrict scope:
"Only answer questions related to Python programming." - Define output format:
"Always respond in bullet points with no more than 5 items." - Enforce language style:
"Use plain English. No technical jargon unless the user asks for it."
Combining a strong system message with well-crafted user prompts is the foundation of solid prompt engineering for Kimi K3 — and it directly impacts the quality and consistency of everything your app generates.
Powerful Chat and Conversation API Examples

Build a Multi-Turn Conversation Flow That Feels Natural
A great multi-turn conversation with the Kimi K3 chat API starts with structuring your messages array properly. Each turn gets added sequentially, so the model always knows who said what.
import openai

client = openai.OpenAI(
    api_key="your-kimi-api-key",
    base_url="https://api.moonshot.cn/v1"
)

messages = [
    {"role": "system", "content": "You are a helpful travel planning assistant."},
    {"role": "user", "content": "I want to visit Japan in April."},
]

response = client.chat.completions.create(
    model="kimi-k3",
    messages=messages
)

assistant_reply = response.choices[0].message.content
messages.append({"role": "assistant", "content": assistant_reply})

# Continue the conversation
messages.append({"role": "user", "content": "What cities should I prioritize?"})

follow_up = client.chat.completions.create(
    model="kimi-k3",
    messages=messages
)
print(follow_up.choices[0].message.content)
Key things to keep in mind:
- Always append both user and assistant messages after each turn
- Keep your system prompt focused and specific
- Avoid resetting the messages array mid-conversation unless you want a fresh session
Maintain Context Across Messages for Smarter Responses
Context management is honestly where most developers trip up. The Kimi K3 API is stateless, meaning it does not remember previous calls on its own. You carry that responsibility by sending the full conversation history every single time.
Here is a clean pattern for managing context without bloating your payload:
class ConversationManager:
    def __init__(self, system_prompt, max_turns=10):
        self.messages = [{"role": "system", "content": system_prompt}]
        self.max_turns = max_turns

    def chat(self, user_input, client, model="kimi-k3"):
        self.messages.append({"role": "user", "content": user_input})

        # Trim history if it gets too long
        if len(self.messages) > self.max_turns * 2 + 1:
            self.messages = [self.messages[0]] + self.messages[-(self.max_turns * 2):]

        response = client.chat.completions.create(
            model=model,
            messages=self.messages
        )

        reply = response.choices[0].message.content
        self.messages.append({"role": "assistant", "content": reply})
        return reply

# Usage
manager = ConversationManager("You are a customer support agent for a SaaS product.")
print(manager.chat("How do I reset my password?", client))
print(manager.chat("What if I don't get the email?", client))
Why this approach works well:
- Sliding window trimming keeps token costs under control
- The system prompt always stays in position zero
- Older, less relevant turns get dropped gracefully as the conversation grows
Stream Responses in Real Time for a Better User Experience
Streaming is one of the biggest quality-of-life improvements you can give your users. Instead of waiting several seconds for a full response, characters appear progressively, just like ChatGPT. The Kimi K3 API supports streaming out of the box.
stream = client.chat.completions.create(
    model="kimi-k3",
    messages=[
        {"role": "system", "content": "You are a coding assistant."},
        {"role": "user", "content": "Explain how async/await works in Python."}
    ],
    stream=True
)

full_response = ""
for chunk in stream:
    delta = chunk.choices[0].delta.content
    if delta:
        print(delta, end="", flush=True)
        full_response += delta

print()  # New line after streaming finishes
Practical tips for streaming in production:
- Flush output immediately with
flush=Trueso the terminal or browser updates in real time - Accumulate
full_responseif you need to log or store the complete reply afterward - In web apps, pipe chunks through Server-Sent Events (SSE) for a smooth front-end experience
- Handle
Nonedelta values gracefully since the final chunk typically carries no content
For a FastAPI backend, streaming looks like this:
from fastapi import FastAPI
from fastapi.responses import StreamingResponse

app = FastAPI()

@app.get("/chat")
async def stream_chat(user_message: str):
    def generate():
        stream = client.chat.completions.create(
            model="kimi-k3",
            messages=[{"role": "user", "content": user_message}],
            stream=True
        )
        for chunk in stream:
            delta = chunk.choices[0].delta.content
            if delta:
                yield f"data: {delta}\n\n"

    return StreamingResponse(generate(), media_type="text/event-stream")
Inject Dynamic User Data into Chat Prompts Seamlessly
Personalizing responses with real user data is what separates a generic chatbot from something that actually feels useful. With the Kimi K3 chat API, you can inject user-specific details directly into your system prompt or as part of the message history.
Option 1 — Dynamic system prompt injection:
def build_system_prompt(user_data: dict) -> str:
    return f"""
    You are a personal finance assistant.
    User Profile:
    - Name: {user_data['name']}
    - Monthly Income: ${user_data['income']}
    - Savings Goal: {user_data['goal']}
    - Risk Tolerance: {user_data['risk_tolerance']}

    Always tailor your advice based on this profile.
    """

user_data = {
    "name": "Maria",
    "income": 5000,
    "goal": "Buy a house in 5 years",
    "risk_tolerance": "moderate"
}

response = client.chat.completions.create(
    model="kimi-k3",
    messages=[
        {"role": "system", "content": build_system_prompt(user_data)},
        {"role": "user", "content": "Should I invest in index funds right now?"}
    ]
)
print(response.choices[0].message.content)
Option 2 — Inject data as a context message:
messages = [
    {"role": "system", "content": "You are a helpful e-commerce assistant."},
    {
        "role": "user",
        "content": f"Here is my order history: {user_order_history}. Based on this, what should I buy next?"
    }
]
Best practices for dynamic data injection:
- Sanitize user inputs before dropping them into prompts to avoid prompt injection attacks
- Keep injected data concise — large data dumps increase token usage and can dilute model focus
- Use structured formats like JSON or bullet points inside prompts so the model parses the data cleanly
- For sensitive data like financial or medical info, consider summarizing rather than injecting raw records
Advanced Prompt Engineering Techniques for Better Results

Structure Few-Shot Examples to Improve Output Accuracy
Few-shot prompting is one of the most practical ways to get consistent, accurate outputs from the Kimi K3 API. Instead of writing a vague instruction, you show the model exactly what good output looks like by including two or three worked examples directly in your prompt.
Here’s a quick pattern that works well:
import openai

client = openai.OpenAI(
    api_key="your_kimi_k3_api_key",
    base_url="https://api.moonshot.cn/v1"
)

few_shot_prompt = """
Classify the sentiment of customer reviews.

Review: "The product broke after two days."
Sentiment: Negative

Review: "Absolutely love it, works perfectly!"
Sentiment: Positive

Review: "It's okay, nothing special but does the job."
Sentiment: Neutral

Review: "Worst purchase I've ever made, total waste of money."
Sentiment:
"""

response = client.chat.completions.create(
    model="kimi-k3",
    messages=[{"role": "user", "content": few_shot_prompt}]
)

print(response.choices[0].message.content)
Why this works so well:
- The model picks up on your pattern and format from the examples
- You get outputs that match your expected structure every time
- It drastically cuts down on post-processing and cleanup
Keep your examples consistent in format and representative of the edge cases you care about most.
Use Role-Based Prompting to Unlock Specialized Responses
Telling the Kimi K3 API who to act as changes everything about the quality and tone of its responses. A system message that assigns a clear role makes the model behave like a domain expert rather than a generalist assistant.
messages = [
    {
        "role": "system",
        "content": (
            "You are a senior cybersecurity engineer with 15 years of experience "
            "in penetration testing and secure code review. You explain vulnerabilities "
            "in plain language but with technical precision. You always recommend "
            "practical mitigation steps."
        )
    },
    {
        "role": "user",
        "content": "Review this Python function for security issues:\n\ndef get_user(user_id):\n    query = f'SELECT * FROM users WHERE id = {user_id}'\n    return db.execute(query)"
    }
]

response = client.chat.completions.create(
    model="kimi-k3",
    messages=messages,
    temperature=0.3
)

print(response.choices[0].message.content)
Role-based prompting shines brightest when you need:
- Domain-specific vocabulary (medical, legal, financial)
- Consistent tone across a long conversation
- Opinionated recommendations grounded in real expertise
A lower temperature (around 0.2–0.4) pairs perfectly with role prompting because it keeps responses focused and professional rather than wandering off-topic.
Chain Prompts Together to Solve Complex Tasks Step by Step
Some tasks are just too big for a single prompt. Prompt chaining breaks a complex workflow into smaller, manageable steps where the output of one call feeds directly into the next. This is a game-changer for Kimi K3 API integration in real-world applications.
Here’s a three-step chain that researches, summarizes, and formats content:
def chain_prompts(topic: str) -> dict:
    results = {}

    # Step 1: Generate raw research points
    step1 = client.chat.completions.create(
        model="kimi-k3",
        messages=[
            {"role": "system", "content": "You are a research analyst."},
            {"role": "user", "content": f"List 5 key facts about {topic} with brief explanations."}
        ]
    )
    raw_research = step1.choices[0].message.content
    results["research"] = raw_research

    # Step 2: Summarize into a concise paragraph
    step2 = client.chat.completions.create(
        model="kimi-k3",
        messages=[
            {"role": "system", "content": "You are a professional editor."},
            {"role": "user", "content": f"Condense these research points into one clear paragraph:\n\n{raw_research}"}
        ]
    )
    summary = step2.choices[0].message.content
    results["summary"] = summary

    # Step 3: Format as a polished blog intro
    step3 = client.chat.completions.create(
        model="kimi-k3",
        messages=[
            {"role": "system", "content": "You are a content writer specializing in tech blogs."},
            {"role": "user", "content": f"Turn this summary into an engaging blog introduction:\n\n{summary}"}
        ]
    )
    results["blog_intro"] = step3.choices[0].message.content

    return results

output = chain_prompts("quantum computing breakthroughs in 2024")
for step, content in output.items():
    print(f"\n--- {step.upper()} ---\n{content}")
Key things to keep in mind when chaining prompts:
- Pass only the relevant output from one step to the next — don’t dump everything or the context gets noisy
- Assign a fresh role at each step to match the task at hand
- Validate intermediate outputs before feeding them forward, especially in production pipelines
- Log each step’s response so you can debug exactly where things go sideways
This prompt engineering approach inside the Kimi K3 developer guide context works especially well for content pipelines, multi-stage data extraction, and automated report generation.
Integrating Kimi K3 API into Real-World Applications

Connect the API to a Web App Backend in Simple Steps
Hooking the Kimi K3 API into your web app backend is straightforward. Most developers start with a REST call from Node.js, Python Flask, or FastAPI, passing user input directly to the API endpoint and streaming the response back to the frontend.
- Set your
KIMI_API_KEYas an environment variable — never hardcode it - Create a
/generateroute that accepts POST requests with apromptfield - Forward the payload to the Kimi K3 API and pipe the streamed response back to the client
- Add basic error handling for rate limits and timeouts from day one
Automate Repetitive Workflows Using API-Powered Scripts
Repetitive tasks like drafting weekly reports, summarizing meeting notes, or categorizing support tickets are perfect targets for Kimi K3 API-powered scripts. A simple Python cron job can pull raw data, send it to the API, and write clean output to a shared folder or database — no human needed.
- Use
scheduleorcronto trigger scripts on a fixed cadence - Pass structured prompts with dynamic variables using f-strings or Jinja2 templates
- Log every API call with timestamps so you can debug and audit later
- Chain multiple calls together to handle multi-step workflows cleanly
Build a Smart Customer Support Bot with Minimal Code
A Kimi K3 chat API integration can power a fully functional customer support bot in under 100 lines of code. By maintaining a messages list across turns, the bot keeps track of conversation history and responds contextually — no complex framework required.
messages = [{"role": "system", "content": "You are a friendly support agent."}]

def chat(user_input):
    messages.append({"role": "user", "content": user_input})
    response = client.chat(messages=messages)
    reply = response["choices"][0]["message"]["content"]
    messages.append({"role": "assistant", "content": reply})
    return reply
- Add a fallback escalation trigger when the bot detects frustration keywords
- Store conversation logs in a database for quality review
- Keep system prompts specific to your product to reduce hallucinations
Combine Kimi K3 with External Data Sources for Richer Output
The real power of Kimi K3 API integration shows up when you pull in live data before sending the prompt. Fetch product inventory, user account details, or real-time weather data first, inject it into the prompt context, and the model generates responses that are actually grounded in your current data — not just generic knowledge.
- Pull relevant records from your database and format them as plain text or JSON inside the prompt
- Use a retrieval step (basic keyword search or a vector database like Pinecone) to grab the most relevant knowledge base chunks
- Keep injected context concise — aim for under 2,000 tokens to leave room for reasoning
- Label external data clearly in the prompt so the model treats it as authoritative
Monitor API Usage and Optimize Costs as You Scale
Scaling any Kimi K3 real-world application without watching your API costs is a fast way to get a nasty bill. Track token consumption per request, set hard spending limits, and cache frequent prompts so identical requests don’t burn tokens twice.
- Log
prompt_tokensandcompletion_tokensfrom every API response to a metrics table - Set up alerts when daily token usage crosses a defined threshold
- Cache responses for deterministic prompts using Redis with a short TTL
- Shorten system prompts and trim conversation history aggressively as chats grow longer
- Batch low-priority tasks during off-peak hours if the API supports asynchronous queuing

The Kimi K3 API opens up a lot of possibilities once you get your hands on it. From basic text generation to building full-blown conversational apps, the examples covered here give you a solid foundation to start experimenting and shipping real features faster. The key is to not just read through them but actually run the code, tweak the prompts, and see what works best for your specific use case.
Start small, pick one or two examples that fit what you’re building right now, and go from there. As you get more comfortable with prompt engineering and API integration patterns, you’ll find yourself reaching for Kimi K3 more often. The best way to get good at this is to just build something with it today.