

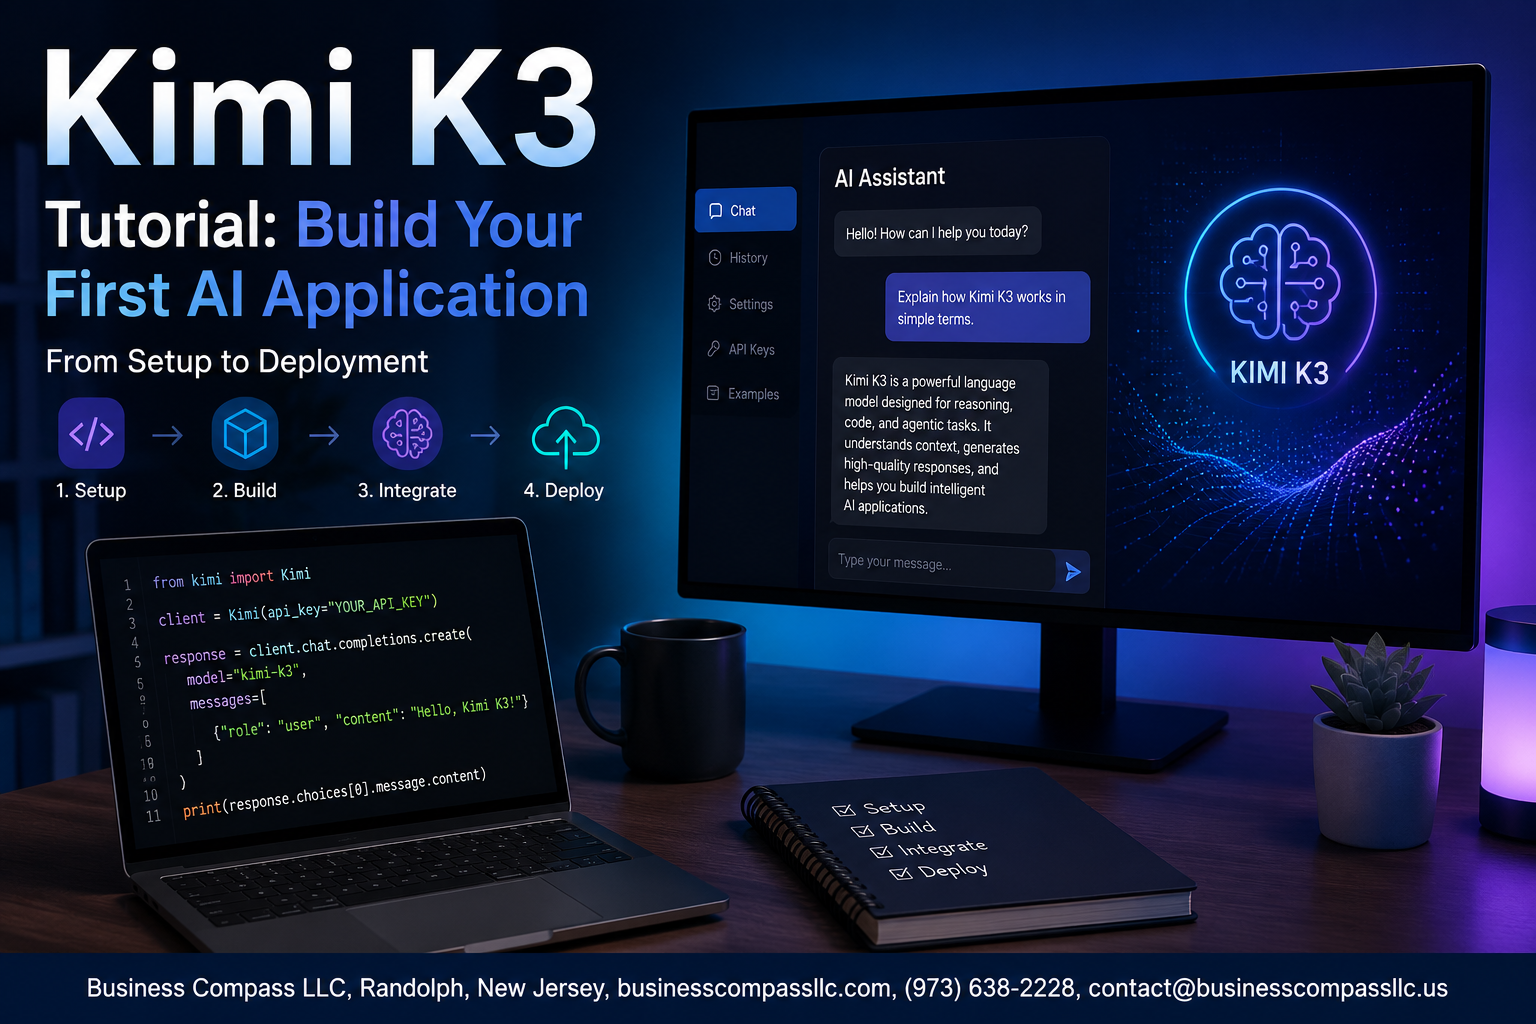
Kimi K3 Tutorial: Build Your First AI Application
If you’ve been wanting to build an AI application but didn’t know where to start, this Kimi K3 tutorial is exactly what you need. Kimi K3 is one of the most developer-friendly AI models available right now, and getting started with it is a lot more straightforward than you might expect.
This guide is written for beginners and early-stage developers who are comfortable with basic coding but haven’t worked with AI APIs before. You don’t need a machine learning background — just a willingness to follow along and build something real.
Here’s what we’ll walk through together:
- Setting up your Kimi K3 development environment so everything runs cleanly from day one
- Working with the Kimi K3 API to understand how requests, responses, and authentication actually work in practice
- Building, optimizing, and deploying your first AI app — from writing your first call to getting your app live and shareable
By the end, you’ll have a working application you built yourself, plus a clear picture of how Kimi K3 AI development fits into your broader workflow. Let’s get into it.
What Is Kimi K3 and Why It Matters for AI Development

Key Features That Set Kimi K3 Apart from Other AI Models
Kimi K3 is a powerful reasoning-focused large language model built by Moonshot AI, designed to handle complex tasks with speed and precision. What makes it stand out is its hybrid reasoning architecture, which lets it switch between fast responses and deep, step-by-step thinking depending on what the task actually needs.
Here’s what you get with Kimi K3:
- 128K context window — process massive documents, long codebases, or extended conversations without losing track of earlier content
- Strong coding and math capabilities — built to handle multi-step logic, debugging, and technical problem-solving out of the box
- Multilingual support — works well across English, Chinese, and several other languages, making it practical for global applications
- Tool-use and function calling — connect external APIs, databases, and custom tools directly into your AI workflows
- Cost-efficient performance — delivers results comparable to much larger models at a fraction of the compute cost
Real-World Use Cases You Can Build With Kimi K3
When you start building with Kimi K3, the range of things you can create is genuinely impressive. This isn’t just another chatbot engine — it’s a model you can plug into real workflows that people actually depend on.
Some practical applications developers are building right now:
- AI coding assistants that review pull requests, generate boilerplate, and explain legacy code
- Document analysis tools that read lengthy contracts, research papers, or financial reports and pull out exactly what you need
- Customer support bots that understand nuanced questions and give accurate, contextual answers
- Educational tutors that walk students through math problems step by step
- Data pipelines that extract structured information from unstructured text at scale
- Personal productivity apps that summarize emails, draft responses, and organize tasks automatically
Why Beginners and Developers Choose Kimi K3
If you’re just getting started with Kimi K3 for beginners, the learning curve feels manageable from day one. The API follows familiar REST conventions, the documentation is clear, and you can get your first response back in under ten minutes with minimal setup. Experienced developers love it because it plays nicely with existing toolchains — you’re not rebuilding everything from scratch.
A few reasons people keep coming back to Kimi K3 AI development:
- Straightforward API design that doesn’t require a PhD to read the docs
- Flexible integration with Python, JavaScript, and popular frameworks like LangChain
- Predictable pricing that scales without surprise bills hitting your inbox
- Active community support with real examples, not just theoretical guides
- Consistent output quality that holds up across different types of tasks and industries
Setting Up Your Kimi K3 Development Environment

A. Create Your Kimi Account and Access the API
Getting started with Kimi K3 development begins at platform.moonshot.cn, where you’ll sign up for an account. Once registered, head straight to the API section of your dashboard to grab your credentials. Kimi K3 offers a free tier with generous request limits, making it a solid starting point before you scale up.
- Go to platform.moonshot.cn and click Sign Up
- Verify your email and complete your profile setup
- Navigate to API Keys in the left-hand dashboard menu
- Click Create New API Key and copy it immediately — you won’t see it again after closing the modal
B. Install Required Tools and Dependencies
A solid Kimi K3 development setup runs on Python 3.8 or higher. You’ll mostly be working with the openai Python library since Kimi K3’s API is fully OpenAI-compatible, which means no steep learning curve if you’ve worked with GPT models before.
Run these commands in your terminal to get everything in place:
# Create and activate a virtual environment
python -m venv kimi-env
source kimi-env/bin/activate  # On Windows: kimi-env\Scripts\activate

# Install required packages
pip install openai python-dotenv requests
Here’s what each package does:
- openai — handles all API calls to Kimi K3
- python-dotenv — loads environment variables from a
.envfile so your keys stay out of your code - requests — handy for any direct HTTP calls you want to make outside the SDK
C. Configure Your API Keys Securely
Hardcoding API keys directly into your scripts is one of the most common mistakes beginners make — and it can get expensive fast if those keys end up in a public repo. The clean way to handle this in your Kimi K3 AI development workflow is to store keys in a .env file and load them at runtime.
Create a .env file in your project root:
KIMI_API_KEY=your_actual_api_key_here
KIMI_BASE_URL=https://api.moonshot.cn/v1
Then load it in your Python script:
from dotenv import load_dotenv
import os

load_dotenv()

api_key = os.getenv("KIMI_API_KEY")
base_url = os.getenv("KIMI_BASE_URL")
Make absolutely sure your .env file is listed in .gitignore before you push anything to GitHub:
# .gitignore
.env
kimi-env/
__pycache__/
D. Test Your Setup to Confirm Everything Works
Before diving into building your AI app, run a quick sanity check to confirm your Kimi K3 API connection is live and responding. This short script sends a simple message and prints the model’s reply — if it works, you’re good to go.
from openai import OpenAI
from dotenv import load_dotenv
import os

load_dotenv()

client = OpenAI(
    api_key=os.getenv("KIMI_API_KEY"),
    base_url=os.getenv("KIMI_BASE_URL"),
)

response = client.chat.completions.create(
    model="kimi-k3-8b",
    messages=[
        {"role": "user", "content": "Say hello and confirm you are Kimi K3!"}
    ]
)

print(response.choices[0].message.content)
What a successful test looks like:
- ✅ No authentication errors in the terminal
- ✅ A readable response printed from the model
- ✅ Response time under 3 seconds on a standard connection
If you hit a 401 Unauthorized error, double-check that your .env file is saved and that there are no extra spaces around the API key value. A 404 error usually points to a wrong base_url — confirm you’re pointing to https://api.moonshot.cn/v1.
Understanding the Kimi K3 API Essentials

How to Structure API Requests for Best Results
Getting your API requests right from the start saves you a ton of debugging headaches later. Every request to the Kimi K3 API follows a clean, predictable structure built around a messages array, where each message carries a role (either system, user, or assistant) and content. The system role is where you set the personality and behavior of your AI — think of it as giving your assistant a job description before the conversation begins. Here’s a basic request structure to get you started:
{
  "model": "kimi-k3",
  "messages": [
    {"role": "system", "content": "You are a helpful coding assistant."},
    {"role": "user", "content": "How do I sort a list in Python?"}
  ]
}
- Always include a
systemmessage to ground the model’s behavior - Keep
usermessages focused and specific — vague prompts get vague answers - Chain previous exchanges in the messages array to maintain conversation context
Key Parameters That Control Model Behavior
This is where the Kimi K3 API guide gets really interesting. These parameters are the dials and knobs that shape how the model thinks and responds:
temperature— Controls creativity. A value of0.2keeps responses factual and predictable;0.9gives you more expressive, varied outputmax_tokens— Sets a hard limit on response length, which directly affects API costs and latencytop_p— Works alongside temperature to filter token selection; most developers leave this at1.0unless fine-tuning output diversitystream— Set totrueto receive responses token-by-token, which makes your AI app feel snappier and more responsive to userspresence_penalty/frequency_penalty— Reduce repetition in longer outputs, especially useful for content generation tasks
For most beginner AI app development projects, start with temperature: 0.7 and max_tokens: 1024. That combo hits a solid balance between quality and speed.
Handle API Responses Like a Pro
The response object from Kimi K3 is straightforward once you know what you’re looking at. The actual text lives at response.choices[0].message.content — that’s the path you’ll use in practically every app you build. Beyond the text, always check finish_reason to know why the model stopped generating:
stop— The model finished naturally — all goodlength— Hit themax_tokenslimit, meaning the response got cut off; you may need to increase the limit or paginatecontent_filter— The output was blocked by safety filters
A solid error-handling pattern looks like this in Python:
response = client.chat.completions.create(
    model="kimi-k3",
    messages=messages,
    max_tokens=1024
)

if response.choices[0].finish_reason == "length":
    print("Warning: Response was truncated.")

output = response.choices[0].message.content
Also keep an eye on usage.total_tokens in the response — tracking token consumption early on helps you optimize costs before they sneak up on you in production.
Building Your First AI Application Step by Step
Define Your Application Goal and Use Case
Before writing a single line of code, get crystal clear on what your app actually needs to do. Are you building a customer support chatbot, a content summarizer, or a coding assistant? Pick one focused problem to solve. A sharp, specific goal keeps your prompts tight and your Kimi K3 API calls efficient from day one.
- Choose a target user: Who benefits from this app? A developer, a student, a small business owner?
- Define the core action: Summarize, generate, classify, answer, or translate — pick one primary function.
- Set success criteria: What does a good output look like? Define this before you start testing.
Write Your First Prompt and Call the API
With your goal locked in, open your code editor and make your first Kimi K3 API call. This is where the Kimi K3 tutorial really comes alive — you stop reading and start building.
import requests

API_KEY = "your_kimi_k3_api_key"
ENDPOINT = "https://api.kimi.ai/v1/chat/completions"

headers = {
    "Authorization": f"Bearer {API_KEY}",
    "Content-Type": "application/json"
}

payload = {
    "model": "kimi-k3",
    "messages": [
        {"role": "system", "content": "You are a helpful assistant."},
        {"role": "user", "content": "Summarize the following article in 3 bullet points: [paste article here]"}
    ],
    "temperature": 0.7,
    "max_tokens": 500
}

response = requests.post(ENDPOINT, headers=headers, json=payload)
print(response.json())
A few things to keep in mind when crafting your first prompt:
- Be specific in the system message: Tell Kimi K3 exactly what role it plays in your app.
- Use clear user messages: Vague prompts produce vague outputs — structure matters.
- Start with a low temperature (0.5–0.7): This keeps responses consistent while you test.
Process and Display the AI Response in Your App
Raw API responses are JSON objects. You need to pull out the actual text and show it to your user in a clean, readable way. Here’s how to parse the Kimi K3 response and display it properly:
data = response.json()
ai_reply = data["choices"][0]["message"]["content"]
print("AI Response:\n", ai_reply)
For a web app, you’d pass ai_reply to your front end and render it inside a styled <div>. For a command-line tool, printing to the terminal works perfectly at this stage. Key tips:
- Strip extra whitespace: Use
.strip()on the response string to clean up formatting. - Check the
finish_reasonfield: If it says"length", your response got cut off — raisemax_tokens. - Format output for your UI: Markdown responses render beautifully in most modern front-end frameworks like React or Vue.
Add Basic Error Handling to Keep Your App Stable
No AI application built on external APIs should skip error handling — period. Network timeouts, rate limits, and invalid API keys will happen, especially during development. Wrap your API call in a solid try-except block right from the start:
try:
    response = requests.post(ENDPOINT, headers=headers, json=payload, timeout=10)
    response.raise_for_status()
    data = response.json()
    ai_reply = data["choices"][0]["message"]["content"]
    print("AI Response:\n", ai_reply)

except requests.exceptions.Timeout:
    print("Request timed out. Check your connection and try again.")

except requests.exceptions.HTTPError as e:
    print(f"API error: {e.response.status_code} - {e.response.text}")

except KeyError:
    print("Unexpected response format. Check the API documentation.")
Build these guardrails in early so you are not debugging mystery crashes later. Handle these specific scenarios:
- 401 Unauthorized: Double-check your API key and header formatting.
- 429 Rate Limited: Add exponential backoff — wait, then retry automatically.
- 500 Server Error: Log the error and show the user a friendly fallback message.
Run and Test Your Application End to End
Run your script from the terminal and watch the full cycle happen — prompt sent, response received, output displayed. Testing end to end on a real use case is the fastest way to catch gaps in your logic early.
python app.py
Use this checklist during your first full test run:
- Happy path test: Send a well-formed prompt and confirm the output matches your success criteria.
- Edge case test: Send an empty input, an extremely long input, or a nonsense string and see how your app responds.
- Error simulation: Temporarily break your API key to confirm your error handling fires correctly.
- Latency check: Time your API response — if it consistently exceeds 3–4 seconds, review your payload size and
max_tokensvalue.
Getting started with Kimi K3 AI development is genuinely straightforward once you run that first successful end-to-end test. You will immediately see where your prompts need sharpening and where your UI needs more polish — and that feedback loop is exactly how good AI apps get built.
Optimizing Your Application for Better Performance

Craft Effective Prompts to Improve Output Quality
Getting great results from Kimi K3 starts with how you talk to it. Vague prompts produce vague answers — so be specific about the format, tone, and depth you want. A few proven techniques:
- Give context upfront — tell the model who it’s responding to and why
- Specify output format — ask for bullet points, JSON, markdown, or plain text
- Add constraints — “in under 200 words” or “suitable for a non-technical audience”
- Use examples — showing a sample output dramatically improves consistency
Reduce Latency With Smarter API Call Strategies
Slow responses kill user experience. Here’s how to keep things fast in your Kimi K3 AI development workflow:
- Stream responses using
stream=Trueso users see output immediately instead of waiting - Cache repeated queries — if the same prompt runs frequently, store the result locally
- Avoid unnecessary round trips — batch related questions into a single API call where possible
- Set a reasonable
max_tokenslimit to cut off unnecessarily long responses early
Manage Costs by Controlling Token Usage
Token usage directly drives your API bill, so keep it tight. Every word in your prompt and response costs tokens. To stay efficient:
- Trim your system prompt — remove filler words and redundant instructions
- Shorten conversation history — only pass the last few turns instead of the full chat log
- Set
max_tokensstrategically — match it to the task, not a random high number - Monitor usage through the Moonshot dashboard regularly to catch unexpected spikes early
Deploying and Sharing Your Kimi K3 Application

Choose the Right Hosting Platform for Your App
Picking the right home for your Kimi K3 application makes a huge difference in how smooth your launch goes. Here are the top options worth considering:
- Vercel or Netlify – Perfect for front-end-heavy apps with serverless API routes. Deploy in minutes with zero config headaches.
- Railway or Render – Great for full-stack Python or Node.js backends that need persistent processes.
- AWS Lambda / Google Cloud Functions – Best when you expect unpredictable traffic spikes and want to pay only for what you use.
- Docker + VPS (DigitalOcean, Linode) – Gives you full control if your app has complex dependencies or custom runtime needs.
Match your platform to your app’s architecture — a lightweight chatbot lives happily on Vercel, while a data-heavy pipeline needs something beefier.
Secure Your Application Before Going Live
Before you share your Kimi K3 deployment with anyone, lock things down properly.
- Never expose your API key in client-side code. Store it in environment variables on the server side only.
- Add rate limiting to your endpoints so no single user burns through your Kimi K3 API quota in minutes.
- Validate all user inputs before passing them to the API — this blocks prompt injection attempts and keeps your app behaving predictably.
- Enable HTTPS on every platform. Most modern hosts handle this automatically, but double-check before going live.
- Set spending limits on your Kimi K3 API account to avoid surprise bills if traffic unexpectedly spikes.
Monitor Usage and Gather User Feedback for Improvements
Shipping your app is just the starting line. Watching how real people use it tells you everything your testing missed.
- Track API response times and error rates using tools like Datadog, Sentry, or even simple logging to catch failures fast.
- Log user queries anonymously (with consent) to spot common requests your app handles poorly — this is gold for refining your prompts.
- Add a simple feedback button — a thumbs up/down or a short comment field goes a long way toward understanding what’s working.
- Review your Kimi K3 API usage dashboard regularly to identify which features drive the most calls and where you can cut costs through better caching or prompt optimization.
Small, consistent tweaks based on real feedback will push your Kimi K3 AI application from “pretty good” to genuinely useful.

Building your first AI application with Kimi K3 is more achievable than it might have seemed at the start. From setting up your environment to understanding the API, writing your first lines of code, and finally getting your app live, each step builds naturally on the last. The process is straightforward once you break it down, and Kimi K3 gives you the tools to move quickly without getting bogged down in unnecessary complexity.
Now it’s your turn to take what you’ve learned and actually build something. Start small, experiment with the API, tweak your app’s performance, and share what you create. The best way to get comfortable with Kimi K3 is to keep building, keep testing, and keep pushing your project forward. You’ve got everything you need to get started today.