Website and server downtime can cost you customers, revenue, and reputation. Deploy Uptime Kuma on AWS EC2 to get reliable, real-time monitoring without breaking your budget or dealing with complex enterprise solutions.
This guide is perfect for developers, system administrators, and small business owners who want professional-grade monitoring capabilities without the hefty price tag of commercial tools.
We’ll walk through setting up your AWS EC2 instance for optimal performance and installing the Docker environment you need to run Uptime Kuma smoothly. You’ll also learn how to configure your monitoring targets and implement security best practices to protect your monitoring infrastructure while keeping it accessible when you need it most.
By the end, you’ll have a robust website uptime monitoring system running on AWS that alerts you the moment something goes wrong with your websites or servers.
Set Up Your AWS EC2 Instance for Optimal Performance
Choose the right EC2 instance type for monitoring workloads
t3.micro or t3.small instances work perfectly for Uptime Kuma AWS EC2 deployments. These burstable performance instances handle monitoring workloads efficiently while keeping costs low. The t3.micro qualifies for AWS free tier, making it ideal for personal projects or small businesses starting their website monitoring AWS journey.
For production environments monitoring dozens of targets, consider t3.medium instances. They provide consistent CPU performance and 4GB RAM, ensuring your Docker Compose monitoring setup runs smoothly without resource constraints affecting alert reliability.
Configure security groups for secure remote access
Create a dedicated security group allowing SSH access (port 22) from your IP address only. Add HTTP (port 80) and HTTPS (port 443) rules if you plan web access to Uptime Kuma. Restrict access to specific IP ranges rather than opening ports to the entire internet.
Custom TCP rule for port 3001 enables direct access to Uptime Kuma’s web interface. Always use the principle of least privilege – only allow necessary ports and limit source IP addresses to maintain security for your AWS server monitoring setup.
Launch your instance with Ubuntu Server
Select Ubuntu Server 22.04 LTS as your AMI for optimal Docker compatibility and long-term support. Choose your configured security group and create a new key pair for SSH authentication. Store the private key file securely as you’ll need it for server access.
Enable detailed monitoring during launch to track instance performance metrics. Configure storage with at least 20GB gp3 volume to accommodate Docker images, container logs, and Uptime Kuma data. This ensures sufficient space for your monitoring solution to operate without storage issues.
Connect to your EC2 instance via SSH
Use the command ssh -i your-key.pem ubuntu@your-instance-public-ip to establish connection. The default username for Ubuntu instances is ‘ubuntu’. Ensure your key file has proper permissions by running chmod 400 your-key.pem before connecting.
Once connected, update your system with sudo apt update && sudo apt upgrade -y to install security patches. Your EC2 instance is now ready for the Uptime Kuma installation guide steps, creating a solid foundation for reliable website and server monitoring.
Install Essential Dependencies and Docker Environment

Update your system packages to latest versions
Start by connecting to your AWS EC2 instance via SSH and updating all system packages. Run sudo apt update && sudo apt upgrade -y to ensure your Ubuntu instance has the latest security patches and software versions. This foundation prevents compatibility issues when installing Docker and Docker Compose for your Uptime Kuma AWS EC2 deployment.
Install Docker and Docker Compose for containerized deployment
Installing Docker transforms your server monitoring setup by enabling containerized deployments. Execute sudo apt install docker.io docker-compose -y to install both Docker and Docker Compose simultaneously. Start the Docker service with sudo systemctl start docker and enable it for automatic startup using sudo systemctl enable docker. Verify the installation by running docker --version and docker-compose --version to confirm both tools are ready for your website monitoring AWS configuration.
Configure Docker to run without sudo privileges
Add your user to the Docker group with sudo usermod -aG docker $USER to eliminate the need for sudo commands. Log out and reconnect to your EC2 instance for the changes to take effect. Test the configuration by running docker ps without sudo – this streamlines your Uptime Kuma installation guide workflow and improves security by avoiding unnecessary root privileges during container management.
Deploy Uptime Kuma Using Docker Compose
Create the project directory structure
Start by creating a dedicated directory for your Uptime Kuma deployment on your AWS EC2 instance. This keeps everything organized and makes management easier down the road. Navigate to your home directory and create a folder called uptime-kuma, then add subdirectories for configuration files and data storage.
Download and configure the Docker Compose file
Create a docker-compose.yml file in your project directory to define your Uptime Kuma AWS EC2 deployment. This file specifies the container image, port mappings, and volume mounts needed for persistent data storage. The configuration ensures your monitoring solution survives container restarts and system reboots.
Set up persistent data storage with Docker volumes
Configure Docker volumes to store Uptime Kuma’s database and configuration files outside the container. This setup prevents data loss when updating or restarting containers. Map the internal /app/data directory to a local volume on your EC2 instance for reliable data persistence.
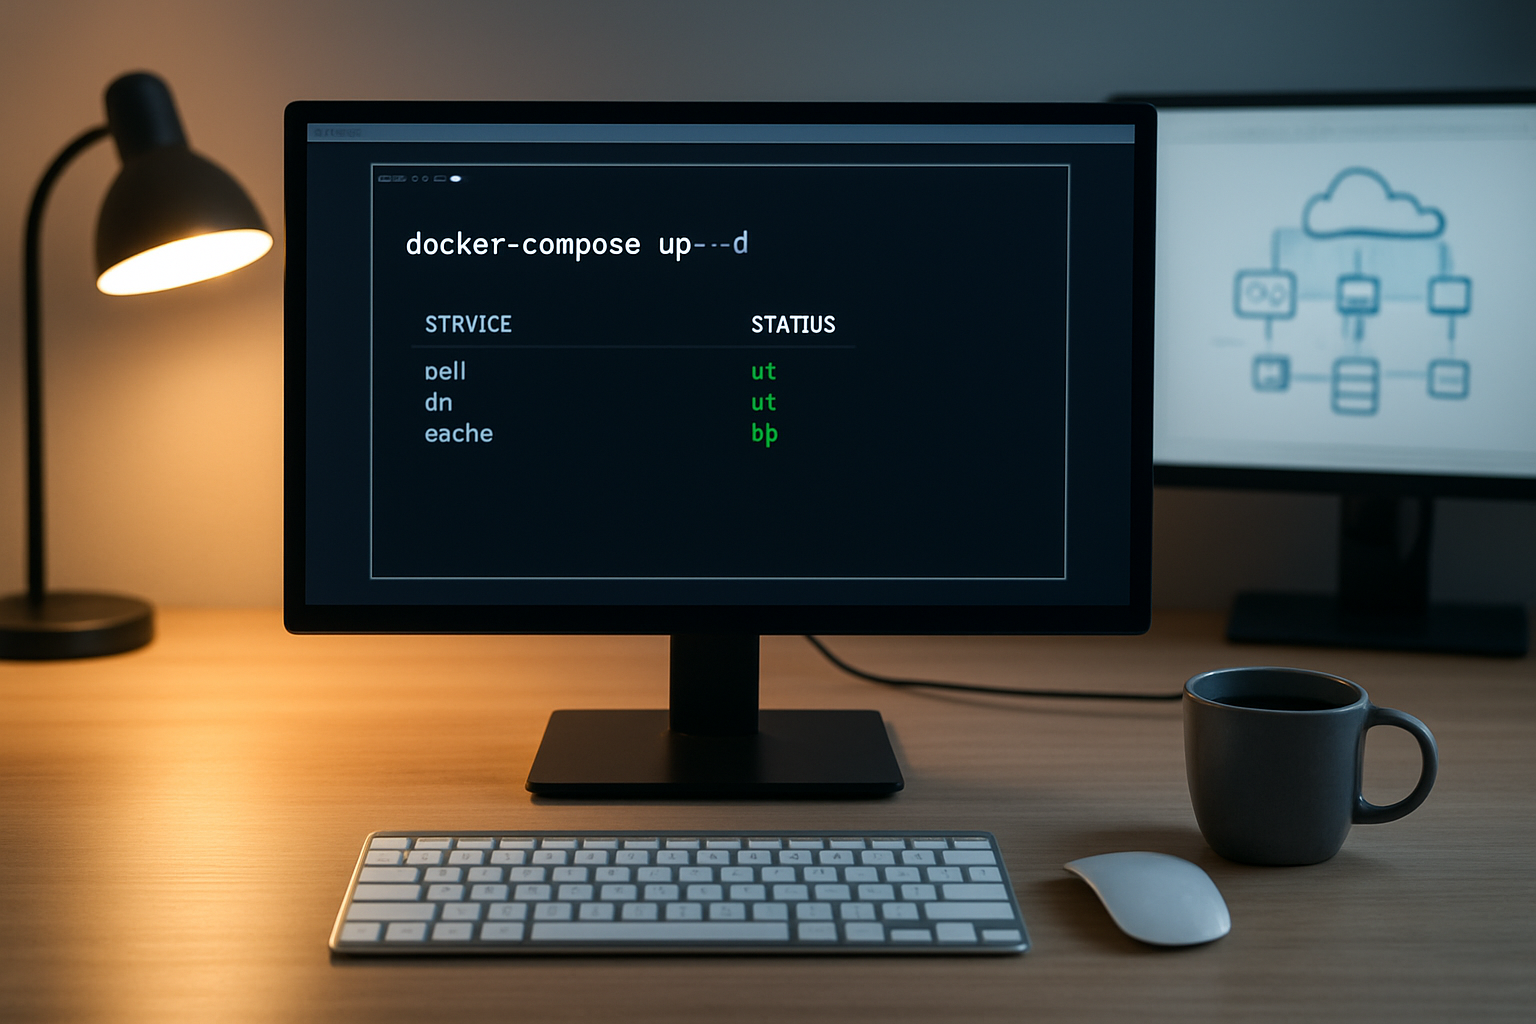
Launch Uptime Kuma container with proper port mapping
Deploy Uptime Kuma Docker using the docker-compose up -d command to run the container in detached mode. The configuration maps port 3001 from the container to your EC2 instance, making the web interface accessible through your server’s IP address. This Docker Compose monitoring setup provides a clean, reproducible deployment.
Verify successful deployment and container health
Check your deployment status using docker-compose ps and docker logs commands to confirm the container is running properly. Access the Uptime Kuma web interface through your EC2 instance’s public IP on port 3001 to verify the installation completed successfully and the monitoring dashboard loads correctly.
Configure Initial Uptime Kuma Settings
Access the web interface and create admin account
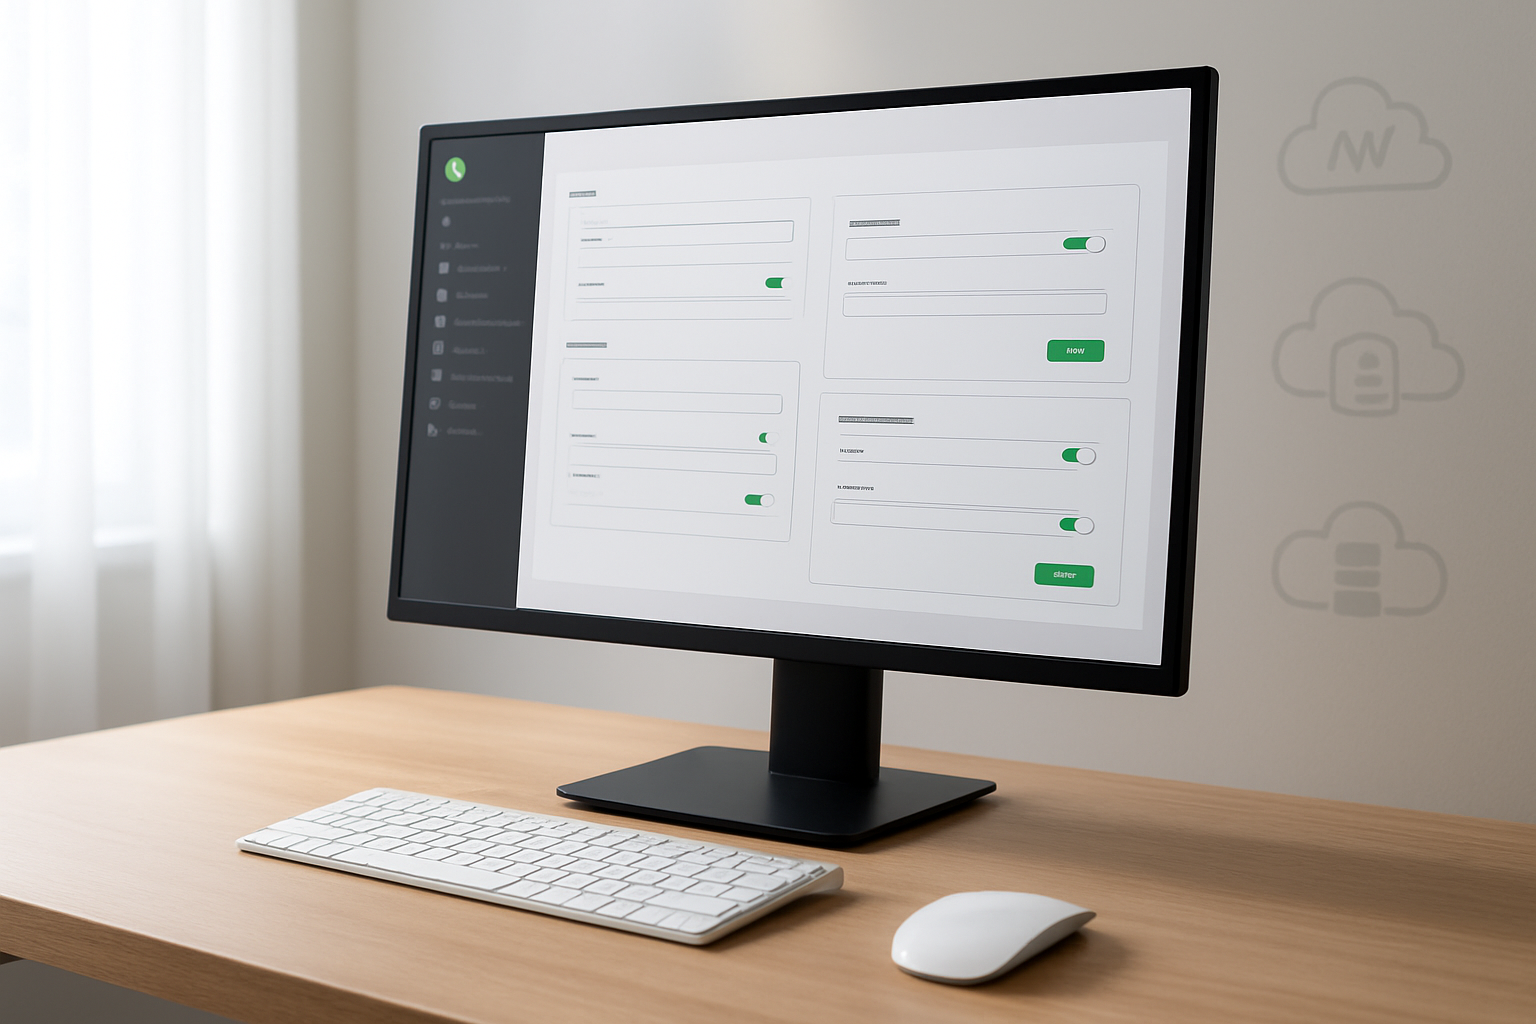
Open your browser and navigate to your EC2 instance’s public IP address on port 3001 (e.g., http://your-ec2-ip:3001). On first access, Uptime Kuma automatically displays the setup wizard where you’ll create your administrator account. Choose a strong username and password, then complete the initial setup process to secure your Uptime Kuma configuration.
Configure notification channels for alerts
Navigate to the Settings page and select “Notifications” to configure your preferred alert channels. Uptime Kuma supports multiple notification methods including email, Slack, Discord, Telegram, and webhooks. Add your notification channels by entering the required credentials or API keys. Test each channel to verify proper functionality before proceeding with monitor setup.
Set up timezone and basic preferences
Access the General Settings section to configure your timezone, which ensures accurate timestamps for monitoring events and notifications. Select your preferred language, date format, and theme options to customize the interface. Enable or disable features like search engines indexing and check interval settings to optimize your AWS EC2 monitoring setup for your specific requirements.
Add Website and Server Monitoring Targets
Monitor HTTP/HTTPS websites with custom intervals
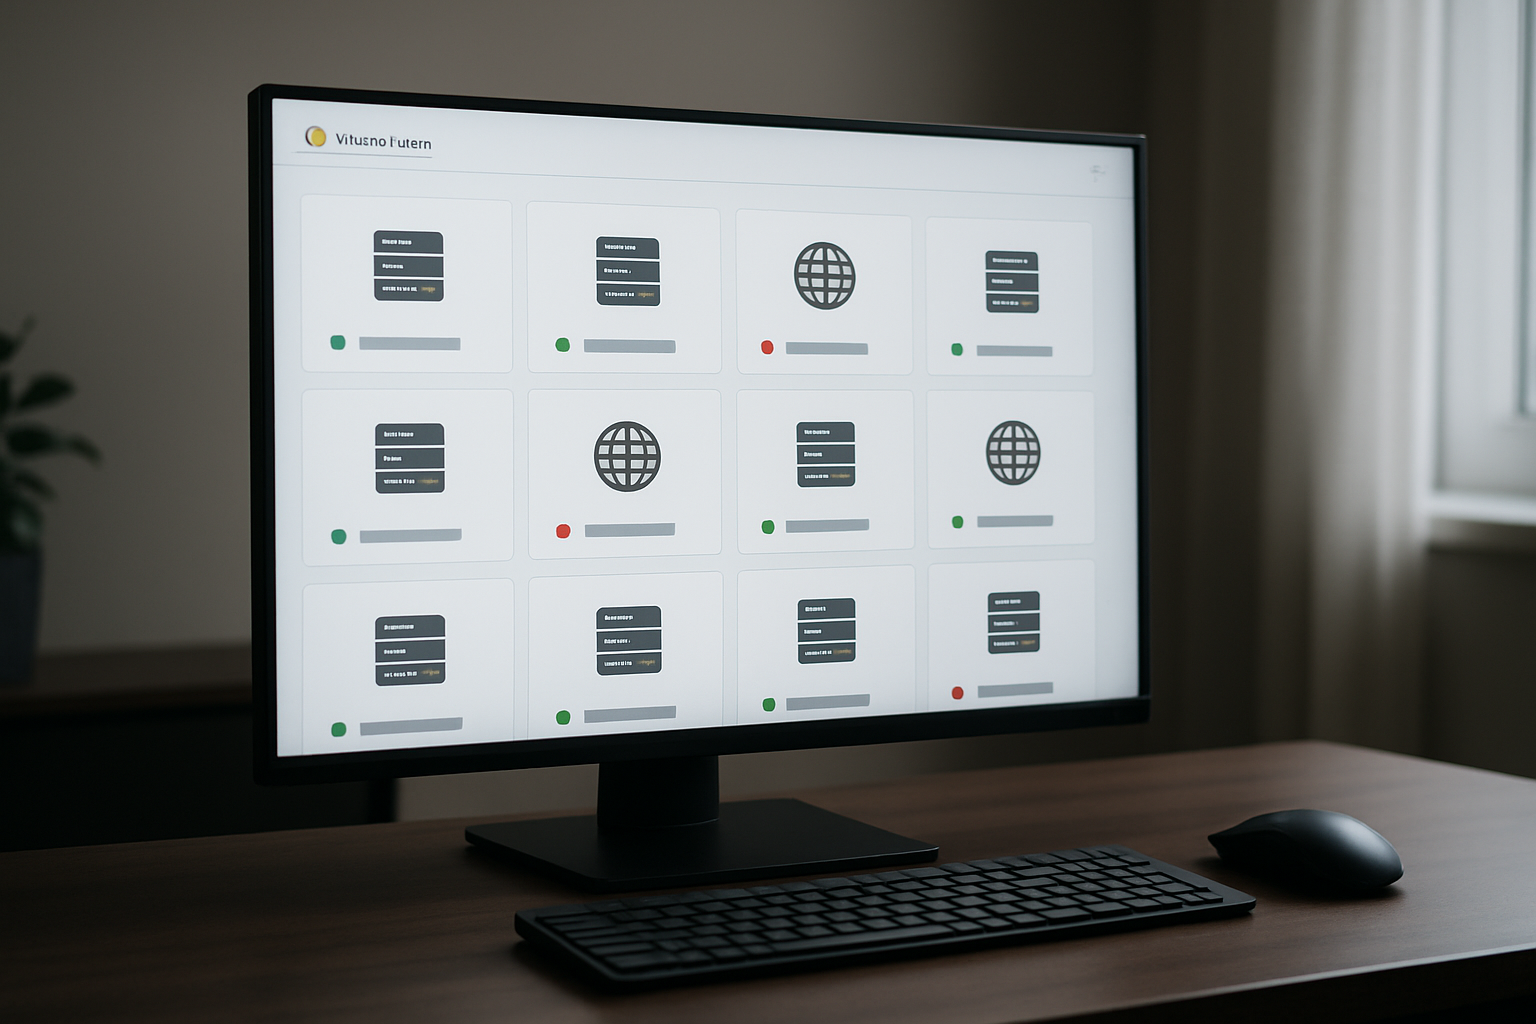
Setting up website monitoring in your Uptime Kuma AWS EC2 deployment starts with clicking the “Add New Monitor” button in your dashboard. Select “HTTP(s)” as the monitor type and enter your target website URL. Configure the check interval based on your monitoring needs – critical sites might need checks every 30 seconds, while less important ones can use 5-minute intervals to conserve server resources.
Set up ping monitoring for server availability
Ping monitoring provides basic connectivity verification for your servers and network devices. Create a new monitor, select “Ping” type, and enter the target IP address or hostname. This method works perfectly for checking if your AWS EC2 instances, databases, or external servers remain reachable across the network.
Configure port monitoring for specific services
Port monitoring ensures your critical services stay accessible on their designated ports. Add a “Port” monitor type and specify the target server IP along with the service port number – like port 22 for SSH, 80 for HTTP, or 443 for HTTPS. This monitoring approach catches service-specific failures that basic ping tests might miss.
Add keyword monitoring for content verification
Keyword monitoring goes beyond basic connectivity by verifying your website displays expected content. When creating an HTTP monitor, enable the “Keyword” option and enter a specific word or phrase that should appear on your page. This catches scenarios where your site loads successfully but displays error messages or unexpected content.
Optimize Security and Access Management

Configure reverse proxy with Nginx for domain access
Setting up Nginx as a reverse proxy transforms your Uptime Kuma installation into a professional monitoring solution accessible via your custom domain. Install Nginx on your AWS EC2 instance and create a server block configuration that forwards requests from port 80/443 to Uptime Kuma’s Docker container running on port 3001. This approach eliminates the need to expose port 3001 directly and provides better control over incoming traffic.
Set up SSL certificates for encrypted connections
Secure your Uptime Kuma deployment with free SSL certificates from Let’s Encrypt using Certbot. After configuring your domain’s DNS records to point to your EC2 instance’s public IP, run Certbot to automatically generate and install certificates for your Nginx configuration. The automated renewal process keeps your monitoring solution protected with HTTPS encryption, building trust with your team and ensuring secure access to monitoring dashboards.
Implement firewall rules for restricted access
Lock down your AWS EC2 monitoring setup by configuring security groups to allow only necessary traffic. Create inbound rules permitting HTTP (port 80), HTTPS (port 443), and SSH (port 22) access while blocking direct access to port 3001. Consider restricting SSH access to specific IP addresses and implementing fail2ban to automatically block suspicious login attempts, creating multiple security layers for your Uptime Kuma AWS EC2 deployment.
Maintain and Scale Your Monitoring Solution

Set up automated backups for monitoring data
Creating reliable backups for your Uptime Kuma monitoring data protects against data loss and system failures. Configure Docker volumes to persist monitoring data outside containers, then set up automated backup scripts using cron jobs. Store backup files in AWS S3 buckets for redundancy and implement retention policies to manage storage costs effectively.
Monitor resource usage and upgrade instances when needed
Track your AWS EC2 instance performance through CloudWatch metrics, monitoring CPU usage, memory consumption, and disk space. When monitoring multiple targets or experiencing performance bottlenecks, upgrade to larger instance types or implement horizontal scaling with load balancers. Regular performance reviews ensure your monitoring solution remains responsive as your infrastructure grows.
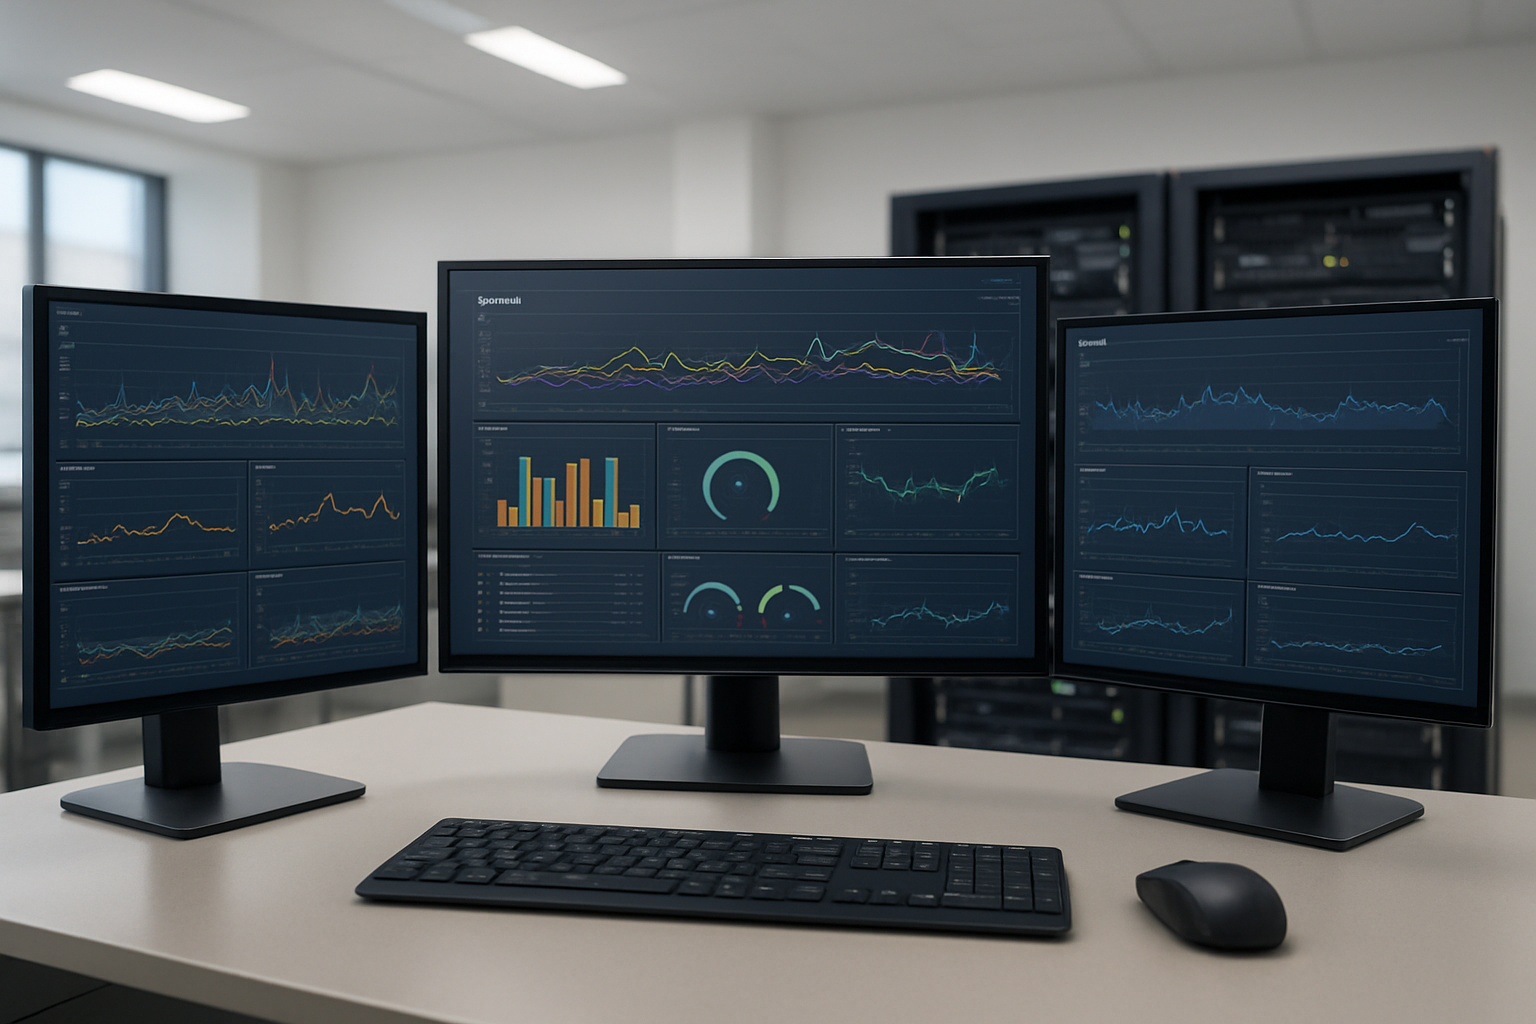
Create monitoring dashboards for team visibility
Build comprehensive dashboards within Uptime Kuma to provide team-wide visibility into system health and performance trends. Configure notification channels for different team roles and set up status pages for stakeholder communication. Integrate with existing collaboration tools like Slack or Microsoft Teams to streamline incident response workflows and maintain clear communication during outages.
Setting up Uptime Kuma on AWS EC2 gives you a powerful, self-hosted monitoring solution that keeps tabs on your websites and servers around the clock. You’ve learned how to spin up an EC2 instance, get Docker running, deploy Uptime Kuma with Docker Compose, and configure it to monitor your critical services. The security setup and access management steps help protect your monitoring dashboard while keeping it accessible when you need it.
Your monitoring setup is now ready to alert you the moment something goes wrong with your websites or servers. Regular maintenance and smart scaling will keep your Uptime Kuma instance running smoothly as your monitoring needs grow. Start adding your most important websites and servers to the dashboard, set up notifications that work for your team, and enjoy the peace of mind that comes with knowing you’ll be the first to know when issues pop up.