Running ADK Visual Builder on Amazon Web Services transforms your development workflow, but getting the setup right makes all the difference. This guide walks developers, DevOps engineers, and AWS administrators through deploying ADK Visual Builder on EC2 instances with confidence.
Setting up Visual Builder on EC2 requires careful planning and the right configuration choices. Many teams struggle with instance sizing, security settings, and performance tuning when moving from local development to cloud deployment. Getting these fundamentals wrong can lead to slow performance, security vulnerabilities, and unnecessary costs.
We’ll start by covering EC2 instance selection and launch configuration, showing you how to pick the right instance type and configure it properly for your Visual Builder workload. Then we’ll dive into security implementation and access control, walking through essential practices to protect your deployment while maintaining team productivity. Finally, we’ll explore performance optimization and resource management techniques that keep your Visual Builder running smoothly without breaking your AWS budget.
By the end of this tutorial, you’ll have a production-ready ADK Visual Builder deployment on EC2 that’s secure, performant, and easy to maintain.
Prerequisites and Planning for ADK Visual Builder Deployment

Hardware and software requirements assessment
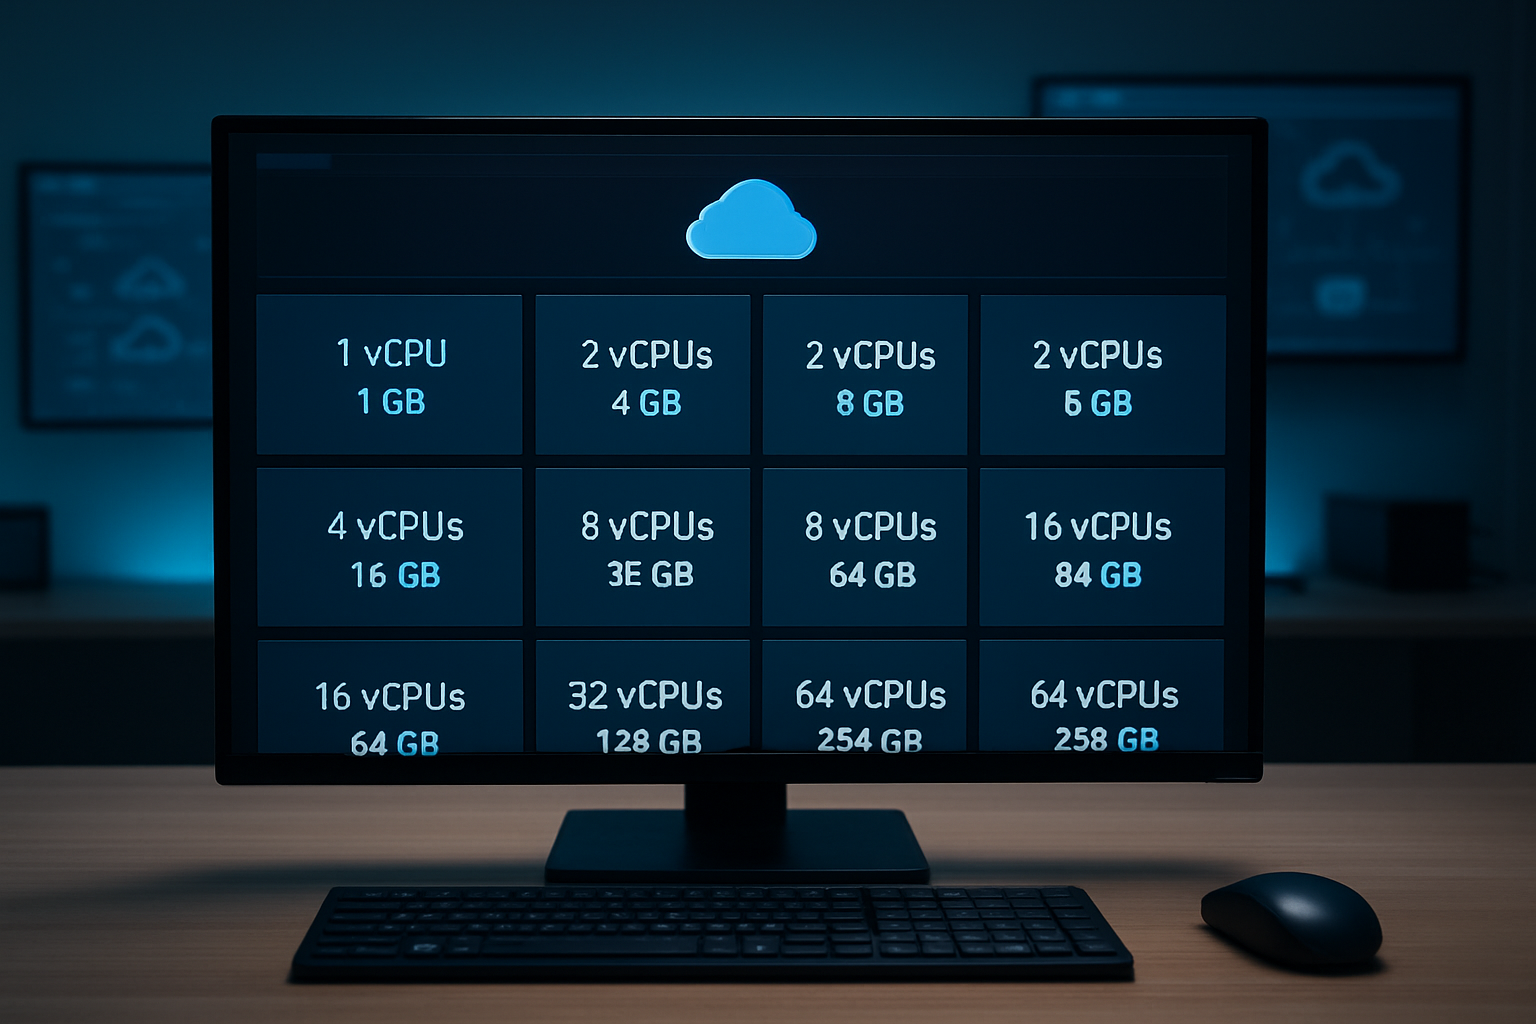
Your EC2 instance needs robust specifications to handle ADK Visual Builder’s resource demands effectively. Choose instances with at least 8GB RAM and 4 vCPUs as the baseline, though 16GB RAM provides better performance for complex visual applications. Storage requirements vary, but allocate minimum 100GB SSD space for the ADK Visual Builder installation and project files. Consider compute-optimized instances like C5 or C6i families for CPU-intensive visual processing tasks.
AWS account setup and IAM permissions configuration
Setting up proper IAM permissions prevents deployment headaches down the road. Create a dedicated IAM user with EC2 full access, VPC management rights, and S3 bucket permissions for file storage. Enable programmatic access and configure MFA for enhanced security. Your IAM policy should include CloudWatch monitoring permissions to track ADK Visual Builder performance metrics and system health.
Network architecture planning for optimal performance
Design your VPC with public and private subnets across multiple availability zones for redundancy. Place your ADK Visual Builder EC2 instance in a private subnet behind a NAT gateway to maintain security while allowing internet access for updates. Configure security groups to allow only necessary ports – typically HTTP/HTTPS for web access and custom ports for ADK Visual Builder services. Consider using Application Load Balancer if you plan to scale horizontally.
Cost estimation and budgeting considerations
ADK Visual Builder EC2 deployment costs depend on instance type, storage, and data transfer requirements. Budget approximately $200-500 monthly for medium-scale deployments using m5.xlarge instances with 100GB storage. Factor in additional costs for load balancers, NAT gateways, and data transfer charges. Use AWS Cost Calculator to estimate expenses and set up billing alerts to avoid surprises during your ADK Visual Builder EC2 setup phase.
EC2 Instance Selection and Launch Configuration
Choosing the right instance type for Visual Builder workloads
Visual Builder applications demand substantial computing resources, making t3.large or t3.xlarge instances ideal starting points for development environments. For production ADK Visual Builder EC2 deployments handling multiple concurrent users, consider m5.xlarge or c5.2xlarge instances that provide dedicated CPU and enhanced networking capabilities.
Memory-optimized r5.large instances excel when processing complex visual workflows, while compute-optimized c5 family instances boost compilation speeds for large ADK projects. Monitor CPU utilization patterns during initial deployment to right-size your AWS EC2 Visual Builder setup and avoid performance bottlenecks.
Operating system selection and AMI considerations
Amazon Linux 2 provides the most streamlined experience for ADK deployment on Amazon EC2, offering pre-configured AWS tools and optimized performance. Ubuntu Server 20.04 LTS serves as an excellent alternative, particularly when your development team prefers Debian-based environments.
Choose AMIs with enhanced networking and EBS optimization enabled by default. Custom AMIs with pre-installed dependencies can significantly reduce Visual Builder installation guide complexity and deployment time across multiple instances.
Storage configuration and EBS optimization
Provision at least 100GB of gp3 storage for your Visual Builder AWS deployment tutorial, allowing room for application files, temporary build artifacts, and system logs. Configure separate EBS volumes for application data and system files to improve backup flexibility and performance isolation.
Enable EBS optimization on your EC2 instance configuration ADK setup to maximize throughput between your instance and storage volumes. Set up automated EBS snapshots to protect your Visual Builder projects and configurations from data loss scenarios.
Security group and VPC setup for secure access
Create dedicated security groups that restrict inbound access to essential ports only – typically HTTPS (443) for web access and SSH (22) for administrative tasks. Configure source IP restrictions to limit access from your organization’s networks, avoiding broad 0.0.0.0/0 rules that expose your ADK security best practices EC2 implementation.
Deploy your Visual Builder instances within private subnets, using NAT gateways for outbound internet access while maintaining isolation from direct public exposure. Implement VPC Flow Logs to monitor network traffic patterns and detect potential security threats targeting your AWS Visual Builder performance optimization setup.
ADK Visual Builder Installation and Initial Setup
Download and prepare installation files
Getting your ADK Visual Builder files ready for EC2 deployment requires downloading the latest installer from the official ADK portal. Make sure you have the appropriate license key and system requirements documentation before starting. Store all installation files in a dedicated directory on your local machine, then transfer them to your EC2 instance using secure methods like SCP or S3 bucket uploads.
Step-by-step installation process
Connect to your EC2 instance via SSH and navigate to your installation directory. Run the ADK Visual Builder installer with elevated privileges, following the interactive prompts for system configuration. The installation process typically takes 10-15 minutes depending on your instance specifications and network connectivity.
License activation and validation
Initial configuration and environment verification
Performance Optimization and Resource Management

Memory allocation and CPU optimization techniques
Proper memory allocation directly impacts ADK Visual Builder EC2 performance. Configure your instance with at least 8GB RAM for basic deployments, scaling to 16GB or more for complex applications. Set the Java heap size to 70% of available system memory using -Xmx parameters. Enable garbage collection tuning with G1GC collector for consistent performance. Monitor memory usage patterns and adjust allocation pools based on your specific Visual Builder workload requirements.
CPU optimization requires matching instance types to processing demands. Choose compute-optimized instances like C5 or C6i families for CPU-intensive Visual Builder operations. Configure thread pools appropriately – typically 2x CPU cores for I/O bound tasks. Enable CPU affinity settings and disable unnecessary background services to maximize processing power allocation for your ADK deployment.
Storage performance tuning for faster load times
Storage configuration significantly affects Visual Builder load times on EC2. Use GP3 EBS volumes with provisioned IOPS for optimal performance, starting with 3,000 IOPS baseline and scaling based on application demands. Position frequently accessed Visual Builder files on high-performance storage tiers. Implement proper disk partitioning strategies with separate volumes for application data, logs, and temporary files to prevent I/O bottlenecks.
Configure local NVMe SSD storage on supported instance types for ultra-fast access to cache files and temporary data. Enable EBS optimization on your EC2 instance to maximize throughput between instance and storage volumes. Regular maintenance includes monitoring disk utilization patterns and implementing automated cleanup processes for temporary Visual Builder files.
Network configuration for reduced latency
Network optimization starts with proper VPC configuration and subnet placement. Deploy your ADK Visual Builder EC2 instance in the same availability zone as related services to minimize inter-AZ latency. Configure enhanced networking features like SR-IOV and placement groups for consistent network performance. Use dedicated tenancy when network predictability is critical for Visual Builder applications.
Implement content delivery strategies through CloudFront integration for static Visual Builder assets. Configure security groups with specific port rules rather than broad ranges to optimize network processing. Monitor network metrics regularly and adjust bandwidth allocation based on Visual Builder usage patterns. Consider using AWS Global Accelerator for geographically distributed users accessing your Visual Builder deployment.
Security Implementation and Access Control

SSL Certificate Setup for Encrypted Connections
Securing your ADK Visual Builder EC2 deployment starts with implementing SSL/TLS certificates to encrypt all data transmission. You can obtain free certificates through AWS Certificate Manager or Let’s Encrypt, then configure your web server (Apache/Nginx) to redirect HTTP traffic to HTTPS. This protects sensitive user data and design assets during transfer between clients and your Visual Builder instance.
User Authentication and Authorization Configuration
Set up robust authentication mechanisms by integrating with AWS IAM or implementing multi-factor authentication for Visual Builder access. Create user roles with specific permissions – developers get full design access while stakeholders receive view-only privileges. Configure LDAP integration for enterprise environments to streamline user management and maintain consistent access policies across your organization’s tools.
Firewall Rules and Port Management
Configure EC2 security groups to restrict inbound traffic to essential ports only – typically port 443 for HTTPS and port 22 for SSH administrative access. Block all unnecessary ports and limit SSH access to specific IP addresses or VPN ranges. Regular audits of security group rules help maintain tight access control while preventing unauthorized connections to your Visual Builder instance.
Backup and Disaster Recovery Planning
Implement automated daily snapshots of your EC2 instance using AWS backup services to protect your Visual Builder projects and configurations. Store backups in multiple availability zones and test recovery procedures monthly. Create documented runbooks for disaster scenarios, including steps for launching replacement instances and restoring data from snapshots to minimize downtime during emergencies.
Regular Security Updates and Patch Management
Establish automated update schedules for your EC2 instance operating system and Visual Builder software components. Use AWS Systems Manager Patch Manager to handle OS updates systematically, and monitor ADK release notes for security patches. Schedule maintenance windows during low-usage periods and maintain staging environments to test updates before applying them to production systems.
Monitoring and Maintenance Strategies

CloudWatch integration for performance monitoring
CloudWatch serves as your primary monitoring dashboard for ADK Visual Builder EC2 deployments, tracking critical metrics like CPU usage, memory consumption, and disk I/O patterns. Configure custom alarms for memory utilization above 80% and disk space warnings to prevent application crashes during peak usage periods.
Automated backup scheduling and testing
Implement automated EBS snapshots through AWS Systems Manager or Lambda functions to create daily backups of your ADK Visual Builder instance. Schedule weekly backup restoration tests on separate EC2 instances to verify data integrity and measure recovery time objectives for disaster planning scenarios.
Log management and troubleshooting procedures
Centralize ADK Visual Builder logs using CloudWatch Logs agent to capture application events, error messages, and performance bottlenecks in real-time. Create log groups for different components and set up metric filters to automatically detect critical errors, enabling faster troubleshooting when users report issues with the Visual Builder interface.

Setting up ADK Visual Builder on EC2 requires careful attention to instance selection, proper installation procedures, and ongoing optimization. The key areas we’ve covered – from choosing the right EC2 configuration to implementing robust security measures – work together to create a stable, high-performing development environment. Getting the basics right during initial setup saves countless hours of troubleshooting later.
Regular monitoring and maintenance keep your ADK Visual Builder environment running smoothly over time. Focus on tracking resource usage, implementing automated backups, and staying current with security updates. Start with a well-planned deployment strategy, test your configuration thoroughly, and document your setup process. This approach ensures your development team can work efficiently while maintaining the security and performance standards your projects demand.