

Deploying a FastAPI application to production can feel overwhelming when you’re juggling multiple cloud services, containerization, and infrastructure automation. This comprehensive guide walks you through the complete FastAPI Kubernetes deployment process, showing you how to deploy FastAPI to AWS EKS using Terraform for infrastructure management and GitHub Actions for seamless CI/CD automation.
This tutorial is designed for Python developers, DevOps engineers, and cloud enthusiasts who want to move beyond local development and create a robust, scalable production environment for their FastAPI applications. You’ll learn practical skills that translate directly to real-world projects and enterprise deployments.
We’ll start by setting up your development environment and containerizing your FastAPI application with Docker, then dive into creating AWS EKS Terraform infrastructure that’s both secure and cost-effective. You’ll also master building a GitHub Actions CI/CD pipeline that automatically handles testing, building, and deployment whenever you push code changes. By the end, you’ll have a production-ready FastAPI application running on Kubernetes with proper monitoring and optimization strategies in place.
Set Up Your Development Environment for FastAPI and Kubernetes

Install Docker and configure container runtime
Docker serves as your containerization foundation for FastAPI Kubernetes deployment. Download Docker Desktop from the official website and complete the installation process. After installation, verify Docker functionality by running docker --version in your terminal. Configure Docker to allocate sufficient memory and CPU resources for building FastAPI containers. Enable Kubernetes in Docker Desktop settings if you plan to test locally before deploying to AWS EKS.
Set up kubectl and verify Kubernetes CLI functionality
kubectl acts as your primary interface for managing Kubernetes clusters and FastAPI deployments. Install kubectl using your package manager or download the binary directly from Kubernetes releases. For macOS users, run brew install kubectl, while Linux users can use curl -LO to download the latest stable release. Verify installation with kubectl version --client and ensure the command returns version information successfully.
Configure AWS CLI with proper credentials and permissions
AWS CLI configuration is essential for FastAPI Terraform AWS infrastructure management. Install the AWS CLI using pip with pip install awscli or download the installer from AWS documentation. Run aws configure to input your access key ID, secret access key, default region, and output format. Your IAM user needs permissions for EKS cluster creation, EC2 instance management, and VPC configuration. Test connectivity with aws sts get-caller-identity to confirm proper authentication.
Install Terraform and initialize your workspace
Terraform enables infrastructure-as-code for your AWS EKS Terraform infrastructure setup. Download Terraform from HashiCorp’s official website or use package managers like Homebrew on macOS with brew install terraform. Create a dedicated directory for your Terraform configuration files and run terraform init to initialize the workspace. This command downloads necessary provider plugins for AWS and prepares your environment for FastAPI production deployment infrastructure creation.
Build and Containerize Your FastAPI Application

Create a production-ready FastAPI application structure
Organize your FastAPI project with a clear directory structure that separates concerns and supports scalability. Create dedicated folders for app/ containing your main application, models/ for data structures, routers/ for API endpoints, and config/ for environment settings. Include a requirements.txt file with pinned dependencies and separate development dependencies in requirements-dev.txt. Add proper logging configuration, exception handlers, and middleware for CORS and security headers. This structured approach makes FastAPI Kubernetes deployment more manageable and maintainable in production environments.
Write an optimized Dockerfile for minimal image size
Start with a lightweight Python base image like python:3.11-slim to reduce image size for FastAPI containerization Docker workflows. Use multi-stage builds to separate dependency installation from runtime, copying only necessary files to the final image. Install system dependencies in a single RUN command to minimize layers, then install Python packages using pip install --no-cache-dir to avoid storing package cache. Set appropriate user permissions with a non-root user and configure the working directory structure. Pin your base image versions and use .dockerignore to exclude unnecessary files, resulting in smaller images that deploy faster to AWS EKS.
Configure health checks and environment variables
Implement comprehensive health checks by creating /health and /ready endpoints in your FastAPI application that verify database connections and external service availability. Configure Docker health checks in your Dockerfile using HEALTHCHECK instructions that call these endpoints regularly. Use environment variables for all configuration values including database URLs, API keys, and feature flags. Create a config.py file using Pydantic settings management to handle environment variable validation and type conversion. Set default values for development while ensuring production variables are explicitly defined, supporting seamless transitions between local development and Kubernetes environments.
Test your containerized application locally
Build your Docker image locally and run comprehensive tests to validate your FastAPI containerization before deploying to AWS EKS. Use docker build with appropriate tags and test the container using docker run with environment variables and port mappings. Verify health endpoints respond correctly and application functionality works as expected. Run integration tests against the containerized application using tools like pytest to ensure database connections and external API calls function properly. Test resource limits and performance under load using tools like hey or ab. This local validation prevents deployment issues and ensures your FastAPI Kubernetes deployment will succeed in production environments.
Create Terraform Infrastructure for AWS EKS

Define VPC and networking components for your cluster
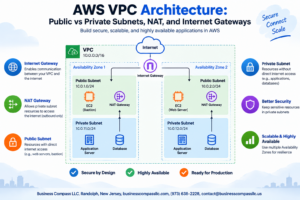
Setting up proper AWS EKS Terraform infrastructure starts with creating a robust VPC foundation. Your VPC should span at least two availability zones with both public and private subnets to ensure high availability. Public subnets handle load balancer traffic and NAT gateways, while private subnets host your worker nodes for enhanced security. Configure route tables to direct traffic appropriately, with private subnets routing internet traffic through NAT gateways in public subnets. Enable DNS hostname resolution and DNS support for your VPC to ensure proper service discovery within the cluster.
Configure EKS cluster with proper node groups
Create your EKS cluster resource with the latest Kubernetes version and specify your VPC configuration. Configure managed node groups with appropriate instance types based on your FastAPI application requirements – t3.medium or t3.large instances work well for most workloads. Set up auto-scaling groups with minimum, maximum, and desired capacity values to handle traffic fluctuations efficiently. Enable cluster logging for audit, API, authenticator, controller manager, and scheduler components. Configure the cluster endpoint access as private or public based on your security requirements, with private access recommended for production environments.
Set up IAM roles and security policies
Create dedicated IAM roles for your EKS cluster and worker nodes with proper AWS managed policies attached. The cluster service role needs AmazonEKSClusterPolicy, while node groups require AmazonEKSWorkerNodePolicy, AmazonEKS_CNI_Policy, and AmazonEC2ContainerRegistryReadOnly policies. Set up additional IAM roles for service accounts (IRSA) to enable your FastAPI pods to access other AWS services securely. Configure security groups that allow necessary traffic between cluster components while maintaining the principle of least privilege. Create custom policies for ECR access and any additional AWS services your FastAPI application uses.
Create ECR repository for container image storage
Establish an Amazon ECR repository to store your FastAPI Docker images securely within your AWS account. Configure lifecycle policies to automatically clean up old image versions, keeping costs manageable while retaining recent builds. Set up repository permissions to allow your GitHub Actions workflow to push images and your EKS cluster to pull them. Enable image scanning to identify security vulnerabilities in your container images before deployment. Create multiple repositories if you’re deploying microservices or want to separate environments, ensuring proper tagging strategies for development, staging, and production images.
Configure Kubernetes Deployment Manifests

Write deployment YAML with resource limits and replicas
Creating effective Kubernetes deployment manifests for FastAPI applications requires careful consideration of resource allocation and scaling. Your deployment YAML should specify CPU and memory limits to prevent resource contention, typically starting with 100m CPU and 128Mi memory for small FastAPI services. Configure replica counts based on expected traffic, using at least 2 replicas for high availability.
apiVersion: apps/v1
kind: Deployment
metadata:
  name: fastapi-app
  labels:
    app: fastapi-app
spec:
  replicas: 3
  selector:
    matchLabels:
      app: fastapi-app
  template:
    metadata:
      labels:
        app: fastapi-app
    spec:
      containers:
      - name: fastapi-container
        image: your-registry/fastapi-app:latest
        ports:
        - containerPort: 8000
        resources:
          requests:
            cpu: 100m
            memory: 128Mi
          limits:
            cpu: 500m
            memory: 512Mi
        livenessProbe:
          httpGet:
            path: /health
            port: 8000
          initialDelaySeconds: 30
          periodSeconds: 10
        readinessProbe:
          httpGet:
            path: /ready
            port: 8000
          initialDelaySeconds: 5
          periodSeconds: 5
Create service configuration for load balancing
Service configuration acts as a stable network endpoint for your FastAPI pods, distributing incoming traffic across healthy replicas. Use ClusterIP for internal communication or LoadBalancer for external access through AWS ELB integration.
apiVersion: v1
kind: Service
metadata:
  name: fastapi-service
  annotations:
    service.beta.kubernetes.io/aws-load-balancer-type: "nlb"
spec:
  selector:
    app: fastapi-app
  ports:
  - protocol: TCP
    port: 80
    targetPort: 8000
  type: LoadBalancer
Set up ingress controller for external access
Ingress controllers provide sophisticated routing capabilities and SSL termination for your FastAPI Kubernetes deployment. AWS Load Balancer Controller offers native integration with EKS, enabling automatic provisioning of Application Load Balancers with advanced features like path-based routing and host-based routing.
apiVersion: networking.k8s.io/v1
kind: Ingress
metadata:
  name: fastapi-ingress
  annotations:
    kubernetes.io/ingress.class: alb
    alb.ingress.kubernetes.io/scheme: internet-facing
    alb.ingress.kubernetes.io/target-type: ip
    alb.ingress.kubernetes.io/ssl-redirect: '443'
    cert-manager.io/cluster-issuer: letsencrypt-prod
spec:
  tls:
  - hosts:
    - api.yourdomain.com
    secretName: fastapi-tls
  rules:
  - host: api.yourdomain.com
    http:
      paths:
      - path: /
        pathType: Prefix
        backend:
          service:
            name: fastapi-service
            port:
              number: 80
Configure ConfigMaps and Secrets management
ConfigMaps store non-sensitive configuration data, while Secrets handle sensitive information like database credentials and API keys. Separate your FastAPI application configuration from container images to enable environment-specific deployments without rebuilding containers.
apiVersion: v1
kind: ConfigMap
metadata:
  name: fastapi-config
data:
  DATABASE_URL: "postgresql://user:pass@db:5432/mydb"
  REDIS_URL: "redis://redis:6379/0"
  LOG_LEVEL: "INFO"
---
apiVersion: v1
kind: Secret
metadata:
  name: fastapi-secrets
type: Opaque
data:
  JWT_SECRET: <base64-encoded-secret>
  API_KEY: <base64-encoded-key>
Reference these configurations in your deployment:
spec:
  containers:
  - name: fastapi-container
    envFrom:
    - configMapRef:
        name: fastapi-config
    - secretRef:
        name: fastapi-secrets
External secrets management with AWS Secrets Manager provides additional security layers, automatically rotating credentials and integrating with your EKS cluster through service accounts and IAM roles.
Implement GitHub Actions CI/CD Pipeline
Create workflow for automated testing and building
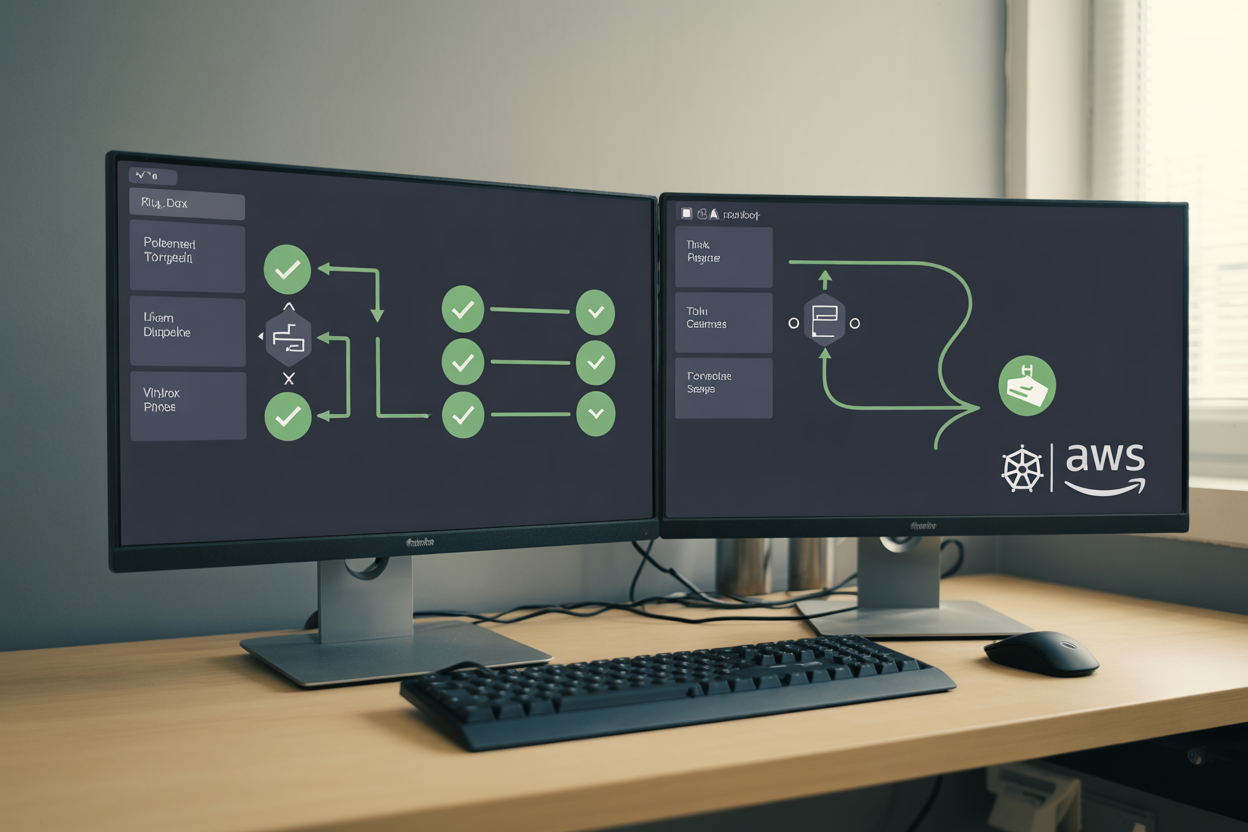
Your GitHub Actions workflow starts with setting up automated testing for your FastAPI application. Create .github/workflows/deploy.yml to define your CI/CD pipeline FastAPI Kubernetes process. The workflow triggers on push events to main branch and pull requests. Set up Python environment, install dependencies, and run pytest for comprehensive testing. Include linting with flake8 and security scanning to maintain code quality before deployment.
Set up Docker image building and pushing to ECR
Configure your workflow to build Docker images and push them to Amazon ECR repository. Add AWS credentials as GitHub secrets including AWS_ACCESS_KEY_ID and AWS_SECRET_ACCESS_KEY. Use the official AWS CLI action to authenticate with ECR and build your FastAPI containerization Docker image. Tag images with commit SHA for version tracking and push to your ECR repository. This step ensures your FastAPI Kubernetes deployment has access to the latest application builds.
Configure deployment automation to EKS cluster
Automate your Deploy FastAPI to AWS EKS process by adding deployment steps to your workflow. Install kubectl and configure it to connect to your EKS cluster using AWS credentials. Update your Kubernetes deployment manifests with the new image tag and apply changes using kubectl apply. Include health checks to verify successful deployment and rollback capabilities for failed deployments. This completes your FastAPI production deployment AWS pipeline with full automation from code commit to live application.
Monitor and Optimize Your Production Deployment

Set up logging and monitoring with CloudWatch
AWS CloudWatch seamlessly integrates with your EKS cluster to provide comprehensive monitoring for your FastAPI production deployment. Configure the CloudWatch Container Insights add-on in your Terraform configuration to automatically collect cluster-level metrics, pod performance data, and application logs. Install the AWS Load Balancer Controller and configure log forwarding using Fluent Bit or CloudWatch Logs agent to capture your FastAPI application logs. Set up custom metrics dashboards to track API response times, error rates, and throughput. Create CloudWatch alarms for critical thresholds like CPU usage above 80%, memory consumption, and failed health checks to receive instant notifications when issues arise.
Configure autoscaling for pods and nodes
Horizontal Pod Autoscaler (HPA) automatically scales your FastAPI pods based on CPU, memory, or custom metrics like request rate. Create HPA configurations targeting 70% CPU utilization to maintain optimal performance during traffic spikes. Implement Vertical Pod Autoscaler (VPA) to right-size container resource requests and limits based on actual usage patterns. Configure Cluster Autoscaler in your EKS node groups to automatically add or remove worker nodes when pod scheduling fails due to insufficient resources. Set minimum and maximum node counts to balance cost and availability. Use mixed instance types and spot instances in your node groups to reduce infrastructure costs while maintaining reliability for your Kubernetes FastAPI tutorial implementation.
Implement rolling updates and rollback strategies
Kubernetes deployment manifests FastAPI configurations should include rolling update strategies with proper readiness and liveness probes. Set maxUnavailable to 25% and maxSurge to 1 to ensure zero-downtime deployments while maintaining service availability. Configure readiness probes to check your FastAPI health endpoints before routing traffic to new pods. Implement blue-green deployments using services and ingress controllers for critical production releases. Use kubectl rollout status and kubectl rollout history commands to track deployment progress and maintain version history. Create rollback procedures using kubectl rollout undo for quick recovery from failed deployments. Tag container images with semantic versioning to enable precise rollback targeting.
Optimize costs and resource utilization
Monitor your AWS EKS Terraform infrastructure costs using AWS Cost Explorer and set up budget alerts for unexpected spending increases. Right-size your pod resource requests and limits based on actual usage metrics from CloudWatch Container Insights. Implement pod disruption budgets to safely drain nodes during scheduled maintenance while maintaining application availability. Use AWS Spot Instances for non-critical workloads to reduce compute costs by up to 70%. Configure resource quotas and limit ranges to prevent resource overconsumption and ensure fair resource distribution across namespaces. Schedule non-production workloads during off-peak hours using CronJobs and consider using AWS Fargate for specific workloads to eliminate node management overhead.

Getting your FastAPI application running on AWS EKS doesn’t have to be overwhelming. We’ve walked through setting up your development environment, containerizing your app, building AWS infrastructure with Terraform, creating Kubernetes manifests, and automating everything with GitHub Actions. Each step builds on the previous one, creating a solid foundation for production-ready deployments.
The beauty of this setup is how everything works together. Your code gets automatically tested, built, and deployed every time you push changes. Terraform keeps your infrastructure consistent and reproducible, while Kubernetes handles scaling and reliability. Don’t forget to keep an eye on your monitoring dashboards and continuously optimize based on what you see in production. Start with the basics, get comfortable with the workflow, and gradually add more advanced features as your application grows.