

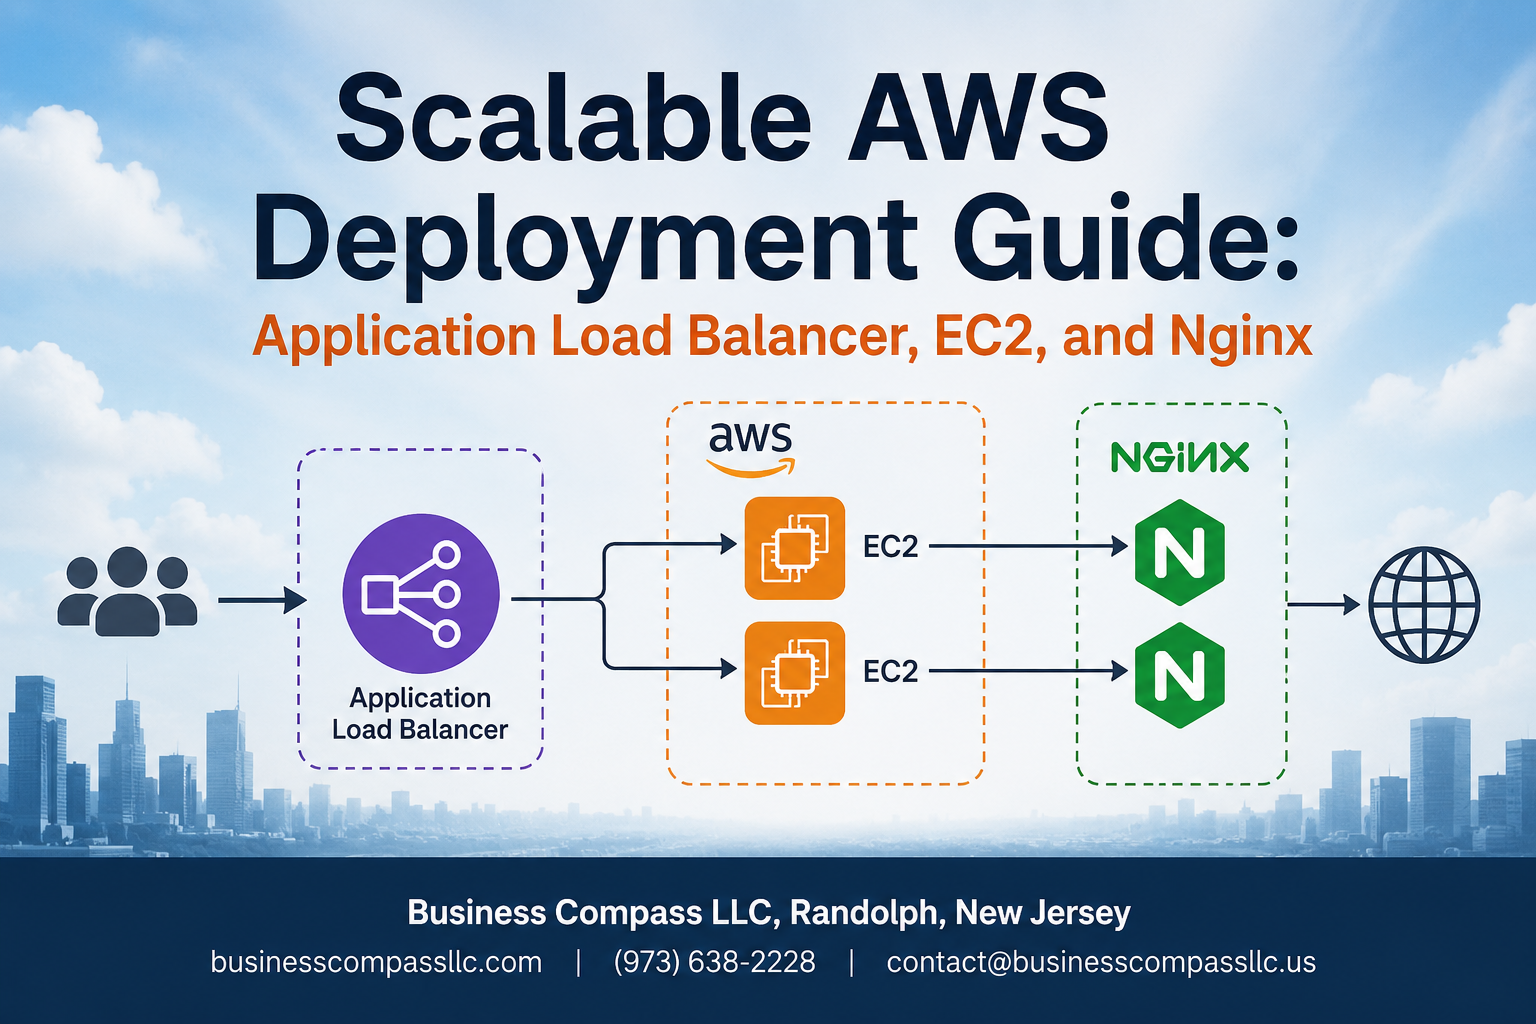
Building a scalable AWS deployment can feel overwhelming when you’re juggling multiple services and configurations. This AWS deployment guide walks you through creating a robust, scalable AWS architecture using Application Load Balancer, EC2 instances, and Nginx to handle traffic spikes without breaking a sweat.
This tutorial is designed for DevOps engineers, system administrators, and developers who need to deploy production-ready applications on AWS. You’ll get hands-on experience with EC2 instance configuration, load balancer implementation, and AWS security best practices.
We’ll cover the essential AWS infrastructure foundation setup, showing you how to configure your network and security groups from scratch. You’ll also learn Nginx performance tuning techniques that can handle thousands of concurrent connections, plus AWS auto scaling setup to automatically adjust your resources based on demand. By the end, you’ll have a high-availability system that scales efficiently and stays secure.
AWS Infrastructure Foundation Setup

Configure VPC with public and private subnets
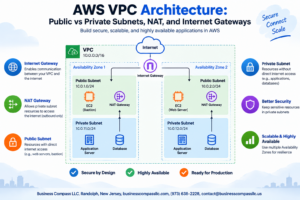
Setting up a Virtual Private Cloud forms the backbone of your scalable AWS architecture. Create a VPC with CIDR block 10.0.0.0/16 to provide ample IP address space. Design public subnets (10.0.1.0/24, 10.0.2.0/24) across multiple availability zones for load balancers and NAT gateways. Configure private subnets (10.0.3.0/24, 10.0.4.0/24) for EC2 instances to enhance security. Attach an internet gateway to enable public subnet connectivity and configure route tables to direct traffic appropriately. This multi-tier architecture ensures proper network segmentation and supports high availability deployment patterns.
Set up security groups for optimal traffic control
Security groups act as virtual firewalls controlling inbound and outbound traffic to your AWS resources. Create a load balancer security group allowing HTTP (port 80) and HTTPS (port 443) from anywhere (0.0.0.0/0). Design an application security group permitting traffic only from the load balancer security group on your application ports. Establish a database security group accepting connections exclusively from the application tier on port 3306 or 5432. Configure an SSH security group restricting access to specific IP addresses on port 22. Apply the principle of least privilege by opening only necessary ports and sources for each tier.
Create IAM roles and policies for secure access
IAM roles provide secure, temporary credentials for AWS services without embedding long-term access keys. Create an EC2 role with policies granting CloudWatch logs access, Systems Manager permissions, and S3 bucket read access for application assets. Attach the AmazonSSMManagedInstanceCore policy to enable Systems Manager Session Manager for secure shell access. Design custom policies following the principle of least privilege, granting only required permissions for your specific use case. Configure trust relationships allowing EC2 service to assume these roles. This approach eliminates the need for hardcoded credentials and enhances security posture.
Establish key pairs for EC2 instance authentication
Key pairs provide secure SSH access to your EC2 instances using public-key cryptography. Generate a new key pair through the AWS console or CLI, downloading the private key file (.pem) immediately as it’s only available once. Store the private key securely with restricted permissions (chmod 400) on your local machine. Associate the key pair with EC2 instances during launch to enable SSH connectivity. Consider creating separate key pairs for different environments (development, staging, production) to maintain proper access controls. Use AWS Systems Manager Session Manager as an alternative for keyless access when enhanced security is required.
EC2 Instance Configuration and Optimization

Select Appropriate Instance Types for Your Workload
Choosing the right EC2 instance type directly impacts your application’s performance and costs. General-purpose t3.medium instances work well for lightweight applications, while compute-optimized c5.large instances handle CPU-intensive tasks better. Memory-optimized r5 instances excel for databases and caching layers. Always match your workload requirements to instance specifications rather than defaulting to popular choices.
Launch Instances Across Multiple Availability Zones
Distributing your EC2 instances across different availability zones creates a resilient architecture that survives single-zone failures. Launch at least two instances in separate AZs within the same region to maintain service continuity. This setup works seamlessly with Application Load Balancers, which automatically route traffic away from unhealthy instances. Configure identical instances in each zone to ensure consistent performance and simplified management.
Configure Storage Options for High Performance
EBS storage configuration significantly affects your application’s responsiveness and reliability. GP3 volumes offer the best balance of cost and performance for most workloads, providing baseline IOPS with the ability to scale independently. For database servers, consider io2 volumes with provisioned IOPS for predictable performance. Enable EBS optimization on your instances and configure appropriate volume sizes based on your IOPS requirements rather than just storage capacity.
Implement Monitoring and Logging Solutions
CloudWatch provides essential metrics for EC2 instance configuration monitoring, tracking CPU utilization, memory usage, and disk performance. Install the CloudWatch agent to collect detailed system-level metrics and application logs. Set up custom dashboards to visualize key performance indicators and configure alarms for critical thresholds. Enable VPC Flow Logs to monitor network traffic patterns and security events across your infrastructure.
Set Up Automated Backup Strategies
AWS Backup simplifies protecting your EC2 instances and EBS volumes with automated, scheduled snapshots. Create backup plans that align with your recovery time objectives, scheduling daily snapshots with appropriate retention periods. Tag your resources properly to ensure backup policies apply correctly. Test your backup restoration process regularly to verify data integrity and recovery procedures work as expected during actual emergencies.
Nginx Installation and Performance Tuning

Install and Configure Nginx on EC2 Instances
Begin by updating your EC2 instance packages using sudo apt update && sudo apt upgrade -y. Install Nginx with sudo apt install nginx -y and enable it to start automatically using sudo systemctl enable nginx. Verify the installation by checking the service status with sudo systemctl status nginx. Configure the firewall to allow HTTP and HTTPS traffic through ports 80 and 443. Edit the main configuration file at /etc/nginx/nginx.conf to optimize worker processes and connections based on your instance size. Set worker_processes auto and adjust worker_connections to match your expected traffic load. Create a backup of the default configuration before making changes to ensure quick recovery if needed.
Optimize Server Blocks for Multiple Applications
Create individual server block files in /etc/nginx/sites-available/ for each application you plan to host. Each server block should define specific listen directives, server names, and root directories. Use descriptive filenames like app1.conf or api.conf to maintain organization. Configure location blocks within each server block to handle different URL patterns and proxy requests to backend services running on different ports. Enable gzip compression by adding gzip on; and specify file types to compress for faster content delivery. Set appropriate cache headers for static assets like images, CSS, and JavaScript files. Create symbolic links in /etc/nginx/sites-enabled/ to activate your server blocks and test configurations using sudo nginx -t before reloading.
Enable SSL/TLS Certificates for Secure Connections
Install Certbot using sudo apt install certbot python3-certbot-nginx to obtain free SSL certificates from Let’s Encrypt. Generate certificates for your domains by running sudo certbot --nginx -d yourdomain.com -d www.yourdomain.com. Certbot automatically modifies your Nginx server blocks to include SSL configuration and redirect HTTP traffic to HTTPS. Verify certificate installation by checking the SSL configuration in your server blocks, looking for listen 443 ssl directives and certificate file paths. Set up automatic certificate renewal by adding a cron job with sudo crontab -e and including the line 0 12 * * * /usr/bin/certbot renew --quiet. Test the renewal process manually using sudo certbot renew --dry-run to ensure certificates will update before expiration. Configure strong SSL protocols and cipher suites in your Nginx configuration for enhanced security.
Application Load Balancer Implementation
Create and Configure ALB with Target Groups
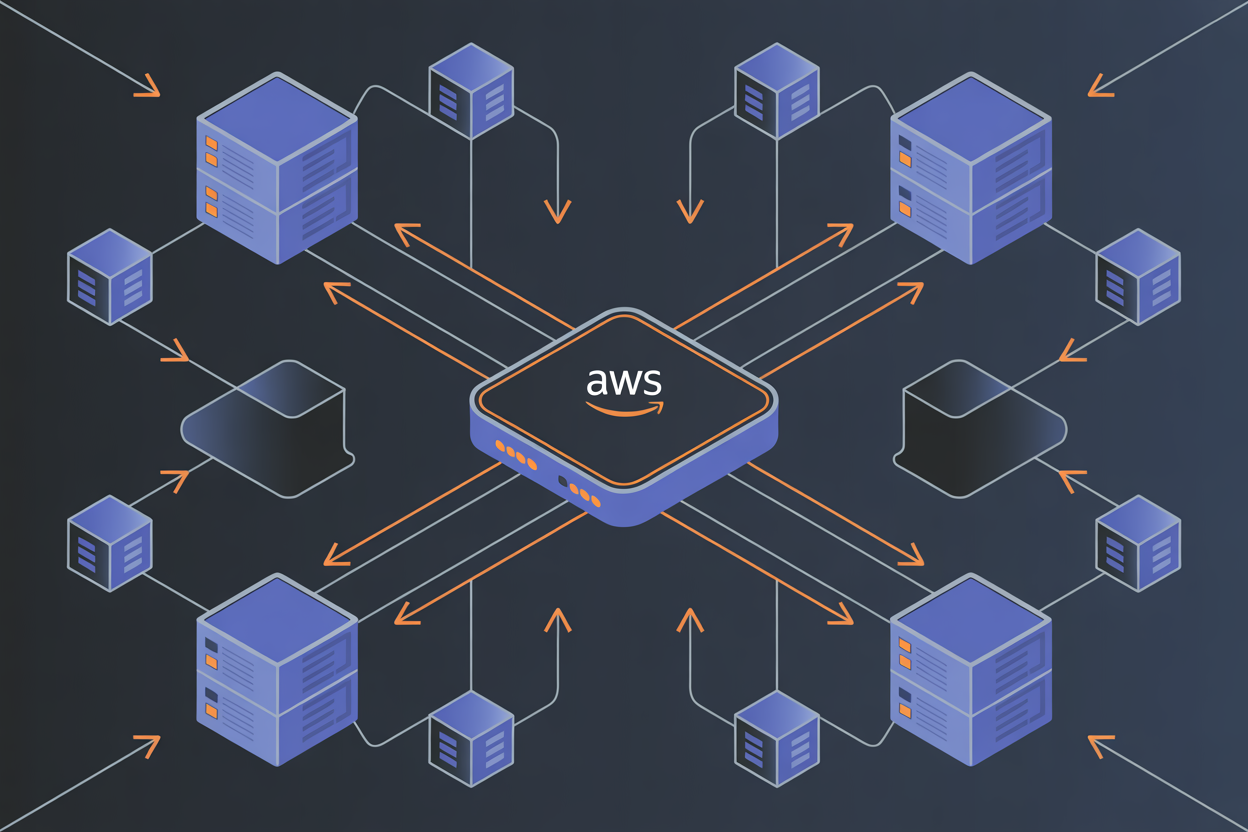
Start by creating your Application Load Balancer through the AWS console. Navigate to EC2 service, select Load Balancers, and choose Application Load Balancer. Pick your VPC and select multiple availability zones for redundancy. Configure security groups to allow HTTP/HTTPS traffic on ports 80 and 443. Create target groups that will contain your EC2 instances – these groups act as logical containers for routing traffic to healthy instances.
Set Up Health Checks for Automatic Failover
Configure health checks to monitor your instances and ensure traffic only reaches healthy servers. Set the health check path to a lightweight endpoint like /health or /status on your application. Adjust the timeout to 5 seconds, interval to 30 seconds, and healthy threshold to 2 consecutive successful checks. The unhealthy threshold should be 3 failed checks. These settings provide quick failover while preventing false positives during temporary load spikes.
Configure Routing Rules for Traffic Distribution
Create listener rules to control how the ALB distributes incoming requests. Set up host-based routing to direct different domains to specific target groups. Path-based routing works great for microservices – route /api/* to your backend servers and /static/* to content servers. Weight-based routing lets you gradually shift traffic between different versions during deployments. Configure HTTPS listeners with SSL certificates from AWS Certificate Manager for secure connections.
Enable Sticky Sessions for Stateful Applications
Activate session affinity when your application stores user data in server memory rather than external databases. Enable sticky sessions at the target group level using application-generated cookies or load balancer cookies. Application cookies give you more control over session duration, while load balancer cookies are simpler to implement. Set appropriate cookie duration – typically 1-24 hours depending on your application needs. Remember that sticky sessions can impact load distribution, so use them only when absolutely necessary.
Auto Scaling and High Availability Setup

Create launch templates for consistent deployments
Launch templates serve as blueprints for your EC2 instances, ensuring every new server in your AWS auto scaling setup maintains identical configurations. Start by creating a template that includes your AMI ID, instance type, security groups, and user data scripts for automatic Nginx installation. This approach eliminates configuration drift and reduces deployment errors across your scalable AWS architecture.
Configure instance metadata options, monitoring settings, and EBS volume specifications within your template. Include your custom security groups that allow traffic from the Application Load Balancer while restricting unauthorized access. Tag your template with environment and application identifiers to maintain organized resource management across multiple deployments.
Configure Auto Scaling groups with scaling policies
Auto Scaling groups automatically adjust your EC2 capacity based on demand, making them essential for AWS high availability. Create your group with minimum, maximum, and desired capacity values that align with your application’s performance requirements. Distribute instances across multiple Availability Zones to prevent single points of failure.
Set up target tracking scaling policies that monitor CPU utilization, network traffic, or custom application metrics. Configure scale-out policies to add instances when demand increases and scale-in policies to remove unnecessary capacity during low-traffic periods. This dynamic approach optimizes costs while maintaining performance.
Define health check grace periods and replacement policies to handle instance failures gracefully. Use ELB health checks instead of EC2-only checks for more accurate application health monitoring.
Set up CloudWatch alarms for automated scaling
CloudWatch alarms trigger your scaling actions based on real-time metrics from your AWS infrastructure. Create alarms for CPU utilization thresholds, typically scaling out at 70% and scaling in at 30% utilization. Configure network-based alarms for applications with heavy I/O requirements.
Establish custom metrics for application-specific monitoring, such as response times or queue lengths. Set up composite alarms that combine multiple metrics for more sophisticated scaling decisions. This prevents unnecessary scaling triggered by brief traffic spikes.
Configure alarm actions to send notifications through SNS topics, allowing your team to monitor scaling events. Set reasonable evaluation periods to avoid thrashing between scale-out and scale-in operations.
Test failover scenarios and disaster recovery
Regular testing validates your AWS deployment guide implementation and identifies potential weaknesses before they impact users. Simulate instance failures by terminating random EC2 instances and verifying that your Auto Scaling group replaces them automatically. Monitor how quickly your Application Load Balancer removes unhealthy instances from rotation.
Test Availability Zone failures by shutting down all instances in one zone. Your multi-AZ deployment should continue serving traffic without interruption. Validate that new instances launch in healthy zones and receive traffic appropriately.
Create chaos engineering scenarios that stress-test your entire system. Use tools like AWS Fault Injection Simulator to introduce controlled failures and measure recovery times. Document these procedures and run them quarterly to maintain confidence in your disaster recovery capabilities.
Verify backup and restore procedures for your application data and configuration. Practice complete environment rebuilds using your launch templates and Auto Scaling configurations to ensure business continuity during major outages.
Security Hardening and Best Practices

Implement Web Application Firewall protection
AWS WAF shields your application from common web exploits and malicious traffic patterns. Set up rate limiting rules to prevent DDoS attacks, create IP whitelisting for trusted sources, and configure SQL injection protection. Deploy custom rules that block suspicious user agents and geographic restrictions based on your application’s requirements.
Configure SSL termination at load balancer level
Application Load Balancer handles SSL/TLS termination, reducing computational overhead on your EC2 instances. Upload your SSL certificate to AWS Certificate Manager for automatic renewal and seamless integration. Configure listeners on port 443 with HTTPS protocol, redirect HTTP traffic to HTTPS, and enable perfect forward secrecy for enhanced security.
Set up VPC flow logs for network monitoring
VPC flow logs capture detailed network traffic information for security analysis and troubleshooting. Enable flow logs at VPC, subnet, or network interface level, storing data in CloudWatch Logs or S3. Monitor rejected connections, analyze traffic patterns for anomaly detection, and create automated alerts for suspicious activities using CloudWatch alarms and Lambda functions.
Performance Monitoring and Cost Optimization

Implement comprehensive CloudWatch metrics
Setting up CloudWatch metrics for your AWS deployment gives you deep visibility into system performance. Configure custom metrics for your EC2 instances, tracking CPU utilization, memory usage, disk I/O, and network throughput. Monitor your Application Load Balancer’s request count, latency, and error rates to identify bottlenecks before they impact users. Create dashboards that display real-time data across all components of your infrastructure, making it easy to spot trends and performance degradation patterns.
Set up automated alerts for system health
CloudWatch alarms keep your scalable AWS architecture running smoothly by notifying you when thresholds are breached. Configure alerts for high CPU usage on EC2 instances, elevated response times from your load balancer, and memory consumption spikes. Set up SNS topics to send notifications via email, SMS, or integrate with tools like Slack for immediate team awareness. Create escalating alert policies that trigger auto scaling actions or failover procedures when critical metrics exceed acceptable limits.
Optimize costs through reserved instances and spot pricing
Cost optimization becomes crucial as your AWS infrastructure scales. Reserved instances offer significant savings for predictable workloads – purchase one-year or three-year commitments for your baseline EC2 capacity. Implement spot instances for non-critical processing tasks, achieving up to 90% cost reduction compared to on-demand pricing. Use AWS Cost Explorer to analyze spending patterns and identify optimization opportunities. Configure lifecycle policies for EBS volumes and implement intelligent tiering for S3 storage to reduce long-term costs.
Configure log aggregation and analysis tools
Centralized logging provides comprehensive insights into your application’s behavior and performance. Set up CloudWatch Logs to collect system logs, application logs, and access logs from your Nginx servers and EC2 instances. Implement log streaming to tools like ElasticSearch or Splunk for advanced analysis and searching capabilities. Create log-based metrics to track custom application events and errors. Configure log retention policies to balance compliance requirements with storage costs, automatically archiving older logs to more cost-effective storage tiers.

Building a scalable AWS infrastructure doesn’t have to be overwhelming when you break it down into manageable steps. You’ve learned how to set up a solid foundation with EC2 instances, configure Nginx for optimal performance, and implement an Application Load Balancer to distribute traffic effectively. The combination of auto scaling groups and proper security hardening creates a robust system that can handle traffic spikes while keeping your applications secure and costs under control.
The real power comes from bringing all these components together into a cohesive system. Your monitoring setup will help you catch issues before they impact users, while cost optimization ensures you’re not overspending on resources you don’t need. Start with the basics, test each component thoroughly, and gradually add complexity as your application grows. Remember that AWS gives you the flexibility to scale up or down based on demand, so you can build exactly what your users need without breaking the bank.