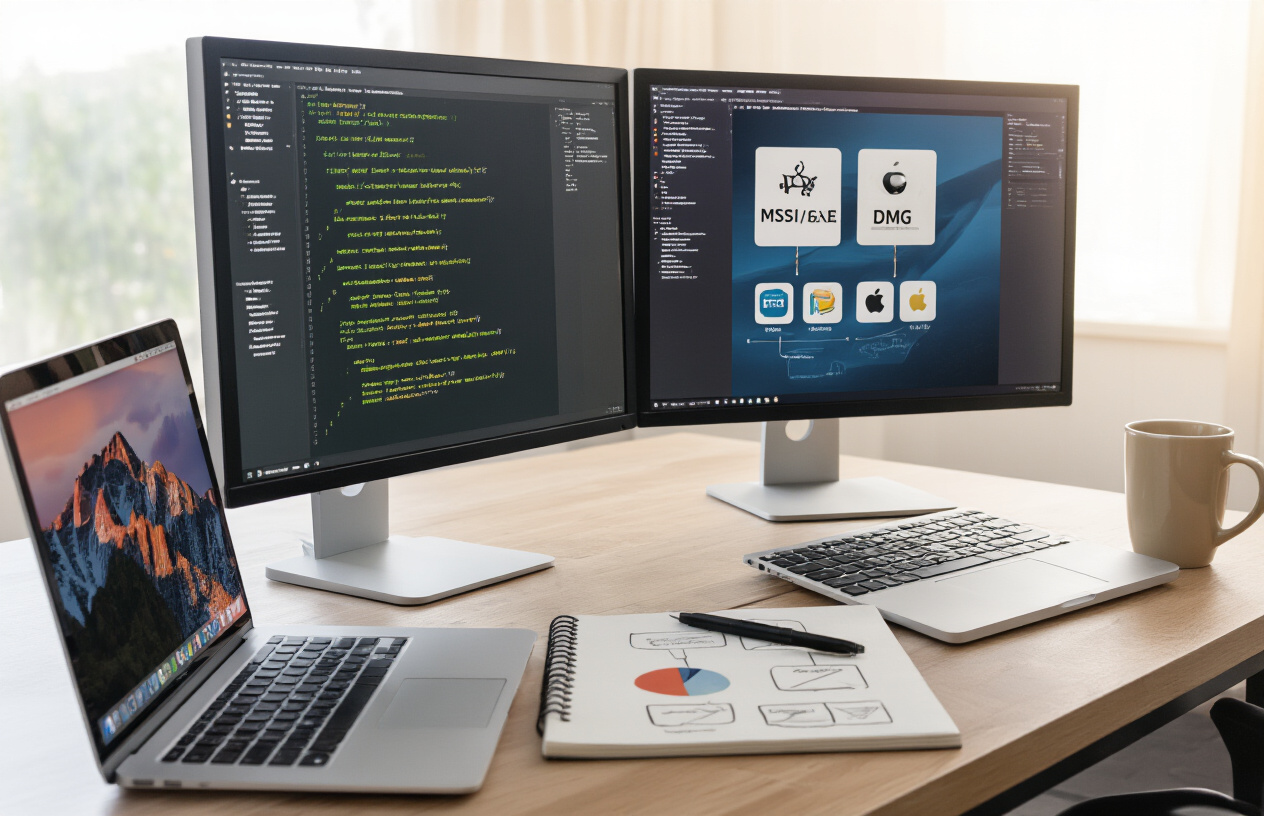
Want to distribute your Java application to Windows and Mac users with professional, native installers? This guide shows Java developers how to package their applications into platform-specific installers that give end users a seamless installation experience. We’ll walk through essential packaging tools and techniques, show you how to create Windows MSI/EXE installers, and explain the process for building Mac DMG packages that meet modern distribution requirements.
Understanding Java Packaging for Different Platforms
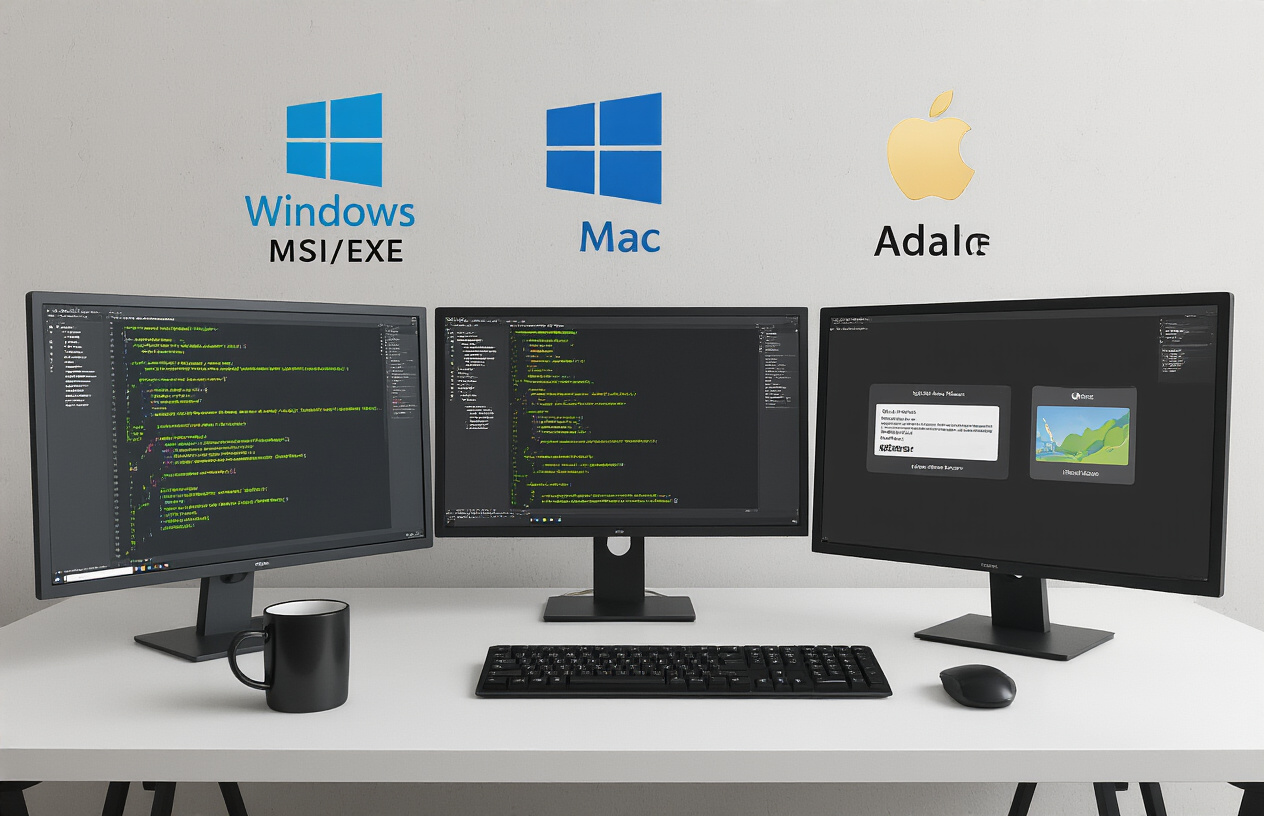
Key differences between Windows and Mac packaging requirements
Packaging Java apps for Windows versus Mac isn’t just about different file extensions. Windows users expect MSI or EXE installers that integrate with their familiar “Programs and Features” control panel. Mac users want DMG files that follow the drag-and-drop installation pattern they’re used to.
Windows installers typically need:
- Registry entries for proper system integration
- Start menu shortcuts
- Uninstaller functionality
- Windows-specific file associations
Mac packages require:
- Code signing and notarization (Apple’s security requirements)
- Application bundling in the .app format
- Proper file permissions and ownership
- Integration with macOS services
The permission models differ drastically too. Windows uses ACLs while macOS follows Unix-style permissions, affecting how your app accesses system resources.
Overview of installer formats: MSI, EXE, and DMG
MSI (Microsoft Installer)
MSI files are Microsoft’s enterprise-friendly installation packages. They’re database-driven and designed for corporate deployments. System admins love them because they support silent installation and centralized management.
EXE Installers
EXE installers are more flexible than MSIs. They’re self-contained executables that can include custom branding, animations, and installation logic. Most are built using tools like Inno Setup or NSIS.
DMG (Disk Image)
DMG files are Apple’s disk image format. They’re not installers per se, but containers that mount as virtual drives. The typical DMG shows a beautifully designed window with your app icon and an Applications folder shortcut. Users simply drag the app to install it.
Preparation steps before packaging your Java application
Before diving into packaging tools, get these ducks in a row:
- Test thoroughly on target platforms – what works on your dev machine might break elsewhere
- Prepare your resources:
- Icons (ICO for Windows, ICNS for Mac)
- License agreements
- Splash screens
- Installer artwork
- Configure Java runtime options:
- Decide between bundling a JRE or requiring users to install Java
- Set memory parameters and system properties
- Configure logging
- Organize your dependencies:
- Bundle all required JAR files
- Include native libraries (.dll for Windows, .dylib for Mac)
- Ensure path structures work cross-platform
- Create launcher scripts that handle platform-specific quirks like file paths
The packaging process is much smoother when you’ve prepared these elements beforehand rather than trying to patch them in later.
Setting Up Your Java Application for Cross-Platform Compatibility

Creating a platform-independent Java codebase
Ever wondered why Java’s slogan was “write once, run anywhere”? That’s the dream we’re chasing here. Building truly platform-independent code starts with embracing Java’s cross-platform nature.
Stick to core Java libraries when possible. They’re already optimized for cross-platform use. When you need to access the file system, use java.nio.file instead of hardcoded file paths with backslashes or forward slashes.
// Don't do this
String filePath = "C:\\Users\\data.txt";  // Windows-only

// Do this instead
Path filePath = Paths.get(System.getProperty("user.home"), "data.txt");
Avoid assuming directory structures or drive letters. User home directories are in different locations on Windows and Mac. Use system properties to dynamically find these locations.
Managing dependencies effectively
Dependencies can make or break your cross-platform dreams. Always check if your libraries work on all target platforms before committing to them.
Maven or Gradle? Both work great, but Gradle gives you more flexibility for complex builds. Here’s how your build file might handle platform detection:
if (org.gradle.internal.os.OperatingSystem.current().isWindows()) {
    // Windows-specific configuration
} else if (org.gradle.internal.os.OperatingSystem.current().isMacOsX()) {
    // Mac-specific configuration
}
Package your dependencies in a fat JAR using plugins like Maven Shade or Gradle Shadow. This bundles everything your app needs in one file.
Testing your application across operating systems
No amount of careful coding replaces actual testing. Set up a testing matrix with all target platforms:
| Platform | JDK Version | Testing Frequency |
|---|---|---|
| Windows 10/11 | 11, 17 | Every build |
| macOS | 11, 17 | Every build |
| Linux | 11, 17 | Weekly |
Automate these tests with CI/CD pipelines. GitHub Actions and Azure DevOps both support multi-platform testing workflows.
The fastest way to catch platform-specific bugs? Let real users test your app on different systems before release.
Handling platform-specific features
Sometimes you need platform-specific features like Windows registry access or macOS menu bar integration. The trick is isolating this code.
Use the factory pattern:
interface NotificationService {
    void showNotification(String message);
}

class WindowsNotificationService implements NotificationService {
    // Windows-specific implementation
}

class MacNotificationService implements NotificationService {
    // macOS-specific implementation
}

// Factory decides which to use at runtime
NotificationService service = NotificationFactory.getForCurrentPlatform();
For native code integration, JNI or JNA libraries work well but require separate builds for each platform. Bundle these native libraries alongside your JAR, and load the right one at runtime.
Tools and Frameworks for Java Application Packaging

A. Popular packaging solutions comparison (Wix, Launch4j, jpackage)
Turning your Java app into a neat installer package that users can double-click? Yeah, there are several ways to get there.
| Tool | Platform Support | Learning Curve | Features | Best For |
|---|---|---|---|---|
| WiX | Windows only | Steep | XML-based, highly customizable, MSI creation | Complex Windows installers with custom requirements |
| Launch4j | Windows | Moderate | Java to EXE wrapper, lightweight, splash screens | Simple Windows executables without installation |
| jpackage | Cross-platform | Moderate | Native to Java 14+, creates platform-specific packages | Modern Java projects needing native installers |
JPackage is the new kid on the block, bundled directly with JDK 14 and above. No third-party tools needed—just your JDK. It creates MSI/EXE for Windows and DMG for Mac in one go.
Launch4j has been around forever. It’s straightforward for basic Windows EXEs but won’t give you a full installer experience.
WiX is powerful but demands XML knowledge and time investment. The resulting MSI installers are professional-grade, but you’ll spend days getting there.
B. Open-source vs. commercial packaging tools
The packaging world splits into two camps: free tools that might require some elbow grease, and paid solutions that smooth out the wrinkles.
Open-source options like jpackage and Launch4j cost nothing but your time. They’re perfectly capable but expect to troubleshoot occasional issues yourself.
Commercial tools like Install4j and Advanced Installer come with fancy GUIs, tech support, and extensive documentation. You’re essentially paying for convenience and reliability.
Here’s the real talk: for most Java devs, open-source tools are more than enough. The commercial route makes sense when you need professional-looking installers for enterprise customers or when deployment complexity justifies the expense.
C. Selecting the right tool for your project needs
Picking the right packaging tool isn’t a one-size-fits-all situation. Ask yourself:
- Platform requirements – Need both Windows and Mac? JPackage is your friend. Windows-only? WiX or Launch4j might be better.
- Installation complexity – Simple executable or complete installation with desktop shortcuts, start menu entries, and registry keys?
- Update mechanism – Some tools handle automatic updates better than others.
- Team expertise – No point choosing WiX if nobody on your team speaks XML fluently.
- Budget constraints – Commercial tools cost money but save time.
The smartest approach? Start with jpackage for most modern Java applications. It’s built into the JDK, works cross-platform, and handles the basics well. Only look elsewhere when you hit its limitations.
If your app targets enterprise environments with strict installation requirements, WiX or a commercial solution might be worth the investment.
Building Windows Installers for Your Java Application
Creating MSI packages with WiX Toolset
WiX Toolset is your go-to solution when you need professional-grade MSI installers for your Java applications. Unlike simpler packaging tools, WiX gives you complete control over every aspect of your installation process.
First, download the WiX Toolset from their website and install it. You’ll be working with XML files to define your installer’s behavior:
<Wix xmlns="http://schemas.microsoft.com/wix/2006/wi">
  <Product Id="*" Name="MyJavaApp" Version="1.0.0" Manufacturer="Your Company">
    <!-- Components and directories defined here -->
  </Product>
</Wix>
The learning curve might seem steep at first, but the payoff is worth it. WiX handles everything from file copying to registry modifications.
Build your MSI with these commands:
candle MyInstaller.wxs
light MyInstaller.wixobj
Generating EXE installers with Launch4j
Want an EXE wrapper around your JAR? Launch4j makes this super simple.
The tool provides both a GUI and XML configuration options. Here’s a basic config:
<launch4jConfig>
  <headerType>gui</headerType>
  <jar>C:\path\to\your\app.jar</jar>
  <outfile>C:\path\to\output\app.exe</outfile>
  <jre>
    <minVersion>11.0.0</minVersion>
  </jre>
</launch4jConfig>
One major advantage: Launch4j can check for Java installations and guide users through downloading the right version if needed.
Adding custom branding and icons
Nobody wants a generic-looking installer. Both WiX and Launch4j support custom branding.
For icons, prepare a .ico file (Windows standard) with multiple resolutions:
- 16×16 pixels
- 32×32 pixels
- 48×48 pixels
- 256×256 pixels
In Launch4j, add your icon like this:
<icon>C:\path\to\your\app.ico</icon>
For WiX, you’ll include:
<Icon Id="AppIcon.ico" SourceFile="path\to\icon.ico"/>
<Property Id="ARPPRODUCTICON" Value="AppIcon.ico" />
Custom banner images make your installer look professional. In WiX, use the WixUIExtension library and customize the dialog backgrounds with your brand colors.
Including JRE bundling options
Packaging a JRE with your application eliminates the “Java not found” headache for users. You have several approaches:
- Full JRE bundle – Include the entire JRE (larger installer size)
- Custom JRE – Use jlink to create a trimmed-down JRE with only the modules you need
- Runtime detection – Check for an existing compatible JRE before downloading one
In WiX, you’ll need to add the JRE files as components in your package. With Launch4j, configure the JRE options:
<jre>
  <path>jre</path>
  <bundledJreAsFallback>true</bundledJreAsFallback>
  <minVersion>11.0.0</minVersion>
</jre>
Configuring shortcuts and registry settings
Desktop and Start Menu shortcuts make your app accessible. In WiX:
<Shortcut Id="ApplicationStartMenuShortcut"
          Name="My Java App"
          Description="Launch My Java Application"
          Target="[INSTALLDIR]MyApp.exe"
          WorkingDirectory="INSTALLDIR"/>
Registry settings help with file associations and app configuration:
<RegistryKey Root="HKLM" Key="Software\MyCompany\MyApp">
  <RegistryValue Type="string" Name="InstallDir" Value="[INSTALLDIR]"/>
  <RegistryValue Type="integer" Name="Version" Value="1"/>
</RegistryKey>
For file associations, register your app to open specific file types:
<ProgId Id="MyApp.myextension">
  <Extension Id="myext" ContentType="application/x-myapp">
    <Verb Id="open" Command="Open" TargetFile="MyAppEXE" Argument='"%1"'/>
  </Extension>
</ProgId>
These registry tweaks make your Java app feel truly native on Windows.
Creating Mac DMG Installers
Understanding macOS packaging requirements
Mac users expect polished, native-feeling applications. Creating a proper DMG installer isn’t just nice-to-have—it’s practically mandatory if you want your Java app taken seriously on macOS.
Apple has specific requirements for distributable applications. Your app needs to be bundled as a .app package with the correct structure, and for distribution outside the App Store, a DMG (Disk Image) file is the standard approach.
The biggest hurdle? Mac users expect to simply drag your app to their Applications folder. No complex installation wizards or confusing multi-step processes.
Building DMG files with jpackage
Creating a DMG with jpackage is surprisingly straightforward:
jpackage --name MyApp \
  --input target/lib \
  --main-jar myapp.jar \
  --main-class com.example.Main \
  --type dmg \
  --mac-package-name "My Application" \
  --app-version 1.0 \
  --icon src/main/resources/icon.icns
Notice the --type dmg parameter—that’s what tells jpackage to create a macOS disk image. You’ll also need an .icns icon file (not a PNG or JPG).
Want a custom background for your DMG? You’ll need to add this option:
--resource-dir src/main/resources/dmg-resources
Signing your Mac application for distribution
Unsigned apps trigger scary warnings on macOS. To avoid this, you need an Apple Developer certificate:
jpackage --mac-sign \
  --mac-signing-key-user-name "Developer ID Application: Your Name (TEAMID)" \
  [other options]
The certificate costs $99/year through the Apple Developer Program, but it’s worth it to avoid your users seeing “unidentified developer” warnings.
For serious distribution, you should also notarize your app with Apple’s servers. This involves uploading your app to Apple for verification:
xcrun altool --notarize-app --primary-bundle-id "com.example.myapp" --username "apple@example.com" --password "@keychain:Developer-altool" --file MyApp.dmg
Handling macOS security features and permissions
Modern macOS is strict about security. Your app needs to declare what system resources it needs access to.
Add these to your jpackage command:
--mac-package-identifier "com.example.myapp" \
--mac-entitlements src/main/resources/entitlements.plist
The entitlements.plist file should specify permissions like:
<key>com.apple.security.cs.allow-jit</key>
<true/>
<key>com.apple.security.cs.allow-unsigned-executable-memory</key>
<true/>
Don’t forget that macOS Gatekeeper will block apps trying to access sensitive resources without permission. Your app needs to properly request access to:
- Camera
- Microphone
- File system (outside its sandbox)
- Network connections
Make sure to test thoroughly on different macOS versions—Catalina, Big Sur, and Monterey all have slightly different security behaviors.
Automating the Build and Package Process
Setting up continuous integration for multi-platform builds
Building installers for multiple platforms is tedious when done manually. Setting up CI pipelines saves countless hours and prevents those “it works on my machine” moments.
GitHub Actions shines for cross-platform builds. Here’s a basic workflow setup:
name: Build Installers
on: [push, pull_request]
jobs:
  windows:
    runs-on: windows-latest
    steps:
      - uses: actions/checkout@v3
      - uses: actions/setup-java@v3
        with:
          java-version: '17'
      - run: ./gradlew createWindowsInstaller

  mac:
    runs-on: macos-latest
    steps:
      - uses: actions/checkout@v3
      - uses: actions/setup-java@v3
        with:
          java-version: '17'
      - run: ./gradlew createMacDmg
Jenkins and Azure DevOps work great too, especially if you need more complex build environments.
Creating build scripts for consistent packaging
Never rely on memory for packaging steps. Create scripts that anyone can run:
#!/bin/bash
# build-all.sh
./gradlew clean build
jpackage --input build/libs \
  --main-jar myapp.jar \
  --main-class com.example.MainClass \
  --type dmg \
  --name "My Application" \
  --app-version "1.0.0"
For Gradle users, custom tasks make this even cleaner:
task createWindowsMsi(type: Exec) {
    dependsOn build
    commandLine 'jpackage', '--input', 'build/libs', '--main-jar', 'myapp.jar'
    // additional options
}
Managing version control in your installer packages
Version numbers should never be hardcoded in multiple places. Pull them from a single source:
// In build.gradle
version = '1.2.3'

task createInstallers {
    doLast {
        exec {
            commandLine 'jpackage', '--app-version', project.version
            // other options
        }
    }
}
For automation, semantic versioning makes life simpler:
- 1.0.0 for initial release
- 1.0.1 for bug fixes
- 1.1.0 for new features
- 2.0.0 for breaking changes
Parallel building for multiple platforms
Why wait for Windows to finish before Mac starts? Build them simultaneously.
Gradle’s parallel execution:
./gradlew createWindowsMsi createMacDmg --parallel
In CI systems, run jobs concurrently:
strategy:
  matrix:
    platform: [windows-latest, macos-latest]
runs-on: ${{ matrix.platform }}
Pro tip: If building on a single machine, tools like Docker can simulate different OS environments, though you’ll still need actual Mac hardware for signing macOS packages.
Testing and Troubleshooting Your Installers
Common packaging issues and their solutions
Ever packaged your Java app perfectly, only to have it crash on your client’s machine? Been there.
Most packaging headaches come from missing dependencies. Your app works fine on your development machine because you have all the required libraries, but your packaged app fails elsewhere. Fix this by using --add-modules with jpackage to explicitly include what you need.
Path issues will drive you nuts too. Windows and Mac handle paths differently, so hardcoded file paths are a recipe for disaster. Always use relative paths or proper resource loading techniques.
// Don't do this
File config = new File("C:/MyApp/config.properties");

// Do this instead
File config = new File(System.getProperty("user.dir"), "config.properties");
Permission problems on Mac? That’s classic. Your DMG installer needs to request the right permissions during installation. Include proper entitlements in your Info.plist file.
Another common gotcha is version conflicts. If your app requires Java 11 features but tries to run on a Java 8 runtime, you’re toast. Bundle your own runtime with --runtime-image to avoid this entirely.
Testing installation processes on virtual machines
Virtual machines are your best friends for installer testing. They let you create pristine environments that match what your users will have.
Set up a testing matrix like this:
| OS Version | Java Pre-installed? | Admin Rights? | Expected Result |
|---|---|---|---|
| Windows 10 | No | Yes | Success |
| Windows 11 | Yes (Java 8) | No | Warn & Continue |
| macOS Monterey | No | Yes | Success |
| macOS Ventura | Yes (Java 17) | No | Success |
Take snapshots before each installation test. This lets you quickly roll back and retest without rebuilding your VM from scratch.
Don’t just test the happy path. Try installing:
- With insufficient disk space
- Without admin privileges
- On machines with older Java versions
- With antivirus running (a surprising number of installers get flagged!)
User acceptance testing strategies
Technical testing only gets you halfway there. Your installer needs to make sense to actual humans.
Recruit testers who match your target users. If you’re building enterprise software, get people from that industry, not just your developer friends.
Create scenario-based tests:
- “Install the application without reading any instructions”
- “Upgrade from the previous version while preserving settings”
- “Uninstall and then reinstall the application”
Watch silently while testers work. The moment you explain something, you’ve identified a UX failure.
Record these sessions (with permission). You’ll catch issues you’d never notice in logs or crash reports.
Gathering and implementing user feedback
Feedback is gold, but you need to mine it properly.
Build feedback channels directly into your installer. A simple “How was your installation experience?” form with a 1-5 rating and an optional comment box works wonders.
For production deployments, implement telemetry that tracks:
- Installation time
- Success/failure rate
- Most common error codes
- Cancellation points
But numbers only tell half the story. Schedule follow-up calls with users who had problems. Ask open questions like “Walk me through what happened” rather than “Did you see error 0x8007007e?”
When implementing changes based on feedback, prioritize:
- Issues that prevent installation completion
- Confusing UI elements mentioned by multiple users
- Performance improvements (nobody likes a slow installer)
- Nice-to-have feature requests
Test each fix thoroughly before releasing. Nothing’s worse than fixing one problem only to create two more.

Packaging your Java application for different operating systems is a critical step that makes your software accessible to a wider audience. By following the steps outlined in this guide, you can successfully transform your Java code into professional Windows MSI/EXE and Mac DMG installers that provide a seamless installation experience for your users. The right tools, proper configuration, and automated build processes will save you time and ensure consistency across platforms.
Remember that thorough testing is essential before releasing your packaged application. Take the time to verify your installers on each target platform and address any issues that arise during testing. With these packaging skills in your toolkit, you can deliver your Java applications to users worldwide with confidence, regardless of their operating system preference.


