


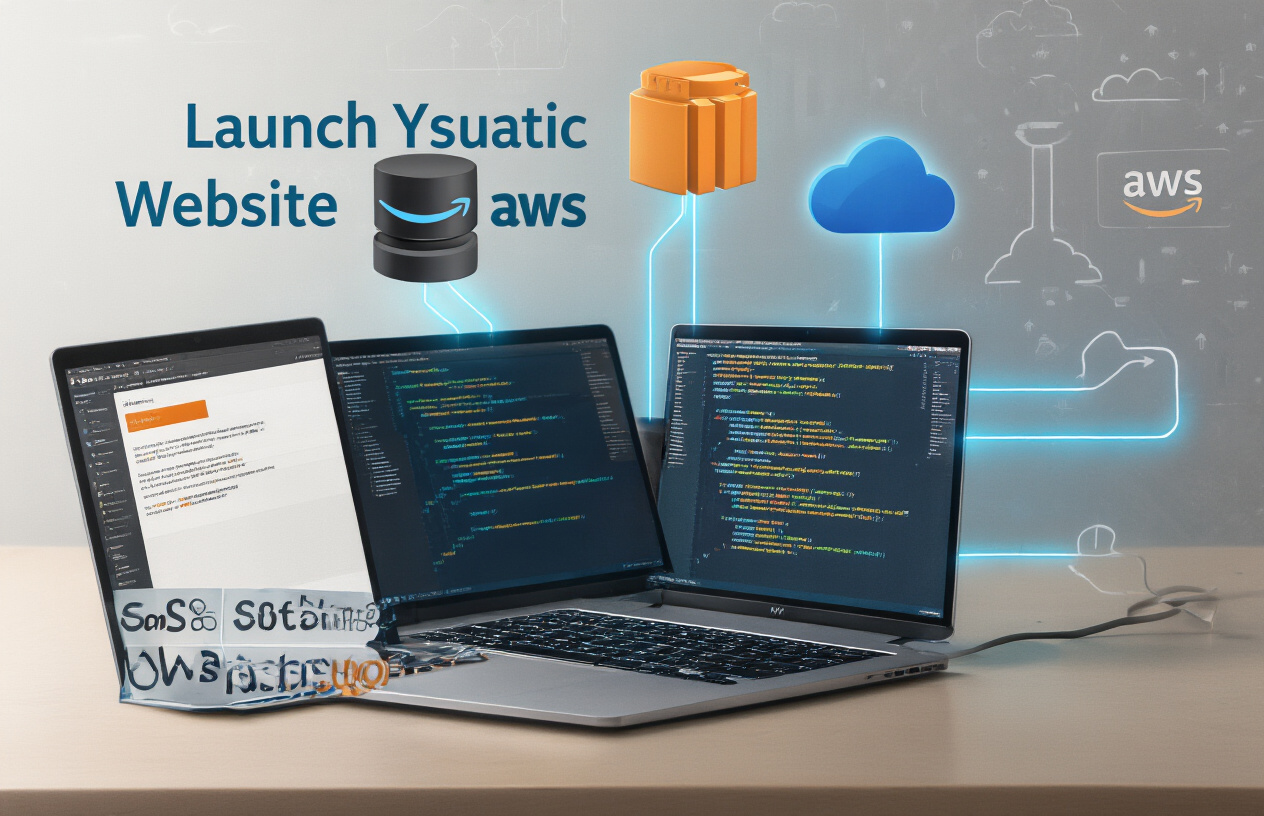
Looking to build and host your first website without the complexity of databases or server management? This guide is perfect for beginners, small business owners, and developers who want a simple, cost-effective hosting solution. I’ll walk you through setting up a static website using AWS S3 storage and CloudFront’s content delivery network. You’ll learn how to prepare and upload your website files to S3, configure CloudFront for faster global delivery, and connect your custom domain name. By the end, you’ll have a secure, scalable website that loads quickly for visitors worldwide—all while keeping your hosting costs minimal.
Understanding Static Websites and AWS Services
Benefits of static websites for beginners
Static websites are perfect when you’re just starting out. Why? They’re simple. No databases to worry about, no server-side code to debug, just plain HTML, CSS, and maybe some JavaScript.
You create your files locally, test them in your browser, and boom—they’re ready to upload. No need to learn PHP, Ruby, or whatever backend language everyone’s talking about this week.
Plus, static sites are blazing fast. There’s nothing to process on the server side, so pages load instantly. Your visitors won’t bounce because they got tired of watching a spinner.
Security? That’s another win. With no server-side processing or database, there are way fewer vulnerabilities for hackers to exploit. No SQL injections, no remote code execution—just your content, safe and sound.
Overview of Amazon S3 for storage
S3 (Simple Storage Service) is exactly what it sounds like—dead simple storage in the cloud. Think of it as a super-powered Dropbox that can serve your website files directly to visitors.
S3 works with “buckets” which are basically folders in the cloud. You create a bucket, upload your website files, set a few permissions, and you’re hosting a website. No servers to provision, no SSH keys to manage.
The best part? S3 is virtually unlimited. Your site could get a million visitors tomorrow, and S3 wouldn’t break a sweat. It scales automatically with your traffic.
How CloudFront enhances website performance
CloudFront is Amazon’s content delivery network (CDN), and it’s like giving your website superpowers.
Here’s how it works: Instead of all your visitors hitting your S3 bucket directly, CloudFront copies your files to data centers all around the world. When someone visits your site, they’re served from the location closest to them.
Someone in Tokyo? They get your site from a server in Asia. Visitor from Berlin? They’re served from Europe. This dramatically cuts load times because the physical distance data travels is much shorter.
CloudFront also adds a layer of caching, which means even fewer requests hit your actual storage. This makes your site feel lightning-fast to every visitor, no matter where they are.
Cost advantages of this serverless approach
The traditional way of hosting websites is expensive. You pay for a server 24/7, even when nobody’s visiting your site. With S3 and CloudFront, you only pay for what you use.
S3 charges pennies per gigabyte stored and transferred. For a typical small website, we’re talking maybe $1-2 per month—sometimes even less.
CloudFront adds a bit more cost but dramatically improves performance. For most beginners, the total bill might be under $5 monthly.
Compare that to traditional hosting:
| Hosting Type | Monthly Cost | Setup Complexity | Scaling |
|---|---|---|---|
| Traditional | $10-30+ | High | Manual |
| S3+CloudFront | $1-5 | Low | Automatic |
The serverless approach also means zero maintenance. No security patches, no server updates, no 3AM calls when something crashes. AWS handles all that for you.
Setting Up Your AWS Account
Creating an AWS account safely
Getting started with AWS doesn’t have to be intimidating. First, head over to aws.amazon.com and click that big “Create an AWS Account” button. You’ll need to provide your email, a password, and an AWS account name (usually your company or project name).
Here’s the important part many folks skip: use a dedicated email address for AWS—not your personal one. And please, for the love of all things secure, create a strong password. I’m talking random characters, numbers, symbols… the works.
When AWS asks for your credit card info, don’t panic. They need it to verify your identity, but they won’t charge you unless you exceed the Free Tier limits.
The final step is phone verification. AWS will call or text you with a code. Standard stuff, but crucial for security.
Understanding the Free Tier limitations
AWS Free Tier is awesome but has some sneaky boundaries. For our static website project, here’s what you get:
- 5GB of S3 storage (plenty for a small site)
- 50GB of data transfer out from CloudFront per month
- 2,000,000 HTTP/HTTPS requests per month
Keep in mind these limits reset monthly based on your signup date, not calendar months. Set up billing alerts (we’ll cover that next) because going over these limits feels like accidentally ordering the fancy wine at dinner—suddenly expensive.
Configuring basic security settings
Security first, always. As soon as your account is active:
- Enable multi-factor authentication (MFA) on your root account. This is non-negotiable.
- Create an IAM user with administrative permissions for daily use. Never use your root account except for billing changes.
- Set up AWS Budget alerts to notify you when you’re approaching 80% of Free Tier limits.
- Review and apply the AWS-recommended security settings from the Security Hub.
Don’t skip these steps thinking “I’ll do it later.” That’s how accounts get compromised or how you end up with surprise bills because some resource kept running in a forgotten region.
Preparing Your Website Files

A. Essential components of a static website
Building a static website isn’t rocket science, but you do need a few key ingredients to make it work. At minimum, you’ll need:
- An
index.htmlfile (your homepage) - CSS files for styling
- JavaScript files for interactivity (if needed)
- Images, fonts, and other assets
The beauty of static sites? No server-side code or databases to worry about. Everything runs right in the browser, making your site lightning-fast and super secure.
Here’s a simple folder structure that works for most projects:
my-website/
├── index.html
├── css/
│   └── styles.css
├── js/
│   └── main.js
└── images/
    └── logo.png
B. Creating responsive HTML/CSS layouts
Gone are the days when people only browsed on desktops. Your site needs to look good on everything from phones to tablets to ultrawide monitors.
Start with a mobile-first approach—design for the smallest screen first, then expand your layout for larger devices using media queries:
/* Base styles for mobile */
.container {
  width: 100%;
  padding: 15px;
}

/* Tablet and up */
@media (min-width: 768px) {
  .container {
    width: 750px;
    margin: 0 auto;
  }
}
CSS frameworks like Bootstrap or Tailwind can save you tons of time, but remember: they add extra code weight. For super simple sites, hand-coding your CSS might actually be lighter and faster.
C. Testing your site locally before deployment
Never, ever push untested code. Before uploading anything to AWS, test your site locally to catch issues early.
The simplest way? Double-click your index.html file to open it in a browser. But this method has limitations—some features won’t work properly due to browser security restrictions.
A better approach is using a local development server. If you have Node.js installed, you can use:
npx serve
This creates a local server that mimics how your site will behave when deployed. Test your site in multiple browsers and screen sizes to ensure everything works as expected.
D. Optimizing images and assets for faster loading
Bloated images are website killers. A single unoptimized photo can be larger than all your HTML, CSS, and JavaScript combined.
For images:
- Choose the right format (JPEG for photos, PNG for graphics with transparency, WebP for best compression)
- Resize images to the maximum size they’ll be displayed at
- Compress everything using tools like TinyPNG or ImageOptim
For other assets:
- Minify your CSS and JavaScript files
- Consider combining multiple CSS or JS files to reduce HTTP requests
- Use font subsets instead of loading entire font families
Remember, every 100ms of load time can impact conversion rates. A fast site isn’t just nice to have—it’s essential for keeping visitors engaged.
Deploying Your Website to Amazon S3
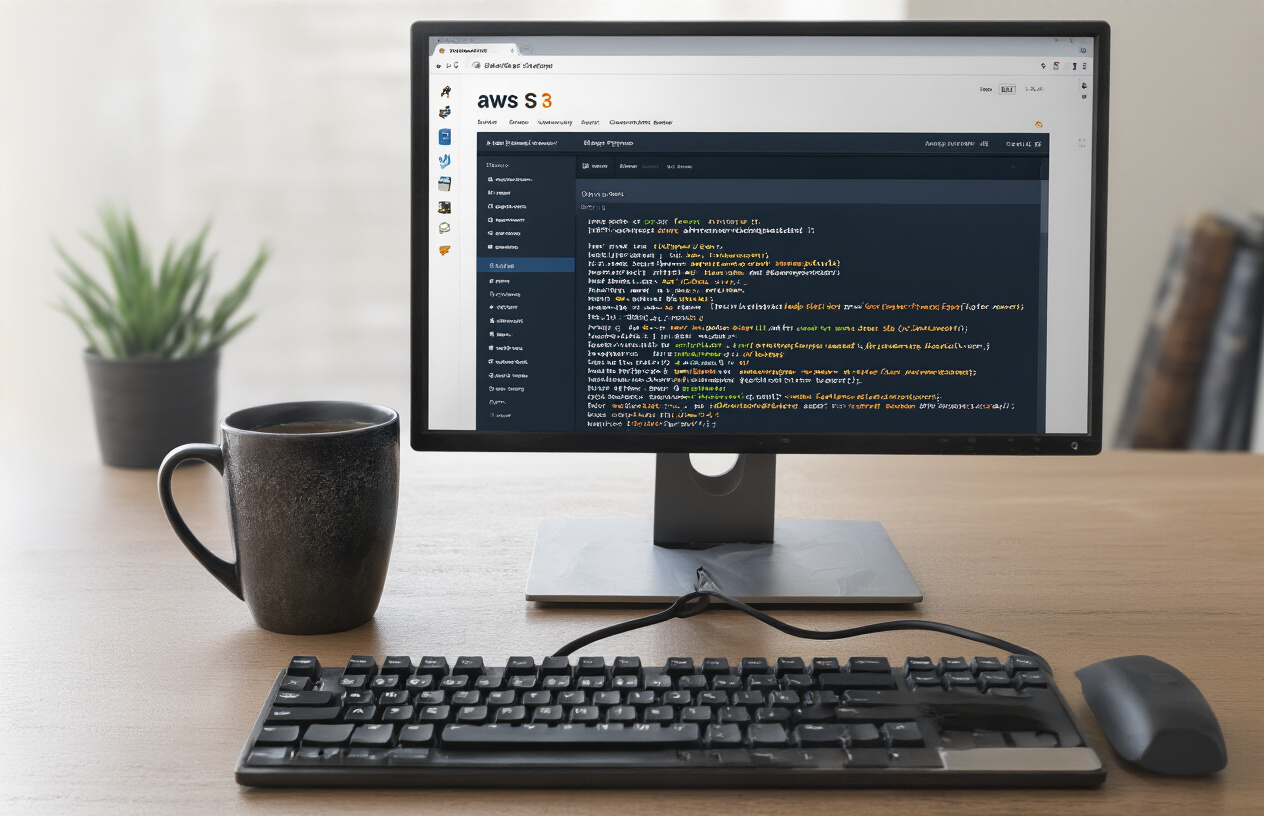
A. Creating and configuring an S3 bucket
Getting your site on S3 is actually pretty straightforward. First, head over to the AWS Management Console and find the S3 service. Click “Create bucket” and pick a unique name for your bucket. This name has to be globally unique across all of AWS, so get creative!
Choose the AWS region closest to your target audience for better performance. If most of your visitors are in Europe, pick an EU region. For the US audience, go with us-east-1 or us-west-2.
Leave the default settings for “Object Ownership” and “Block Public Access” for now (we’ll adjust permissions later). For the rest of the options, you can stick with the defaults and hit “Create bucket”.
B. Setting proper bucket permissions
Now for the critical part – your bucket needs the right permissions or nobody will see your site!
First, go to the “Permissions” tab of your new bucket and look for “Block public access”. Click “Edit” and uncheck “Block all public access”. Yes, AWS will show you a warning – that’s normal. Type “confirm” in the box and save changes.
Next, you need a bucket policy. Click on “Bucket policy” and paste in this policy (replace “your-bucket-name” with your actual bucket name):
{
    "Version": "2012-10-17",
    "Statement": [
        {
            "Sid": "PublicReadGetObject",
            "Effect": "Allow",
            "Principal": "*",
            "Action": "s3:GetObject",
            "Resource": "arn:aws:s3:::your-bucket-name/*"
        }
    ]
}
This allows anyone to read objects in your bucket – exactly what you need for a public website.
C. Uploading your website files
Time to get your files into the bucket. The simplest way is through the AWS console:
- Click the “Objects” tab
- Hit “Upload”
- Drag and drop your files or use the file browser
- Click “Upload”
Got a lot of files? The AWS CLI is your friend:
aws s3 sync ./your-local-website-folder s3://your-bucket-name
Make sure your main HTML file is named “index.html” since that’s what S3 will look for as your homepage.
D. Enabling static website hosting
Almost there! Now you need to tell S3 this bucket is a website:
- Go to the “Properties” tab
- Scroll down to “Static website hosting”
- Click “Edit”
- Select “Enable”
- For “Index document”, type “index.html”
- If you have a custom error page, add it as “Error document”
- Click “Save changes”
S3 will now give you a URL that looks something like http://your-bucket-name.s3-website-region.amazonaws.com. That’s your website address!
E. Testing your S3-hosted website
Open up that S3 website URL in your browser. You should see your site live on the internet! If things look broken, check:
- Did you upload all your files, including images and CSS?
- Are your file paths correct? Remember that S3 is case-sensitive.
- Did you properly configure public access and the bucket policy?
- Is your main page named “index.html”?
For advanced troubleshooting, check the “Network” tab in your browser’s developer tools. It’ll show you which resources are loading and which are failing.
And that’s it! Your static site is now live on S3. The next step would be setting up CloudFront to make it even faster and more secure.
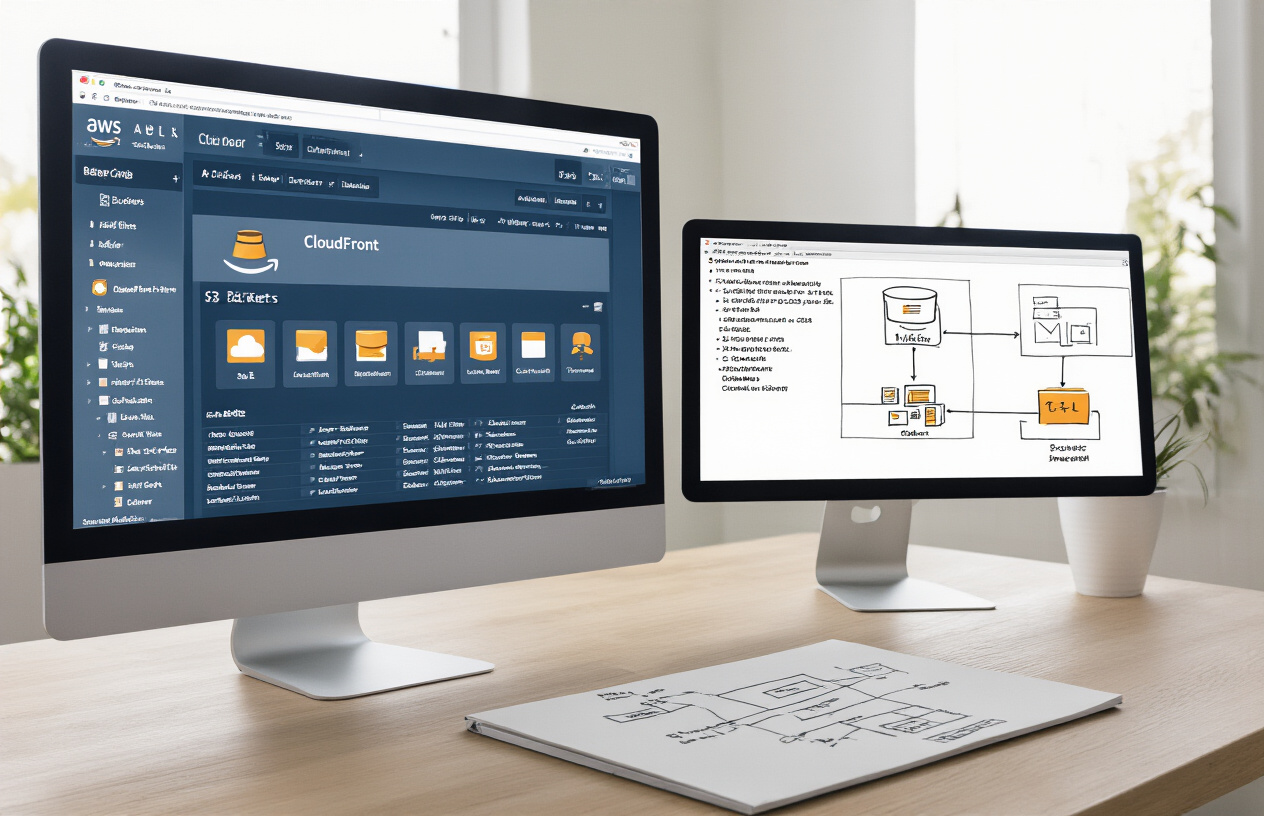
Setting Up CloudFront Distribution
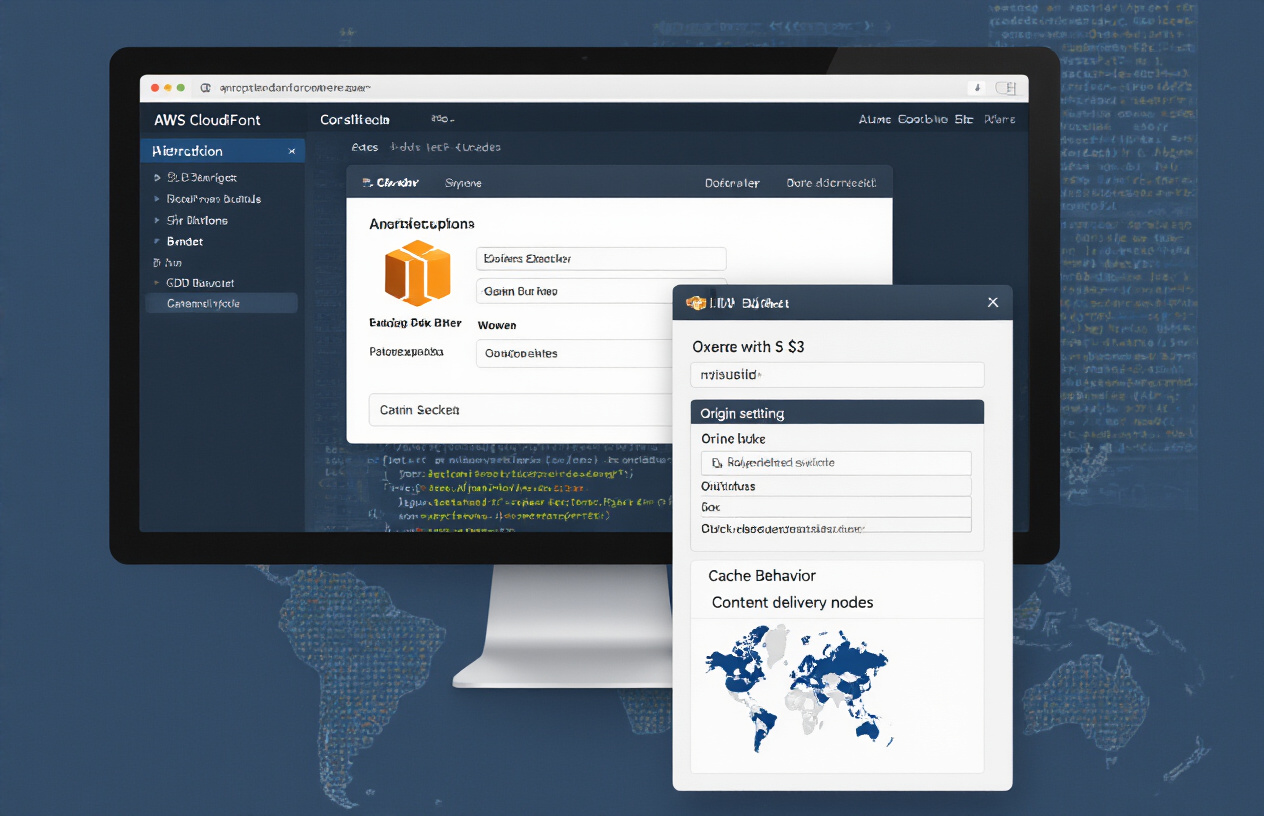
A. Creating a CloudFront distribution
Setting up CloudFront is easier than most people think. Head over to the CloudFront console and click “Create Distribution.” You’ll need to select the “Web” delivery method since we’re distributing website content.
The key part is selecting your S3 bucket as the “Origin Domain Name.” Don’t pick it from the dropdown (that’s a rookie mistake) – instead, use your bucket’s website endpoint which looks something like your-bucket-name.s3-website-us-east-1.amazonaws.com.
For Origin Path, leave it blank unless you’re hosting your files in a subfolder. Set the Origin ID to something memorable – you’ll reference this later.
B. Connecting CloudFront to your S3 bucket
CloudFront needs proper access to your S3 bucket. You’ve got two options here:
- Public bucket access (simpler)
- Origin Access Identity (more secure)
For beginners, public access works fine – just make sure your bucket policy allows public reads. For production sites, set up an Origin Access Identity so only CloudFront can access your content.
Under “Default Cache Behavior Settings,” make sure to:
- Allow GET, HEAD methods (and POST/PUT if needed)
- Set “Compress Objects Automatically” to Yes
- Forward query strings if your site needs them
C. Configuring caching behaviors
Caching is where CloudFront really shines. The default TTL (Time To Live) is 24 hours, which works for most static content. But you might want different rules for different content types.
For example:
- HTML files: shorter cache time (maybe 1 hour)
- Images/CSS/JS: longer cache time (1 week+)
You can set up these rules using Path Patterns:
/images/*: TTL 604800 seconds (1 week)
/css/*: TTL 604800 seconds
/*.html: TTL 3600 seconds (1 hour)
Don’t overthink this part when starting out. You can always update these settings later.
D. Setting up HTTPS with Certificate Manager
Nobody trusts sites without the padlock icon anymore. Luckily, AWS gives you free SSL certificates!
Jump over to AWS Certificate Manager (make sure you’re in the us-east-1 region) and request a new certificate. Enter your domain name (and any subdomains like www).
Choose DNS validation and follow the prompts to create CNAME records with your domain registrar. This proves you own the domain.
Back in CloudFront, under “Custom SSL Certificate,” select your newly created certificate. Set “Default Root Object” to your main page (usually index.html) and enable “IPv6.”
The last step is pointing your domain to CloudFront by creating a CNAME record with your domain provider that points to your CloudFront distribution URL. Give it about 15 minutes to propagate, and boom—your fast, secure site is ready!
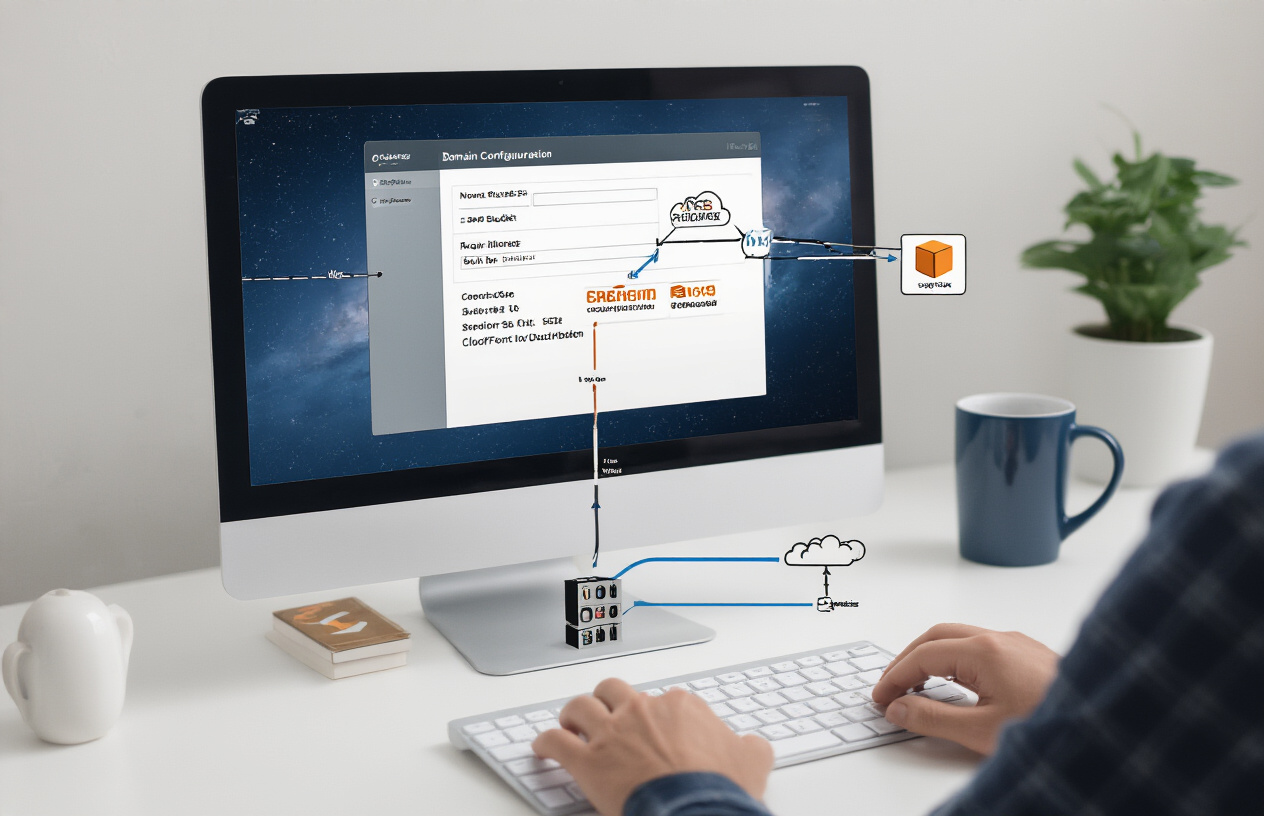
Domain Configuration and DNS Settings
A. Registering a custom domain (or using existing one)
Your static website deserves a proper name, not some random AWS URL. If you already have a domain, great! Skip ahead. If not, you’ll need to register one.
You can register through AWS Route 53 directly (keeps everything in one place) or use another registrar like Namecheap or GoDaddy. Prices vary from $10-$15 per year for common extensions like .com or .net.
When choosing a domain name:
- Keep it short and memorable
- Make it easy to spell
- Avoid hyphens if possible
- Check social media availability
AWS Route 53 makes registration simple – just search for availability, fill out contact info, and pay. The domain activates in minutes.
B. Configuring Route 53 for your domain
Route 53 is AWS’s DNS service – think of it as the phone book that tells browsers where to find your website.
To set up Route 53:
- Go to the Route 53 console
- Create a hosted zone for your domain
- If your domain is registered elsewhere, copy the NS (Name Server) records from Route 53 to your registrar
- Wait for DNS propagation (can take up to 48 hours, but usually just minutes)
Route 53 charges about $0.50 monthly for hosting your zone, plus small fees for queries.
C. Pointing your domain to CloudFront
Now for the final connection – linking your domain to your CloudFront distribution:
- In CloudFront, edit your distribution
- Add your domain name under “Alternate Domain Names”
- Set up an SSL certificate through AWS Certificate Manager (ACM) – it’s free!
- Back in Route 53, create an A record:
- Set “Alias” to Yes
- Select your CloudFront distribution as the target
Once DNS propagates, typing your domain in a browser should load your static site, served through CloudFront’s global CDN. Magic!
You might also want to create a www version of your domain with another record pointing to the same distribution.
Advanced Optimization Techniques
A. Implementing content compression
Want your website to load at lightning speed? Content compression is your secret weapon.
Gzip and Brotli compression can slash your file sizes by up to 70%. That’s huge! Setting this up in CloudFront is surprisingly simple.
First, go to your CloudFront distribution and select the “Behaviors” tab. Edit the default behavior and scroll down to the “Compress Objects Automatically” option. Toggle it to “Yes” and save changes.
That’s it! CloudFront will now automatically compress your HTML, CSS, JavaScript, and other text-based content before serving it to your users.
But here’s a pro tip: pre-compress your files before uploading them to S3. This gives you more control over the compression level and can yield even better results.
B. Setting up proper cache headers
Cache headers might sound boring, but they’re game-changers for performance.
When you set them correctly, returning visitors load your site almost instantly. Their browsers already have your assets stored locally!
To set cache headers on your S3 objects:
aws s3 cp your-file.jpg s3://your-bucket/ --cache-control "max-age=31536000, public"
This tells browsers to cache the file for one year. For content that changes frequently, use shorter times:
| Content Type | Recommended Cache Time |
|---|---|
| HTML | 3600 seconds (1 hour) |
| CSS/JS | 2592000 (30 days) |
| Images | 31536000 (1 year) |
C. Enabling CloudFront features for better performance
CloudFront has some seriously powerful features hiding in plain sight.
Turn on HTTP/2 support in your distribution settings. This allows multiple files to download simultaneously over a single connection.
Origin Shield is another gem. It adds an additional caching layer that reduces the load on your S3 bucket and improves hit ratios. Find it under “Origin Shield” in your origin settings.
Don’t sleep on Lambda@Edge either. You can use it to modify headers, redirect users based on device type, or even personalize content without sacrificing performance.
Finally, enable CORS properly if you’re loading resources from different domains. CloudFront can handle CORS headers automatically if you configure it correctly in the distribution settings.
Maintaining and Updating Your Website

Establishing an efficient update workflow
Want to know the secret to maintaining a static website without losing your mind? It’s all about the workflow.
First, set up a proper version control system with Git. This isn’t optional—it’s your safety net when things go sideways. Create a simple repository structure that mirrors your website organization.
Here’s a workflow that works for most teams:
- Make changes locally and test them
- Push to a staging branch
- Deploy to a staging environment (a separate S3 bucket)
- Review changes in the staging environment
- Merge to main branch
- Deploy to production
For solo developers, you can simplify this, but never skip local testing.
The AWS CLI is your best friend for deployments:
aws s3 sync ./build s3://your-website-bucket --delete
This command syncs your local build folder with your S3 bucket, removing files that no longer exist.
Invalidating CloudFront cache when needed
CloudFront caching is amazing until it’s not. Your content updates might not show up immediately because CloudFront is still serving the cached version.
When you need immediate updates, invalidate your cache:
aws cloudfront create-invalidation --distribution-id YOUR_DIST_ID --paths "/*"
But be smart about this. Each invalidation costs money if you exceed the free tier. Instead of invalidating everything with “/*”, target specific files that changed.
For deployments, include cache invalidation in your scripts. Here’s a neat trick—append a timestamp or hash to filenames for CSS and JS files. This forces CloudFront to fetch the new version without invalidation.
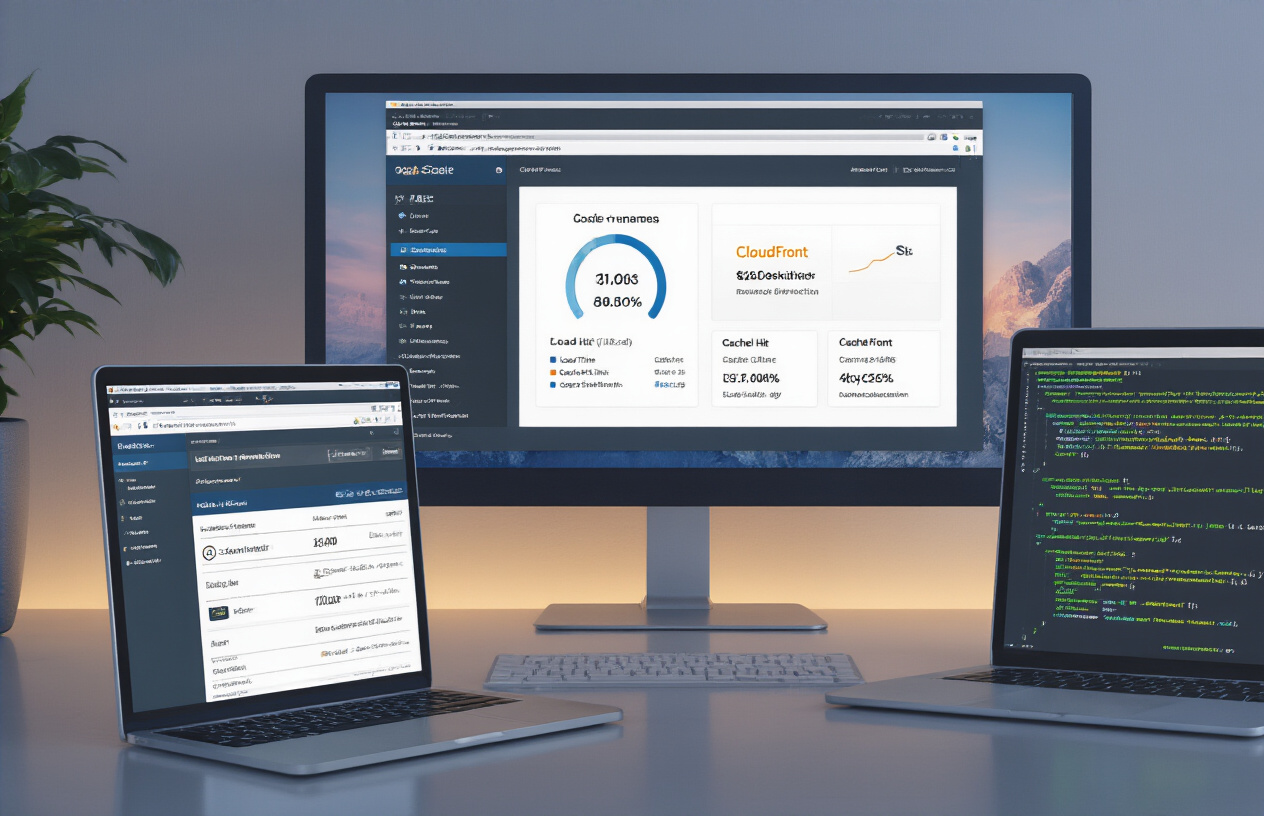
Monitoring website performance and costs
Nobody likes surprise bills. Set up AWS Budgets to alert you when costs exceed thresholds. For a basic static site, expect to pay for:
- S3 storage (pennies for small sites)
- CloudFront data transfer
- Request pricing
- Cache invalidations
For performance monitoring, CloudFront provides basic metrics in the AWS console. But for serious insights, set up AWS CloudWatch dashboards to track:
- Cache hit ratio
- Error rates
- Latency by geographic region
Google Analytics is still your go-to for visitor behavior, but CloudFront logs provide infrastructure-level insights. Enable logging to an S3 bucket and analyze with AWS Athena for a complete picture of your site’s performance.

Launching your first static website with AWS doesn’t have to be intimidating. By following the steps outlined in this guide—from understanding the basics of static websites and AWS services to deploying on S3, configuring CloudFront, and setting up your domain—you can create a professional, high-performance website without breaking the bank. The advanced optimization techniques we’ve covered will help ensure your site loads quickly and efficiently for users worldwide.
Remember that maintaining your website is just as important as the initial launch. With the tools and knowledge you now have, you can easily update content, monitor performance, and make improvements as needed. Whether you’re building a personal portfolio, a business landing page, or a blog, AWS S3 and CloudFront provide a robust, scalable foundation for your web presence. Take that first step today—your professional static website is just a few clicks away.


