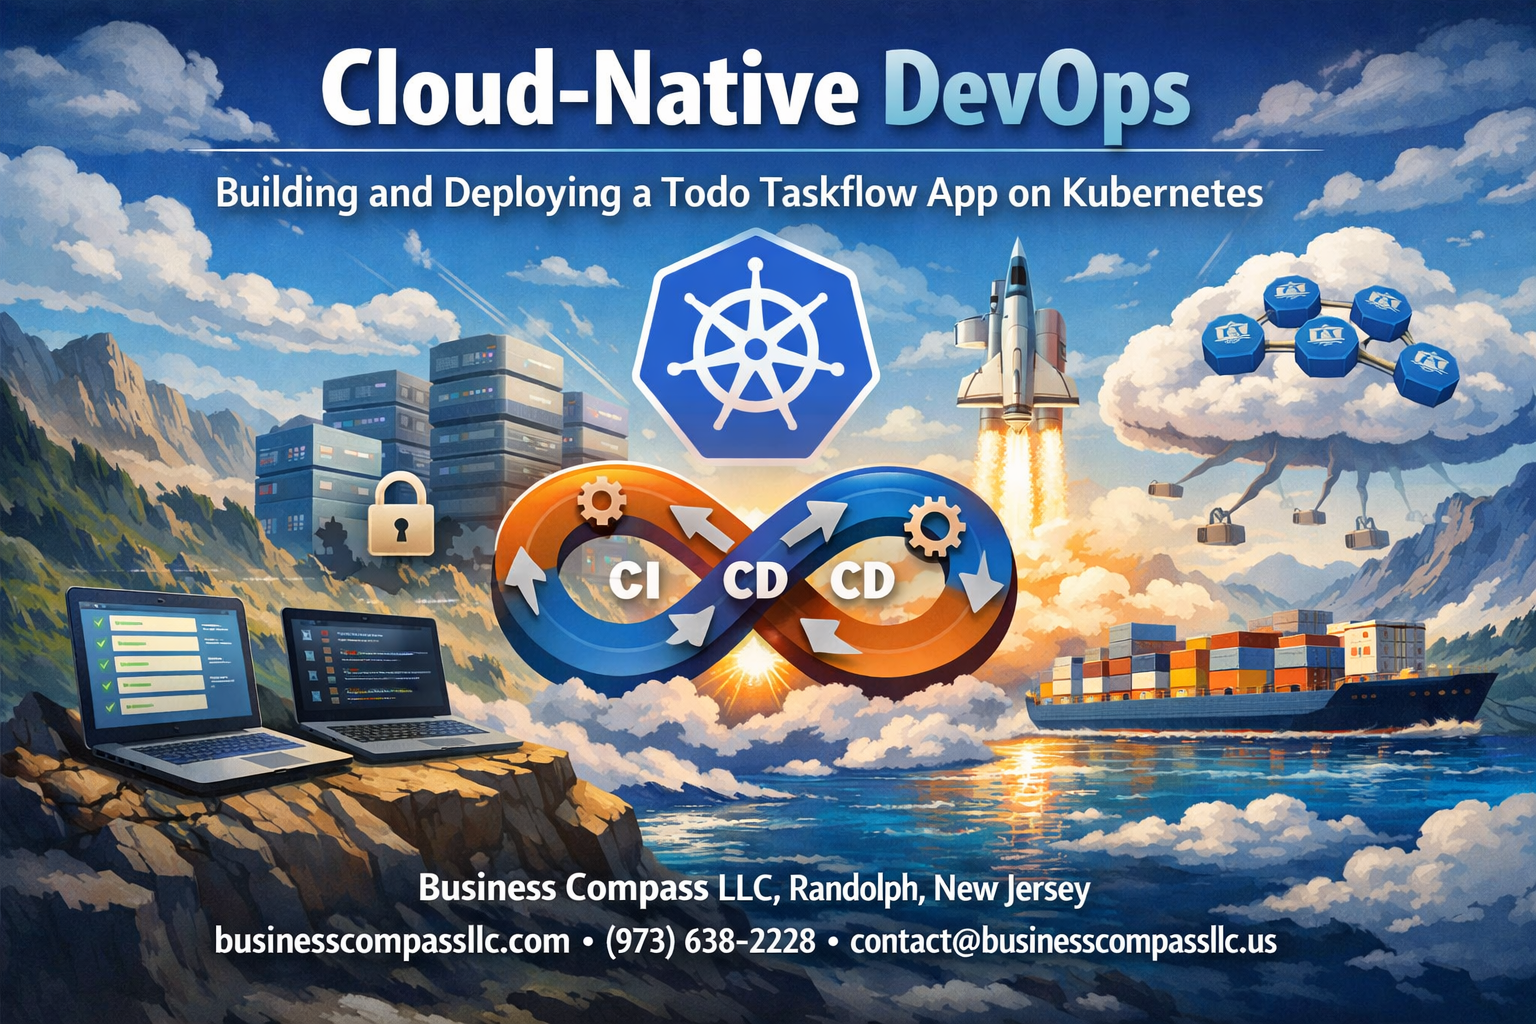
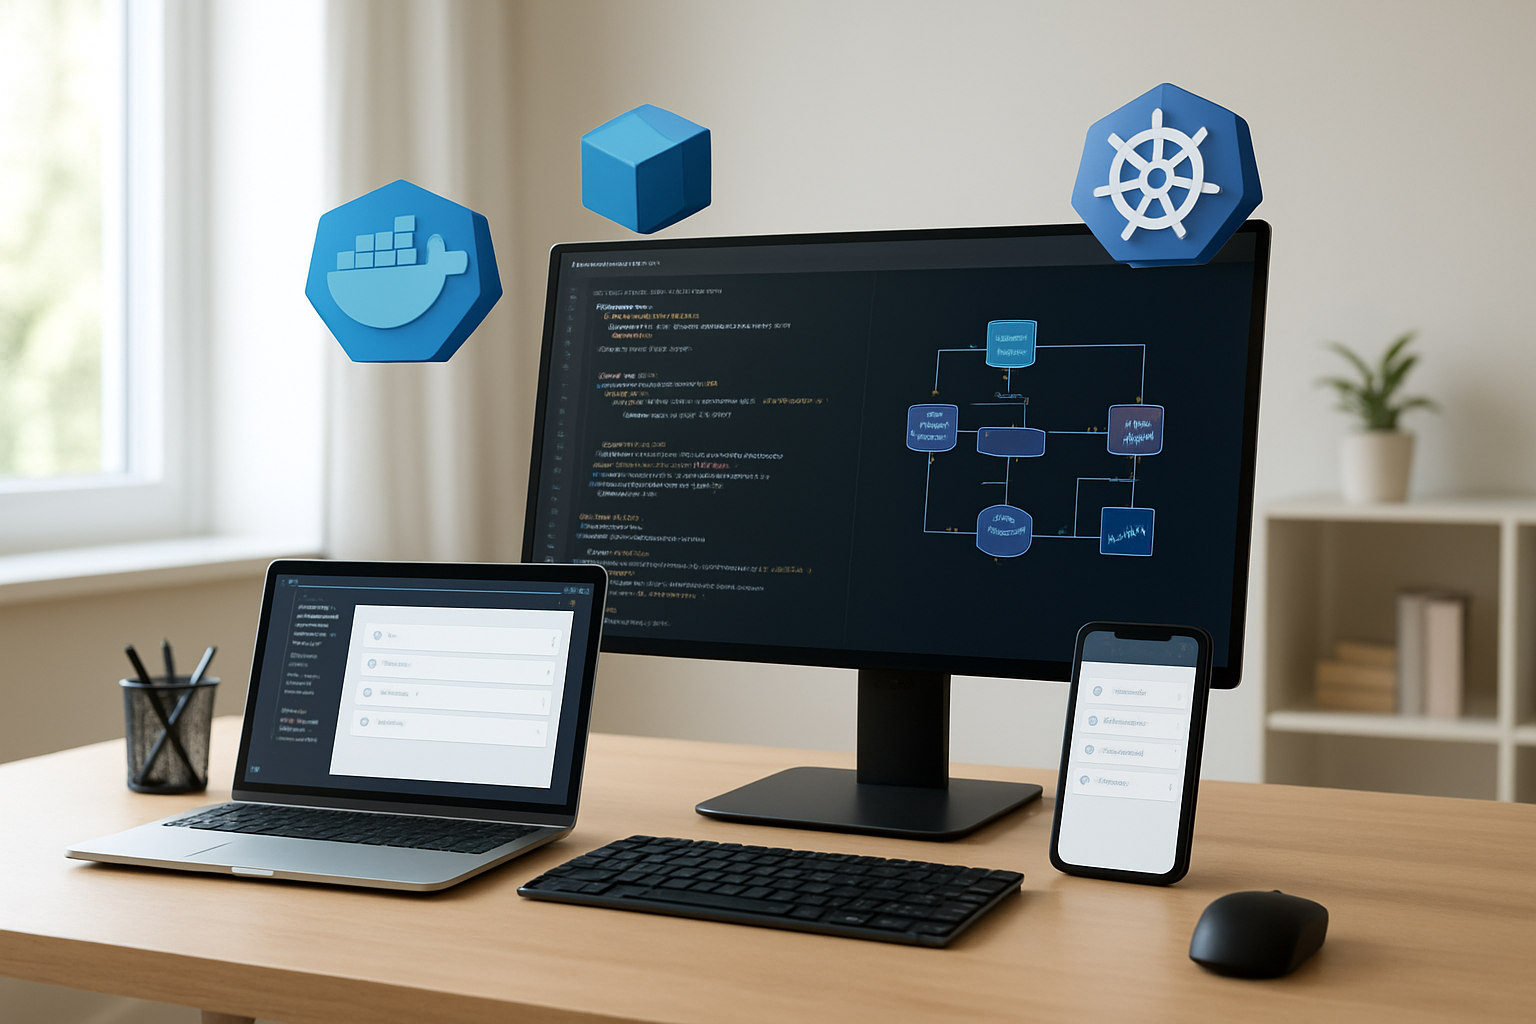
Cloud-native DevOps transforms how we build, deploy, and manage applications in the modern digital landscape. This comprehensive guide walks you through creating a complete todo taskflow application using Kubernetes deployment, Docker containerization, and automated deployment pipeline practices.
This tutorial targets software developers, DevOps engineers, and cloud architects who want hands-on experience with container orchestration and cloud-native application development. You’ll learn practical skills that directly apply to real-world production environments.
We’ll cover three essential areas: first, containerizing your todo app with Docker and setting up robust Kubernetes deployment configurations that scale with your needs. Second, we’ll build an automated CI/CD pipeline that streamlines your development workflow and reduces manual deployment errors. Finally, we’ll explore Kubernetes monitoring strategies and DevOps best practices that keep your application running smoothly in production.
By the end, you’ll have a fully functional cloud-native system that demonstrates modern deployment patterns and gives you confidence to tackle enterprise-level projects.
Understanding Cloud-Native DevOps Fundamentals

Core principles of cloud-native architecture
Cloud-native architecture breaks down traditional application development into smaller, manageable pieces that work together like a well-oiled machine. At its heart, this approach embraces microservices, where applications get split into independent components that can be developed, deployed, and scaled separately. Think of it like building with LEGO blocks – each piece serves a specific purpose, but together they create something much bigger.
The twelve-factor app methodology serves as the blueprint for cloud-native application development. These principles guide developers to build applications that are portable, scalable, and resilient. Key factors include storing configuration in environment variables, treating backing services as attached resources, and maintaining stateless processes that can start up quickly and shut down gracefully.
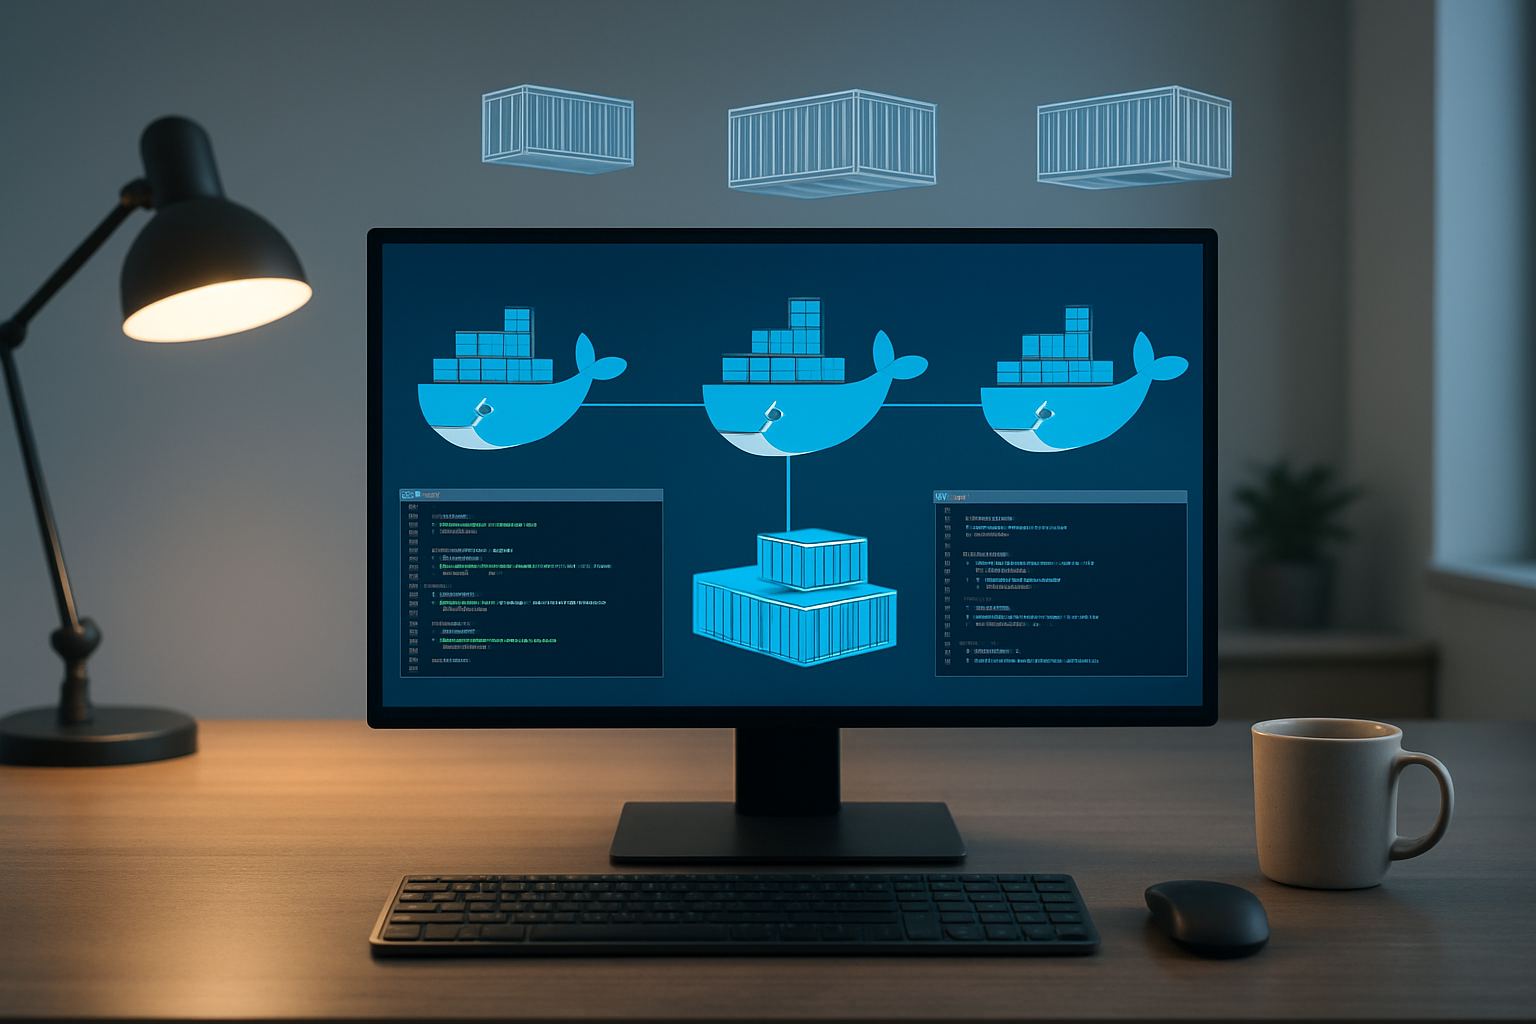
Containerization sits at the foundation of cloud-native design. By packaging applications with all their dependencies, containers ensure consistent behavior across different environments. This eliminates the classic “it works on my machine” problem that has plagued development teams for decades.
API-first design ensures that different services can communicate effectively, while immutable infrastructure means that instead of updating existing systems, you replace them entirely with new versions. This approach reduces configuration drift and makes rollbacks much simpler.
DevOps benefits in containerized environments
DevOps best practices get supercharged when combined with containerization. The traditional barriers between development and operations teams start dissolving when everyone works with the same containerized artifacts. Developers can package their applications exactly as they’ll run in production, while operations teams get consistent, predictable deployments.
Container orchestration platforms enable true infrastructure as code. Your entire application stack gets defined in configuration files that can be version-controlled, reviewed, and deployed automatically. This means you can recreate your entire production environment with a few commands, making disaster recovery and environment provisioning incredibly straightforward.
The speed advantage becomes immediately apparent. Traditional deployments might take hours or days, but containerized applications can be deployed in minutes. Rolling updates and rollbacks happen seamlessly, with zero downtime for users. Teams can iterate faster, experiment more freely, and respond to user feedback in near real-time.
Scaling becomes effortless with containers. Instead of provisioning entire virtual machines, you can spin up additional container instances in seconds. This granular control over resources means you pay only for what you actually use, making your infrastructure more cost-effective.
Kubernetes as the orchestration platform
Kubernetes has emerged as the de facto standard for container orchestration, and for good reason. It handles the complex task of managing containerized applications across clusters of machines, making it the perfect foundation for cloud-native DevOps workflows.
The platform abstracts away the underlying infrastructure complexity. You describe what you want your application to look like – how many instances, what resources they need, how they should communicate – and Kubernetes makes it happen. It continuously monitors your applications and automatically restarts failed containers, redistributes workloads when nodes go down, and manages network traffic between services.
Kubernetes deployment configurations provide declarative management of your applications. Instead of writing scripts that describe how to deploy something, you describe the desired end state. Kubernetes figures out how to get there and maintains that state over time. This approach aligns perfectly with cloud-native application development principles.
Service discovery and load balancing happen automatically. As your todo app scales up or down, Kubernetes ensures traffic gets routed to healthy instances without any manual intervention. Built-in rolling updates mean you can deploy new versions without downtime, while built-in rollback capabilities provide a safety net when things go wrong.
The ecosystem around Kubernetes provides tools for every aspect of application lifecycle management – from automated deployment pipeline integration to comprehensive monitoring solutions. This rich toolset makes Kubernetes the ideal platform for implementing cloud-native DevOps practices at scale.
Setting Up Your Development Environment

Installing Docker and Kubernetes locally
Getting your local environment ready for cloud-native DevOps starts with installing the right tools. Docker Desktop is your go-to solution for most platforms, bundling both Docker Engine and Kubernetes in one package. On Windows and macOS, Docker Desktop includes a built-in Kubernetes cluster that you can enable with a simple checkbox. Linux users have more flexibility – you can install Docker CE and then add Kubernetes using tools like kind (Kubernetes in Docker) or minikube.
For production-grade local development, consider these installation approaches:
- Docker Desktop: Perfect for beginners, includes Docker and Kubernetes
- kind: Lightweight Kubernetes clusters using Docker containers
- minikube: Full-featured local Kubernetes with various driver options
- k3d: Fast cluster creation using k3s in Docker
After installation, verify your setup by running docker --version and kubectl version. You should see version information for both tools, confirming successful installation.
Configuring kubectl and cluster access
Your kubectl configuration lives in the ~/.kube/config file, which stores cluster credentials, contexts, and connection details. When using Docker Desktop’s Kubernetes, this configuration happens automatically. For other setups, you’ll need to configure contexts manually.
Check your current context with kubectl config current-context and list available contexts using kubectl config get-contexts. Switch between different clusters using kubectl config use-context <context-name>. This becomes essential when managing multiple environments.
Set up these essential kubectl aliases to speed up your workflow:
alias k=kubectl
alias kgp='kubectl get pods'
alias kgs='kubectl get services'
alias kgd='kubectl get deployments'
Test your cluster connectivity by running kubectl cluster-info and kubectl get nodes. You should see your local cluster responding with node information.
Setting up CI/CD pipeline tools
Modern cloud-native application development requires robust CI/CD pipeline tools that integrate seamlessly with Kubernetes deployment workflows. GitHub Actions stands out as an excellent starting point, offering free minutes for public repositories and tight integration with container registries.
Install and configure these essential pipeline tools:
- GitHub Actions: Native GitHub integration with excellent Kubernetes support
- Jenkins: Self-hosted option with extensive plugin ecosystem
- GitLab CI/CD: Comprehensive DevOps platform with built-in container registry
- ArgoCD: GitOps-focused continuous deployment for Kubernetes
For local development and testing, set up act (runs GitHub Actions locally) or Jenkins in Docker. This allows you to validate your automated deployment pipeline before pushing changes to remote repositories.
Configure your chosen CI/CD tool to connect with your container registry (Docker Hub, GitHub Container Registry, or AWS ECR) and your Kubernetes cluster. Store sensitive information like registry credentials and cluster certificates as encrypted secrets.
Creating development workspace structure
A well-organized workspace structure makes cloud-native DevOps projects more manageable and collaborative. Create a directory structure that separates concerns and follows industry best practices.
Start with this recommended folder structure:
todo-taskflow-app/
├── src/                    # Application source code
├── docker/                 # Dockerfiles and build configs
├── k8s/                   # Kubernetes manifests
│   ├── base/              # Base configurations
│   ├── overlays/          # Environment-specific configs
│   └── monitoring/        # Monitoring resources
├── .github/               # CI/CD workflows
├── scripts/               # Build and deployment scripts
├── docs/                  # Documentation
└── tests/                 # Test files
Set up environment-specific configuration files for development, staging, and production. Use tools like Kustomize or Helm to manage configuration variations across different environments without duplicating code.
Create a Makefile or shell scripts for common tasks like building images, deploying to local clusters, and running tests. This standardizes workflows across team members and reduces the learning curve for new developers joining your cloud-native DevOps project.
Initialize version control early and create a comprehensive .gitignore file that excludes sensitive files, build artifacts, and environment-specific configurations that shouldn’t be shared across different development setups.
Building the Todo Taskflow Application
Designing Microservices Architecture
Breaking down your todo application into microservices creates a foundation that scales beautifully in cloud-native environments. Start by identifying the core business capabilities: user management, task operations, notifications, and reporting. Each service should own its data and expose well-defined APIs.
The user service handles authentication, profile management, and user preferences. Your task service manages CRUD operations for todos, categories, and due dates. A notification service can send reminders and updates, while an analytics service tracks usage patterns and generates insights.
Design services to be stateless whenever possible. This approach makes horizontal scaling effortless and reduces complexity when deploying on Kubernetes. Store session data in external systems like Redis or use JWT tokens for authentication state.
Communication between services should happen through REST APIs or message queues. Avoid direct database access across service boundaries – this tight coupling defeats the purpose of microservices architecture. Each service gets its own database or schema to maintain data independence.
Consider service mesh tools like Istio for handling inter-service communication, traffic management, and security policies. This adds observability and control without cluttering your application code with infrastructure concerns.
Developing REST API Endpoints
Your API design shapes how easily developers can integrate with your todo application. Start with a clear resource hierarchy that reflects your data model. Tasks belong to users, categories group tasks, and attachments link to specific tasks.
Standard HTTP methods map naturally to todo operations:
- GET
/api/v1/tasksretrieves the task list - POST
/api/v1/taskscreates new tasks - PUT
/api/v1/tasks/{id}updates existing tasks - DELETE
/api/v1/tasks/{id}removes tasks
Implement proper status codes that communicate what happened. Return 201 for successful creation, 204 for successful deletion, and 400 for validation errors. Include meaningful error messages in your responses.
Add filtering and sorting capabilities to your GET endpoints. Users need to find completed tasks, filter by due date, or sort by priority. Query parameters like ?status=completed&sort=due_date make your API flexible and user-friendly.
Version your APIs from day one using URL paths like /api/v1/. This prevents breaking changes from disrupting existing clients as your application evolves.
Build pagination into list endpoints early. Even simple todo apps can accumulate thousands of tasks over time. Cursor-based pagination often works better than offset-based approaches for large datasets.
Implementing Database Connectivity
Choose your database technology based on your data patterns and scaling requirements. PostgreSQL offers excellent ACID compliance for critical todo data, while MongoDB provides flexibility for varying task structures.
Connection pooling becomes critical in cloud-native application development where multiple service instances compete for database connections. Configure your connection pools with reasonable limits – typically 10-20 connections per service instance works well for most todo applications.
Implement database migrations that can run safely in containerized environments. Tools like Flyway or Alembic handle schema changes gracefully during deployments. Your migration scripts should be idempotent and backward-compatible when possible.
Consider read replicas for queries that don’t need immediate consistency. Task lists and search operations can often tolerate slight delays in exchange for better performance and reduced load on your primary database.
Build retry logic with exponential backoff for transient database failures. Cloud environments experience temporary network issues, and your application should handle these gracefully without losing user data.
Store sensitive configuration like database credentials in Kubernetes secrets rather than environment variables or configuration files. This approach aligns with DevOps best practices for security management.
Adding Authentication and Security Features
JWT tokens provide a stateless authentication approach that works perfectly with microservices architecture. Generate tokens with reasonable expiration times – typically 15 minutes for access tokens and several days for refresh tokens.
Implement role-based access control even for simple todo applications. Regular users manage their own tasks, while admin users might access system-wide analytics or manage user accounts. This foundation scales as your application grows.
Rate limiting prevents abuse and protects your services from being overwhelmed. Apply different limits based on user roles and endpoint sensitivity. Task creation might allow 100 requests per minute, while user registration gets limited to 5 attempts per hour.
Input validation happens at multiple layers. Client-side validation provides immediate feedback, but server-side validation prevents malicious requests from corrupting your data. Use schema validation libraries that match your programming language.
Enable HTTPS everywhere and configure proper CORS policies. Modern browsers block mixed content, and your todo application needs to work seamlessly across different domains during development and production.
Hash passwords using bcrypt or similar algorithms designed for password security. Never store plain text passwords, and consider implementing password strength requirements that balance security with user experience.
Audit logging captures security-relevant events like login attempts, password changes, and data modifications. These logs become valuable for debugging issues and meeting compliance requirements as your application matures.
Containerizing Your Application with Docker
Writing Optimized Dockerfiles
Creating an effective Dockerfile for your todo taskflow app starts with choosing the right base image. Alpine Linux images offer the perfect balance between security and size – they’re typically 80% smaller than standard Ubuntu images while maintaining all necessary functionality. For Node.js applications, node:18-alpine provides everything you need without the bloat.
Layer optimization plays a crucial role in Docker containerization efficiency. Each instruction in your Dockerfile creates a new layer, so combining commands with && reduces the total number of layers:
RUN npm ci --only=production && \
    npm cache clean --force && \
    rm -rf /tmp/*
Place frequently changing instructions like COPY package*.json ./ before COPY . . to leverage Docker’s build cache effectively. When you modify your application code, Docker only rebuilds layers from that point forward, dramatically speeding up development cycles.
Security considerations demand running containers as non-root users. Create a dedicated user account and set appropriate ownership:
RUN addgroup -g 1001 -S nodejs && \
    adduser -S nextjs -u 1001
USER nextjs
The .dockerignore file prevents unnecessary files from being copied into your container, reducing image size and potential security vulnerabilities. Include node_modules/, .git/, and development-only files.
Building Multi-stage Container Images
Multi-stage builds revolutionize cloud-native application development by separating build dependencies from runtime requirements. Your todo app likely needs build tools, development dependencies, and compilation steps that shouldn’t exist in production containers.
Start with a builder stage that includes all development tools:
FROM node:18-alpine AS builder
WORKDIR /app
COPY package*.json ./
RUN npm ci
COPY . .
RUN npm run build
The production stage copies only the compiled application and runtime dependencies:
FROM node:18-alpine AS production
WORKDIR /app
COPY --from=builder /app/dist ./dist
COPY --from=builder /app/node_modules ./node_modules
COPY package*.json ./
This approach dramatically reduces final image size – often by 70% or more. Smaller images mean faster deployments, reduced storage costs, and smaller attack surfaces. Your Kubernetes deployment pipeline benefits from quicker pod startup times and reduced network overhead during image pulls.
Build stages can also include testing phases. Add a dedicated test stage that runs your test suite before the production build continues. If tests fail, the entire build process stops, preventing broken code from reaching production environments.
Consider creating specialized stages for different deployment targets. A development stage might include debugging tools and hot-reload capabilities, while production focuses purely on runtime efficiency.
Managing Environment Variables and Secrets
Environment variable management in Docker containers requires careful planning to maintain security and flexibility across different deployment environments. Your todo app needs database connections, API keys, and configuration settings that vary between development, staging, and production.
Docker supports environment variables through multiple methods. The ENV instruction sets default values directly in the Dockerfile:
ENV NODE_ENV=production
ENV PORT=3000
Runtime variables override these defaults using the -e flag or environment files. This flexibility allows the same container image to run in different environments with appropriate configurations.
Never embed sensitive information directly in Dockerfiles or images. Secrets like database passwords and API tokens should come from external sources. Use placeholder values in your application code and rely on runtime injection:
ENV DATABASE_PASSWORD=""
ENV JWT_SECRET=""
Container orchestration platforms like Kubernetes provide sophisticated secret management. Secrets mount as files or environment variables without exposing sensitive data in image layers. Your CI/CD pipeline can inject these values during deployment while keeping them encrypted at rest.
Configuration management becomes more complex with multiple environments. Consider using configuration files mounted as volumes rather than numerous environment variables. This approach improves maintainability and reduces the risk of configuration drift between environments.
Health checks deserve special attention in containerized applications. Define HEALTHCHECK instructions that verify your todo app responds correctly:
HEALTHCHECK --interval=30s --timeout=3s --start-period=60s \
  CMD curl -f http://localhost:3000/health || exit 1
Proper signal handling ensures graceful shutdowns during container stops or Kubernetes pod termination. Your application should listen for SIGTERM signals and complete ongoing requests before exiting.
Creating Kubernetes Deployment Configurations
Writing deployment manifests
Deployment manifests serve as the blueprint for your Todo Taskflow application’s Kubernetes deployment. These YAML files define how your containerized application should run within the cluster. Start by creating a deployment manifest that specifies your Docker image, replica count, and container specifications.
Your deployment manifest should include essential metadata like name, namespace, and labels for proper identification. The spec section defines the desired state, including the number of replicas and the pod template. Here’s where you specify your Docker image from the previous containerization step, environment variables, and port configurations.
Resource allocation becomes critical for stable application performance. Define CPU and memory requirements based on your application’s needs. For a Todo app, start with modest resource requests and adjust based on monitoring data. Include health checks using readiness and liveness probes to ensure Kubernetes can properly manage your application lifecycle.
Version your deployment manifests using Git to track changes and enable rollbacks. Use meaningful labels and annotations to organize your resources effectively. This practice simplifies troubleshooting and maintains clear relationships between different Kubernetes objects in your cloud-native DevOps workflow.
Configuring services and ingress
Services act as stable network endpoints for your Todo application pods, abstracting away the ephemeral nature of individual containers. Create a ClusterIP service to enable internal communication between your application components. This service type provides load balancing across multiple pod replicas and maintains connectivity even when pods are recreated.
For external access, configure an Ingress resource that routes HTTP traffic to your Todo application. The Ingress controller handles SSL termination, domain routing, and path-based routing rules. Define your application’s external domain name and configure TLS certificates for secure communication. Many cloud providers offer integrated certificate management that automates SSL certificate provisioning and renewal.
Load balancing strategies depend on your traffic patterns and application requirements. Round-robin distribution works well for stateless Todo applications, while session affinity might be necessary if you implement user sessions. Configure health check endpoints that the load balancer can use to determine pod readiness.
Consider implementing multiple service types for different access patterns. Use NodePort services for development environments where you need direct access to specific nodes. For production deployments, stick with ClusterIP services behind an Ingress controller for better security and traffic management.
Setting up persistent volumes for data
Data persistence ensures your Todo tasks survive pod restarts and deployments. Kubernetes persistent volumes (PVs) provide durable storage that exists independently of pod lifecycles. Create persistent volume claims (PVCs) that request specific storage amounts and access modes for your application’s data needs.
Choose storage classes based on your performance and durability requirements. SSD-backed storage offers faster read/write operations for frequently accessed Todo data, while standard disk storage provides cost-effective options for less critical information. Most cloud providers offer dynamic provisioning, automatically creating persistent volumes when PVCs are requested.
Configure your deployment to mount persistent volumes at appropriate paths within your containers. For a Todo application, mount database storage volumes and any file storage your application requires. Set proper file permissions and ownership to ensure your application can read and write data correctly.
Backup strategies become essential with persistent data. Implement volume snapshots through your cloud provider’s backup solutions or use Kubernetes-native backup tools. Schedule regular backups and test restoration procedures to ensure data recovery capabilities. Consider cross-region replication for critical production deployments.
Implementing resource limits and requests
Resource management prevents your Todo application from consuming excessive cluster resources and ensures predictable performance. Define resource requests that guarantee minimum CPU and memory allocation for your pods. These requests help Kubernetes scheduler make intelligent placement decisions across cluster nodes.
Set resource limits to prevent runaway processes from affecting other applications in your cluster. Memory limits trigger pod termination when exceeded, while CPU limits throttle processing power. For Todo applications, start with conservative limits and adjust based on actual usage patterns from your monitoring data.
Quality of Service (QoS) classes emerge from your resource configuration. Guaranteed QoS provides the highest stability by setting requests equal to limits. Burstable QoS allows pods to use additional resources when available. Best-effort QoS offers no resource guarantees but works for non-critical workloads.
Horizontal Pod Autoscaler (HPA) leverages resource metrics to automatically scale your application based on demand. Configure HPA to monitor CPU utilization and scale pod replicas when thresholds are exceeded. This automated scaling approach aligns with cloud-native DevOps principles by reducing manual intervention and improving application resilience.
Container orchestration benefits significantly from proper resource planning. Monitor actual resource consumption and adjust your configurations accordingly. Use resource quotas at the namespace level to prevent any single application from consuming all cluster resources.
Implementing Automated CI/CD Pipeline
Setting up source code repositories
Your automated deployment pipeline starts with proper source code management. GitHub, GitLab, or Bitbucket serve as the foundation for your cloud-native DevOps workflow. Create separate repositories for your Todo Taskflow application code, Kubernetes manifests, and infrastructure configurations to maintain clear separation of concerns.
Branch protection rules become critical when multiple developers contribute to your project. Configure your main branch to require pull request reviews and passing CI checks before merging. This prevents broken code from reaching production and maintains code quality standards.
Set up webhooks to trigger your CI/CD pipeline automatically when developers push changes. Most Git platforms offer built-in integration with popular CI/CD tools like GitHub Actions, GitLab CI, or Jenkins. These webhooks ensure your automated deployment pipeline responds immediately to code changes.
Consider implementing a GitOps approach where your Kubernetes deployment configurations live in version control. This creates an audit trail of all infrastructure changes and enables rollbacks through simple Git reverts.
Configuring automated testing workflows
Automated testing forms the backbone of reliable CI/CD pipeline implementation. Start by defining different test stages that run sequentially: unit tests, integration tests, and end-to-end tests for your Todo application.
Unit tests should execute first since they’re fastest and catch basic functionality issues. Configure your pipeline to run these tests on every commit, providing immediate feedback to developers. Popular testing frameworks like Jest for JavaScript or pytest for Python integrate seamlessly with most CI platforms.
Integration tests verify that different components of your Todo Taskflow app work together correctly. These tests might check database connections, API endpoints, and third-party service integrations. Run integration tests against containerized versions of your application to mirror production environments closely.
End-to-end tests simulate real user interactions with your Todo app. Tools like Cypress or Selenium can automate browser-based testing to catch UI bugs and workflow issues. While slower than unit tests, these tests provide confidence that core user journeys work as expected.
Implement test result reporting and notifications to keep your team informed about build status. Most CI platforms can send alerts to Slack, email, or other communication channels when tests fail.
Building container registry integration
Container registry integration enables your automated deployment pipeline to store and distribute Docker images efficiently. Choose between cloud-managed registries like Amazon ECR, Google Container Registry, or Azure Container Registry, or self-hosted solutions like Harbor.
Configure your CI pipeline to build Docker images automatically after successful test completion. Tag your images with both the Git commit SHA and semantic version numbers to enable precise tracking and rollbacks. This tagging strategy helps identify exactly which code version runs in each environment.
Implement security scanning as part of your registry workflow. Tools like Trivy, Snyk, or cloud provider security scanners can detect vulnerabilities in your container images before deployment. Block deployments of images with critical security issues to maintain production security standards.
Set up image promotion workflows where images move through different registry namespaces or tags as they progress from development to staging to production. This approach prevents accidental deployment of untested images to production environments.
Consider implementing image cleanup policies to manage storage costs. Automatically delete old or unused images while retaining recent versions and production releases.
Deploying to staging and production environments
Environment-specific deployment strategies ensure your Todo Taskflow application moves safely from development to production. Create separate Kubernetes namespaces for staging and production, each with appropriate resource limits and network policies.
Staging deployments should happen automatically after successful CI pipeline completion. This environment mirrors production configuration but uses separate databases and external services to prevent interference. Staging serves as the final validation point before production release.
Production deployments require additional safety measures. Implement manual approval gates or scheduled deployment windows to control when changes reach users. Blue-green or rolling deployment strategies minimize downtime and provide quick rollback capabilities if issues arise.
Configure environment-specific secrets and configuration maps for database connections, API keys, and feature flags. Use Kubernetes secrets management or external solutions like HashiCorp Vault to keep sensitive information secure across environments.
Monitor deployment success through health checks and automated smoke tests. Your pipeline should verify that pods start correctly, services respond to requests, and critical functionality works after each deployment. Automatic rollback triggers can revert problematic deployments without manual intervention.
Set up deployment notifications to keep stakeholders informed about release progress. Integration with communication tools helps coordinate releases and provides visibility into deployment status across your organization.
Monitoring and Scaling Your Application

Setting up logging and metrics collection
Your todo app needs proper observability to understand what’s happening under the hood. Kubernetes monitoring starts with collecting logs and metrics from your containers and the cluster itself.
Start by deploying the ELK stack (Elasticsearch, Logstash, and Kibana) or the more modern EFK stack (Elasticsearch, Fluent Bit, and Kibana) for centralized logging. Fluent Bit works great as a lightweight log processor that can scrape logs from your todo app pods and forward them to Elasticsearch.
apiVersion: apps/v1
kind: DaemonSet
metadata:
  name: fluent-bit
spec:
  selector:
    matchLabels:
      name: fluent-bit
  template:
    metadata:
      labels:
        name: fluent-bit
    spec:
      containers:
      - name: fluent-bit
        image: fluent/fluent-bit:latest
        volumeMounts:
        - name: varlog
          mountPath: /var/log
        - name: varlibdockercontainers
          mountPath: /var/lib/docker/containers
          readOnly: true
For metrics collection, Prometheus has become the gold standard in cloud-native DevOps environments. Deploy Prometheus using Helm charts, and it will automatically discover your todo app pods through service discovery. Add custom metrics to your application code using client libraries:
const promClient = require('prom-client');
const todoCounter = new promClient.Counter({
  name: 'todos_created_total',
  help: 'Total number of todos created'
});

// Increment when a new todo is created
todoCounter.inc();
Set up Grafana dashboards to visualize your metrics. Create dashboards showing request rates, response times, error rates, and business metrics like todos created per minute. This gives you real-time insights into your container orchestration performance.
Implementing health checks and probes
Kubernetes offers three types of probes that keep your todo app running smoothly: liveness, readiness, and startup probes. These probes are essential DevOps best practices that prevent broken pods from serving traffic.
Liveness probes tell Kubernetes when to restart a container. If your todo app becomes unresponsive due to a deadlock or memory leak, the liveness probe fails, and Kubernetes restarts the pod:
livenessProbe:
  httpGet:
    path: /health
    port: 3000
  initialDelaySeconds: 30
  periodSeconds: 10
  timeoutSeconds: 5
  failureThreshold: 3
Readiness probes determine when a pod is ready to receive traffic. Your todo app might need time to establish database connections or load configuration. The readiness probe prevents traffic from reaching unready pods:
readinessProbe:
  httpGet:
    path: /ready
    port: 3000
  initialDelaySeconds: 5
  periodSeconds: 5
  timeoutSeconds: 3
  successThreshold: 1
  failureThreshold: 3
Create dedicated health check endpoints in your todo application:
app.get('/health', (req, res) => {
  // Check critical dependencies
  if (database.isConnected() && redis.isConnected()) {
    res.status(200).json({ status: 'healthy' });
  } else {
    res.status(503).json({ status: 'unhealthy' });
  }
});

app.get('/ready', (req, res) => {
  // Check if app is ready to serve requests
  if (app.isInitialized()) {
    res.status(200).json({ status: 'ready' });
  } else {
    res.status(503).json({ status: 'not ready' });
  }
});
Startup probes are perfect for legacy applications that need extra time to start. They protect slow-starting containers from being killed by liveness probes during initialization.
Configuring horizontal pod autoscaling
Horizontal Pod Autoscaler (HPA) automatically scales your todo app based on CPU, memory, or custom metrics. This ensures your cloud-native application development approach handles varying loads efficiently.
First, make sure your pods have resource requests defined. HPA needs these to calculate scaling decisions:
resources:
  requests:
    cpu: 100m
    memory: 128Mi
  limits:
    cpu: 500m
    memory: 512Mi
Create an HPA resource that scales based on CPU utilization:
apiVersion: autoscaling/v2
kind: HorizontalPodAutoscaler
metadata:
  name: todo-app-hpa
spec:
  scaleTargetRef:
    apiVersion: apps/v1
    kind: Deployment
    name: todo-app
  minReplicas: 2
  maxReplicas: 10
  metrics:
  - type: Resource
    resource:
      name: cpu
      target:
        type: Utilization
        averageUtilization: 70
For more sophisticated scaling, use custom metrics like requests per second or queue length:
- type: Pods
  pods:
    metric:
      name: requests_per_second
    target:
      type: AverageValue
      averageValue: "100"
Test your autoscaling by generating load against your todo app endpoints. Watch as Kubernetes automatically creates new pods when CPU usage exceeds your threshold. The HPA controller checks metrics every 15 seconds and makes scaling decisions based on the configured thresholds.
Remember to set appropriate scaling policies to prevent rapid scaling oscillations:
behavior:
  scaleDown:
    stabilizationWindowSeconds: 300
    policies:
    - type: Percent
      value: 50
      periodSeconds: 60
  scaleUp:
    stabilizationWindowSeconds: 60
    policies:
    - type: Percent
      value: 100
      periodSeconds: 60
Building a cloud-native todo app on Kubernetes gives you hands-on experience with the tools that power modern software development. You’ve learned how to set up your development environment, create a containerized application, and deploy it using Kubernetes configurations. The automated CI/CD pipeline you’ve built will save you countless hours and reduce human error, while monitoring and scaling capabilities ensure your app stays healthy as it grows.
Ready to take your DevOps skills to the next level? Start by applying these techniques to your own projects, even if they’re small at first. The combination of Docker, Kubernetes, and automated pipelines might seem overwhelming initially, but each piece builds on the last. Pick one component and master it before moving to the next – your future self will thank you when you’re confidently deploying applications at scale.