Need to access your private AWS EC2 instances without exposing them to the internet? This guide shows you how to set up and use a bastion host as a secure gateway. Perfect for cloud administrators, DevOps engineers, and security-focused developers who need secure access to private resources.
You’ll learn how to deploy a properly configured bastion host in AWS, connect to private EC2 instances through this secure gateway, and implement essential security best practices. We’ll also cover advanced configurations like session logging and automated access management to enhance your security posture.
Let’s get started with building this critical piece of your AWS infrastructure.
Understanding Bastion Hosts in AWS

What is a bastion host and why you need one
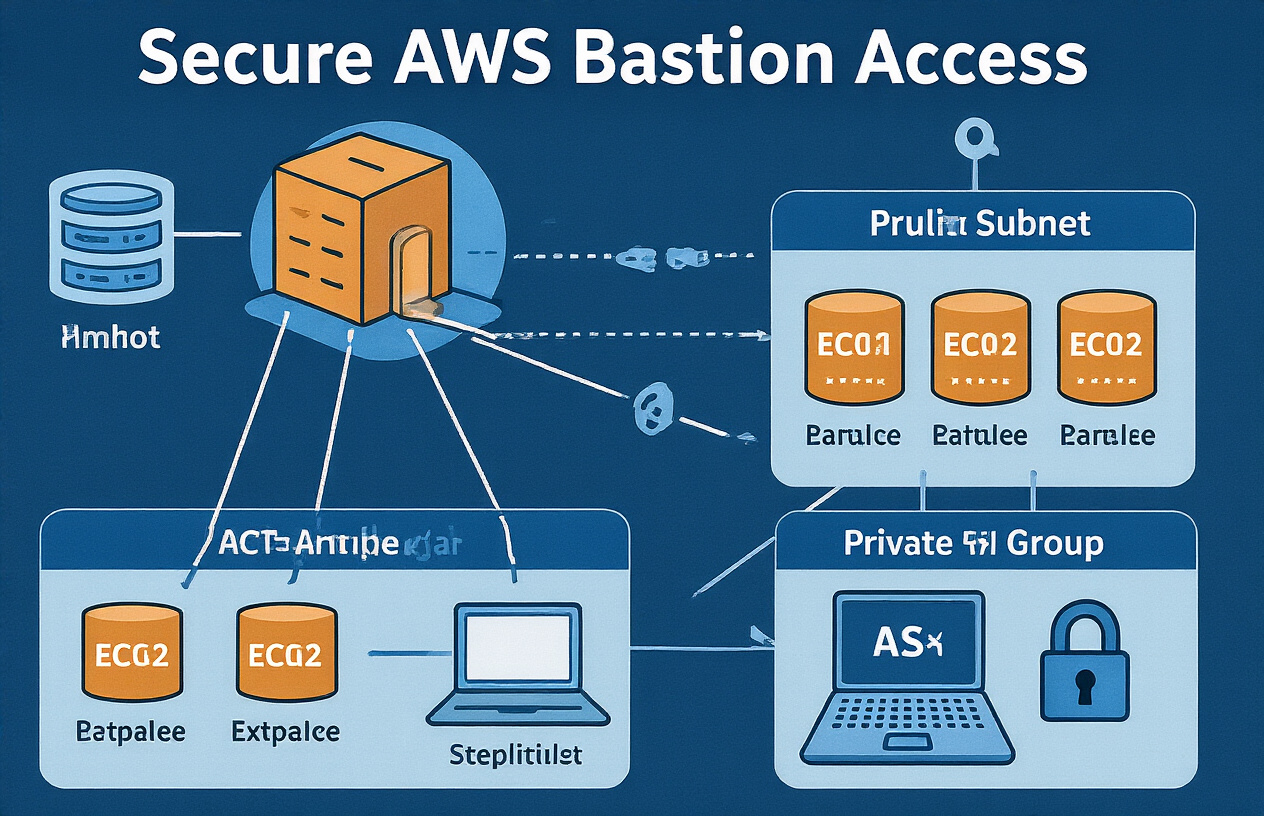
Think of a bastion host as your security guard for AWS. It’s a special server that sits between the internet and your private network, letting you SSH into private EC2 instances without exposing them directly. Without one, you’d either compromise security or lose remote access completely.
Setting Up Your AWS Environment
Setting Up Your AWS Environment
A. Creating a VPC with public and private subnets
Building a secure AWS environment starts with proper network isolation. Create a VPC with distinct public and private subnets – public for your bastion host and private for protected resources. This separation forms the foundation of your security architecture by limiting direct internet exposure.
Deploying Your Bastion Host
Deploying Your Bastion Host
A. Choosing the right EC2 instance type
Don’t overthink this part. For a bastion host, a t2.micro or t3.micro instance is usually plenty. These lightweight instances save you money while handling SSH traffic just fine. Remember, this server has one job – being your secure gateway – not running heavy workloads.
B. Hardening your bastion host for security
Security isn’t optional with bastion hosts. Start by restricting inbound SSH to your specific IP address. Disable password authentication completely. Remove unnecessary services and packages – a minimal system means fewer vulnerabilities. Enable automatic security updates and consider implementing fail2ban to block repeated login attempts.
C. Installing and configuring SSH server
Most Amazon Machine Images come with SSH pre-installed, but check your configuration file at /etc/ssh/sshd_config. Key settings to modify:
- Set
PasswordAuthentication no - Set
PermitRootLogin no - Set
X11Forwarding no - Specify
AllowUsers yourusername
Restart the SSH service after making changes.
D. Setting up key-based authentication
Key-based authentication beats passwords every time. Generate a strong key pair on your local machine with:
ssh-keygen -t ed25519 -a 100
Then upload your public key to the bastion host:
ssh-copy-id -i ~/.ssh/id_ed25519.pub ec2-user@your-bastion-ip
Test your connection before removing password authentication completely.
Launching Private EC2 Instances

Launching Private EC2 Instances
A. Creating instances in private subnets
Time to deploy those private EC2 instances where your actual workloads will run. Head to the EC2 console and launch new instances, but here’s the critical part – select those private subnets you created earlier. Choose your preferred AMI and instance type based on your workload needs.
B. Configuring security groups for private instances
Security groups for private instances need different rules than your bastion. Create a new security group allowing SSH (port 22) traffic only from your bastion host’s security group – not from the internet. This creates that crucial security boundary. Add any other ports your application needs.
C. Testing connectivity between bastion and private instances
Got everything set up? Now test it! SSH into your bastion host first, then from there, SSH into your private instance using its private IP address. If your connection works, congratulations – you’ve successfully created a secure access path to your private resources.
Connecting from Your Local Machine
Connecting from Your Local Machine
A. Setting up SSH key pairs
Getting your SSH keys right is the first step to bastion host success. You’ll need to generate a key pair with ssh-keygen, set proper permissions (chmod 400), and upload the public key to both your bastion and private EC2 instances through the AWS console.
B. Configuring SSH config file for easy access
Ever tired of typing long SSH commands? Create a ~/.ssh/config file with host definitions for your bastion and target servers:
Host bastion
    HostName 34.56.78.90
    User ec2-user
    IdentityFile ~/.ssh/bastion-key.pem

Host private-instance
    HostName 10.0.1.15
    User ec2-user
    ProxyJump bastion
    IdentityFile ~/.ssh/private-key.pem
Now just type ssh private-instance and you’re in!
C. Using SSH agent forwarding securely
SSH agent forwarding saves you from copying private keys to your bastion host. Start your agent with ssh-add ~/.ssh/private-key.pem and connect with -A flag. This security magic lets your bastion use your local keys without actually storing them.
D. Troubleshooting common connection issues
Connection problems? Check these first:
- Security groups allowing SSH traffic (port 22)
- Correct key permissions (chmod 400)
- Proper hostnames/IPs in your config
- Agent running with correct keys loaded
Most issues come down to permissions or network config. Run with -vvv flag for verbose debugging output.
Advanced Bastion Host Configurations

Implementing session recording for audit purposes
Recording SSH sessions isn’t just a nice-to-have—it’s essential for security compliance. With tools like script or Amazon’s CloudTrail, you can track every command executed on your bastion host. No more wondering who did what and when. Set it up once, sleep better forever.
Setting up auto-scaling for high availability
Nobody likes downtime. Configure an Auto Scaling group with at least two bastion hosts across different Availability Zones. When one host fails, the other keeps your team working. Your developers will thank you when that 2 AM emergency doesn’t turn into a connectivity nightmare.
Using Systems Manager Session Manager as an alternative
Who needs SSH when Session Manager exists? This serverless alternative eliminates port management headaches and key distribution. It works through the AWS console or CLI, logs everything automatically, and doesn’t require you to expose a single port to the internet. Game-changer.
Configuring CloudWatch alarms for monitoring
Set up CloudWatch alarms to notify you when something’s fishy. Monitor failed login attempts, unusual traffic patterns, or high CPU usage. A simple alert can be the difference between catching an intrusion attempt and explaining to your boss why customer data is now on the dark web.
Best Practices for Ongoing Management

Best Practices for Ongoing Management
A. Implementing regular security updates
You know what kills your security faster than anything? Outdated software. Schedule weekly updates for your bastion host OS and SSH packages. Set up automatic patching if possible – AWS Systems Manager can handle this for you. Trust me, the 10 minutes spent updating now beats the nightmare of a preventable breach later.
B. Rotating access keys and credentials
Remember that password you’ve been using for six months? Yeah, time to change it. Rotate SSH keys and IAM credentials every 90 days at minimum. AWS Secrets Manager can automate this rotation for you. Nothing screams “hack me” like static credentials that never change.
C. Monitoring and logging access attempts
Every login attempt tells a story. Configure CloudWatch to track all access attempts to your bastion host. Set up alerts for failed SSH attempts exceeding normal thresholds. I’ve seen companies catch attacks in progress just because they noticed unusual login patterns at 3 AM. Don’t fly blind.
D. Setting up backup and recovery procedures
Disaster happens. Backup your bastion host configuration using AMIs or snapshots weekly. Document the exact setup steps so anyone could rebuild it in an emergency. The worst time to figure out recovery is when everything’s already down and your phone’s blowing up with alerts.
E. Implementing session timeout policies
Idle SSH sessions are security liabilities waiting to happen. Configure your bastion host to disconnect inactive sessions after 15 minutes. Add this to your /etc/ssh/sshd_config:
ClientAliveInterval 300
ClientAliveCountMax 3
This boots idle users after 15 minutes. Small change, big security win.

Setting up a secure access mechanism for your private EC2 instances is essential for maintaining a robust AWS infrastructure. By implementing a properly configured bastion host, you can significantly reduce your attack surface while maintaining convenient access to your resources. The process—from setting up your environment to deploying the bastion host and connecting from your local machine—provides a balanced approach to security and accessibility.
Remember that security is an ongoing commitment. Regularly update your bastion host, audit access logs, use strong authentication methods, and consider advanced configurations like session recording when appropriate. By following the best practices outlined in this tutorial, you’ll create a secure gateway to your private AWS resources that protects your infrastructure while meeting your operational needs.