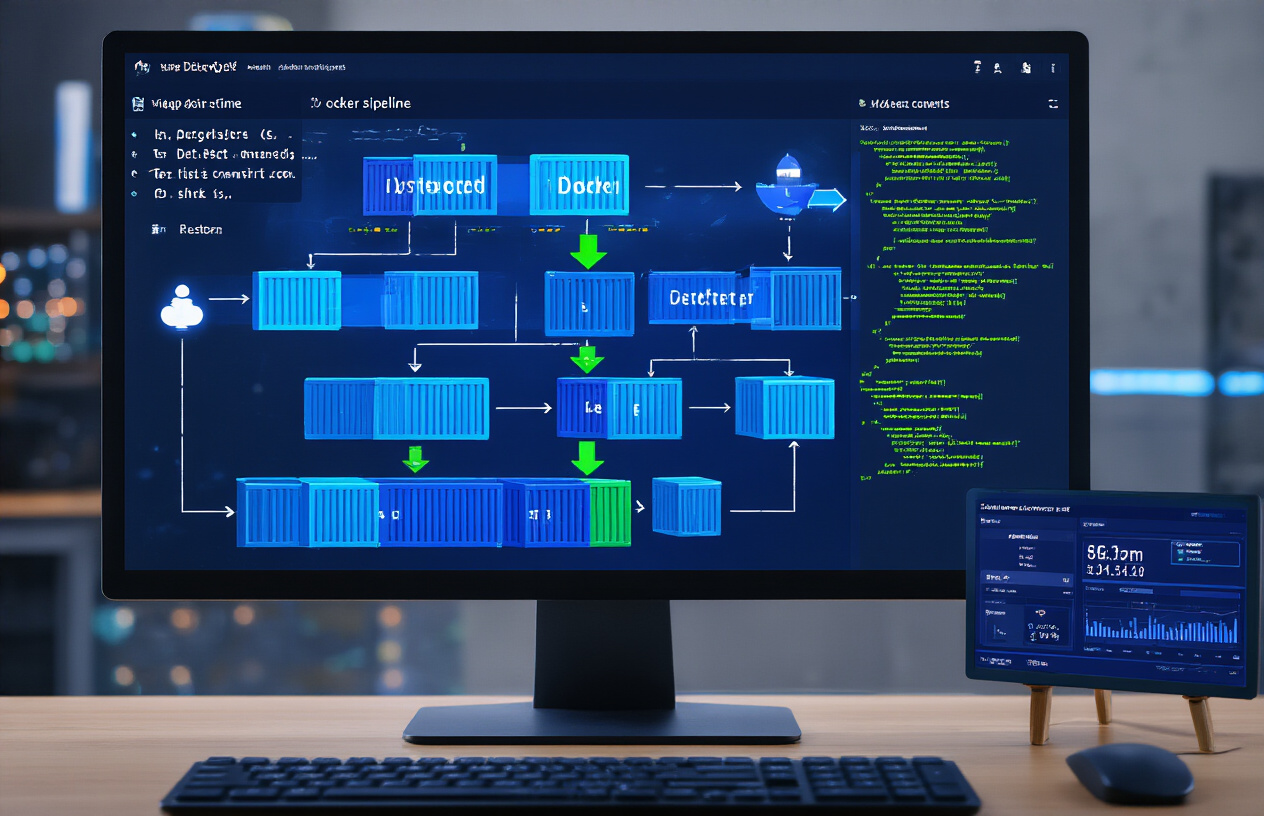
Looking to streamline your software delivery process? CI/CD pipelines automate your deployments from code to production, saving time and reducing errors. This guide helps developers and DevOps teams implement effective automation workflows using Docker containers and Jenkins.
We’ll cover the essential components of CI/CD pipelines, show you how Docker simplifies environment consistency, and walk through setting up Jenkins to automate your build and test processes. You’ll learn practical deployment strategies that work in real production environments, backed by actual implementation examples.
Understanding CI/CD Fundamentals
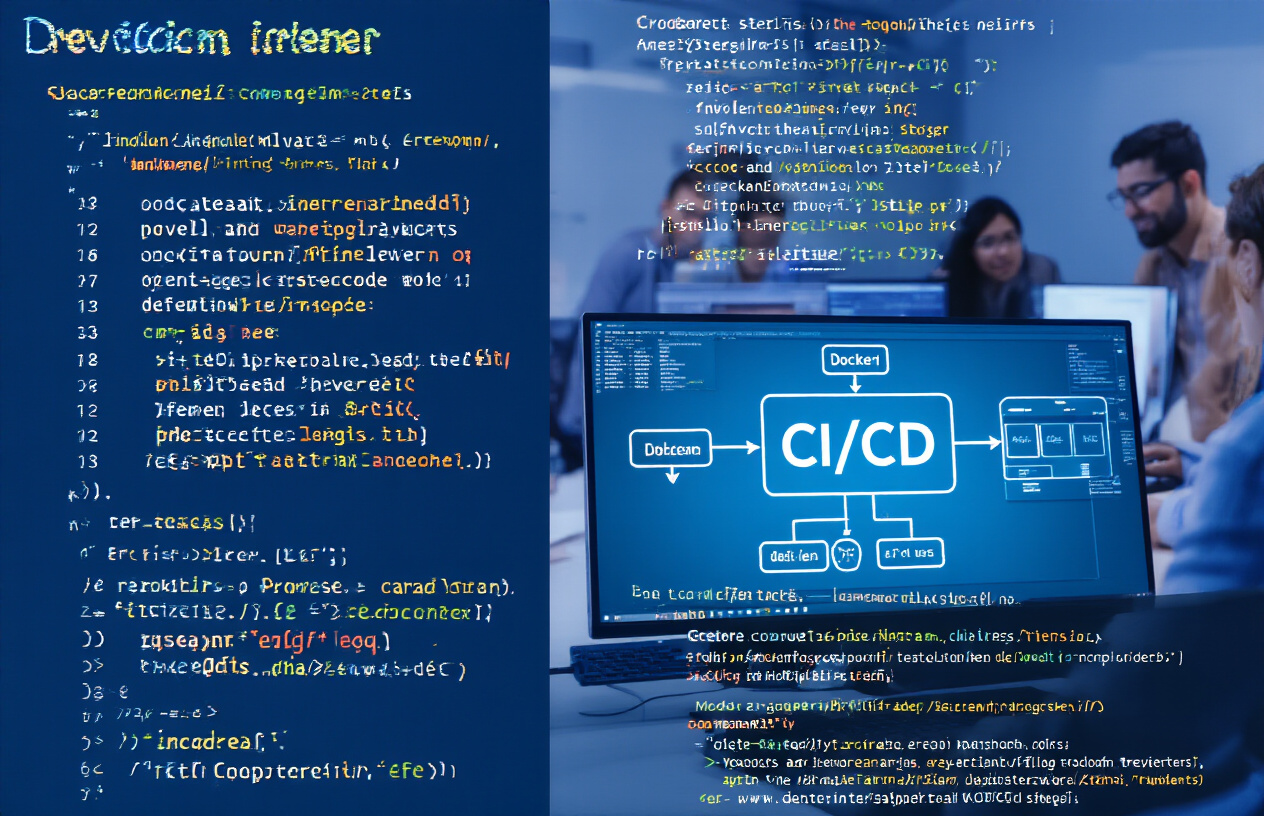
How CI/CD Transforms Deployment Workflows
Remember when deploying code meant scheduling downtime, crossing your fingers, and praying nothing would break? Those days are gone.
CI/CD pipelines have completely flipped the script on how teams ship software. Instead of the old manual “build-test-pray-deploy” cycle that happened maybe once a month, we’re talking about smooth, automated pipelines that can push code to production multiple times a day.
The magic happens when code changes trigger automatic builds, tests run without human babysitting, and successful deployments just… happen. No more late-night deployment parties. No more “it works on my machine” drama.
Teams using CI/CD move from big, scary, infrequent releases to small, manageable, frequent ones. The risk level drops dramatically when you’re changing 100 lines instead of 10,000.
The Business Benefits of Automated Deployments
The suits upstairs love CI/CD, and for good reason:
- Speed to market: Features hit production in hours or days, not weeks or months
- Happier developers: No more deployment dread means better retention
- Fewer fires to put out: Small, incremental changes are easier to fix when things go sideways
- Customer satisfaction: Bugs get squashed faster, features land quicker
The numbers don’t lie. Companies with mature CI/CD practices deploy 208 times more frequently and recover from failures 24 times faster than their competitors still doing things manually.
Key Components of a Modern CI/CD Pipeline
A solid CI/CD pipeline isn’t just one tool—it’s a collection of moving parts working together:
- Source control: Git repositories where code changes start their journey
- Build automation: Compiling code and creating artifacts automatically
- Test automation: Unit, integration, and UI tests that run without human intervention
- Deployment automation: Pushing code to staging and production environments
- Infrastructure as code: Environment configurations managed through version control
- Monitoring and feedback: Knowing when things break and fixing them fast
Docker containers make these pipelines even more powerful by packaging everything—code, dependencies, runtime—in isolated containers that work exactly the same way in development as they do in production.
Jenkins ties it all together, orchestrating the flow from commit to production with customizable pipelines that can adapt to any development workflow.
Docker Essentials for CI/CD
A. Containerization principles for consistent deployments
Containers change everything when it comes to deployments. Before Docker, how many times have you heard “but it works on my machine”? Too many, right?
Containerization solves this by packaging your application along with all its dependencies into a single, isolated unit. The magic here is consistency – your app behaves exactly the same way regardless of where it runs.
Think of containers as lightweight, portable packages containing everything your application needs: code, runtime, system libraries, and settings. Unlike VMs, containers share the host OS kernel, making them significantly faster to start and requiring fewer resources.
For CI/CD pipelines, this consistency is gold. When developers, testers, and production environments all use identical containers, you eliminate environment-specific bugs. Your pipeline becomes predictable and reliable.
Key principles to follow:
- One service per container (keep containers focused on doing one thing well)
- Immutable infrastructure (never modify running containers, replace them instead)
- Declarative configuration (define exactly how your container should run)
- Ephemeral containers (design assuming containers can be destroyed anytime)
B. Creating production-ready Docker images
Production Docker images need to be lean, secure, and optimized. Your Dockerfile is more than just a build script – it’s the blueprint for your production environment.
First things first – start with official base images. They’re maintained, security-patched, and typically smaller than rolling your own. Alpine-based images are particularly good for production due to their tiny footprint.
Multi-stage builds are a game-changer for production images. They let you use one container for building your app and another minimal container for running it. The result? Images that are often 10-20x smaller.
FROM node:14 AS builder
WORKDIR /app
COPY package*.json ./
RUN npm install
COPY . .
RUN npm run build

FROM nginx:alpine
COPY --from=builder /app/build /usr/share/nginx/html
EXPOSE 80
CMD ["nginx", "-g", "daemon off;"]
Other production-ready practices:
- Cache busting (structure your Dockerfile to maximize layer caching)
- Version pinning (use specific version tags like
node:14.17.0notnode:latest) - Non-root users (never run as root in production)
- Health checks (add HEALTHCHECK instruction)
- Proper signal handling (containers should gracefully shutdown)
C. Managing multi-container applications with Docker Compose
Most real-world applications aren’t single containers. They’re complex systems with multiple moving parts – web servers, APIs, databases, caches, and more.
Docker Compose is your friend here. It lets you define and run multi-container applications with a simple YAML file. Think of it as a way to orchestrate multiple containers as a cohesive unit.
A basic docker-compose.yml might look like:
version: '3'
services:
  web:
    build: ./web
    ports:
      - "8000:8000"
    depends_on:
      - db
  db:
    image: postgres:13
    volumes:
      - postgres_data:/var/lib/postgresql/data
    environment:
      POSTGRES_PASSWORD: example
volumes:
  postgres_data:
The real power of Compose in CI/CD pipelines is that it gives you environment parity. Your dev, staging, and production environments can all use the same compose file with environment-specific overrides.
For complex deployments, you can:
- Define networks between containers
- Manage startup order with depends_on
- Set up shared volumes for data persistence
- Specify resource limits
- Override settings with environment variables
D. Container security best practices
Security isn’t optional in CI/CD pipelines. One vulnerable container can compromise your entire infrastructure.
Scan your images regularly! Tools like Trivy, Clair, or Docker Scout can detect known vulnerabilities in your container images. Integrate these scanners directly into your CI/CD pipeline to catch issues before deployment.
Never use the root user inside containers. Create a dedicated user with minimal permissions:
RUN addgroup -S appgroup && adduser -S appuser -G appgroup
USER appuser
Keep your images minimal. Every package increases your attack surface. Use distroless or Alpine-based images that contain only what’s absolutely necessary to run your application.
Other security must-haves:
- Read-only file systems where possible
- Content trust (signed images)
- Secrets management (never bake secrets into images)
- Resource limits (prevent DoS attacks)
- Network segmentation (limit container communication)
- Regular base image updates
Security scanning should be a gate in your pipeline – if vulnerabilities are found above your threshold, the deployment should fail automatically.
Setting Up Jenkins for Automated Workflows
Jenkins Installation and Configuration Options
Getting Jenkins up and running isn’t rocket science. You’ve got several ways to do this:
Docker container – The quickest way to get started:
docker run -p 8080:8080 -p 50000:50000 jenkins/jenkins:lts
Traditional installation – Download and install on your OS:
- Linux:
apt-get install jenkinsoryum install jenkins - macOS:
brew install jenkins - Windows: Download the installer from jenkins.io
Cloud platforms – Deploy on AWS, Azure, or GCP using their marketplace offerings
Most folks go with Docker these days. It’s clean, portable, and you can version-control your Jenkins configuration with a Dockerfile.
For configuration, you’ll need to:
- Grab the initial admin password from logs
- Install suggested plugins or pick your own
- Create your admin user
- Set up your Jenkins URL
Creating Your First Automation Pipeline
Pipelines in Jenkins are game-changers. Here’s how to build one:
- Click “New Item” on your Jenkins dashboard
- Select “Pipeline” and name it
- Scroll down to the Pipeline section
Now you’ve got two options:
Declarative Pipeline (recommended):
pipeline {
    agent any
    stages {
        stage('Build') {
            steps {
                echo 'Building the application'
                sh 'docker build -t myapp .'
            }
        }
        stage('Test') {
            steps {
                echo 'Running tests'
                sh 'docker run myapp npm test'
            }
        }
        stage('Deploy') {
            steps {
                echo 'Deploying to production'
                sh './deploy.sh'
            }
        }
    }
}
Scripted Pipeline (for complex logic):
node {
    stage('Build') {
        // Your build steps
    }
    // Other stages
}
The magic happens when you store this in a Jenkinsfile at your repo’s root. Jenkins will automatically pick it up with each commit.
Managing Jenkins Plugins for Enhanced Functionality
Jenkins without plugins is like a smartphone with no apps. Pretty useless.
Must-have plugins:
- Docker Pipeline – Integrates Docker commands directly in your pipeline
- Blue Ocean – Gives you a modern UI that doesn’t look like it’s from 2005
- Credentials Binding – Securely handles secrets and credentials
- Git Integration – Connects to your repositories
Installing plugins is straightforward:
- Navigate to “Manage Jenkins” > “Manage Plugins”
- Select the “Available” tab
- Search for what you need
- Check the boxes and click “Install without restart”
Pro tip: Use the Jenkins Configuration as Code (JCasC) plugin to version-control your entire Jenkins setup, including plugins.
Securing Your Jenkins Environment
Jenkins security is often overlooked until it’s too late. Don’t be that person.
Basic security measures:
- Change default ports – Don’t use the standard 8080 port
- Enable authentication – Configure the “Configure Global Security” option
- Use HTTPS – Set up a proper SSL certificate
- Implement authorization – Matrix-based security or Role-based strategy
Advanced security:
- Set up authentication with LDAP or OAuth
- Implement credential rotation
- Use secrets management tools like HashiCorp Vault
- Regular security audits
Remember the principle of least privilege – give users only the permissions they absolutely need.
Scaling Jenkins for Enterprise Deployments
When your team grows, your Jenkins needs to scale too.
Jenkins architecture options:
| Setup | Best for | Complexity |
|---|---|---|
| Single master | Small teams | Low |
| Master with agents | Medium teams | Medium |
| Multi-master | Large enterprises | High |
For serious scaling, set up distributed builds with Jenkins agents:
- Go to “Manage Jenkins” > “Manage Nodes and Clouds”
- Add new agent nodes (physical, virtual, or containers)
- Configure labels to direct specific jobs to specific agents
Docker makes scaling a breeze:
docker run -d jenkins/jenkins:lts-agent
For cloud-native deployments, Kubernetes and Jenkins X are worth exploring. They’ll dynamically provision build environments as needed, so you’re never waiting for resources.
Building an Integrated CI/CD Pipeline

Connecting source control systems to Jenkins
Building a solid CI/CD pipeline starts with connecting your source code to Jenkins. This isn’t rocket science, but it makes all the difference.
First, grab the Jenkins Git plugin if you haven’t already. Head to Manage Jenkins > Manage Plugins and install it.
Setting up the connection is straightforward:
- Create a new Jenkins job
- Under Source Code Management, select Git
- Paste your repo URL
- Add credentials if your repo is private
- Specify the branch to build (usually
mainormaster)
For GitHub specifically, you can use webhooks to trigger builds automatically when someone pushes code:
http://your-jenkins-url/github-webhook/
Other systems like GitLab, Bitbucket, or Azure DevOps? Jenkins has plugins for all of them. The setup follows pretty much the same pattern.
Implementing automated testing in your pipeline
Nobody wants to deploy broken code. That’s why your pipeline needs automated tests.
Add a test stage to your Jenkinsfile:
stage('Test') {
    steps {
        sh 'npm test'  // or whatever test command you use
    }
}
The real power move? Parallel testing. Run different test suites simultaneously:
stage('Test') {
    parallel {
        stage('Unit Tests') {
            steps { sh 'npm run test:unit' }
        }
        stage('Integration Tests') {
            steps { sh 'npm run test:integration' }
        }
    }
}
This cuts your build time dramatically. Your developers will thank you.
Always save your test results and artifacts. Jenkins can display them nicely:
post {
    always {
        junit 'test-results/*.xml'
    }
}
Creating Docker images within Jenkins jobs
Docker and Jenkins go together like peanut butter and jelly. Building Docker images right in your pipeline gives you consistency every time.
First, make sure you’ve got a solid Dockerfile. Then add a build stage:
stage('Build Docker Image') {
    steps {
        sh 'docker build -t myapp:${BUILD_NUMBER} .'
    }
}
Tag your images with the Jenkins build number – it’s a game changer for traceability.
Need to push to a registry? No problem:
stage('Push Docker Image') {
    steps {
        withCredentials([string(credentialsId: 'docker-hub', variable: 'DOCKER_HUB_PASSWORD')]) {
            sh 'docker login -u myusername -p ${DOCKER_HUB_PASSWORD}'
            sh 'docker push myapp:${BUILD_NUMBER}'
        }
    }
}
Keep your credentials secure using Jenkins’ credential store. Never hardcode them!
Implementing quality gates and approval processes
Not every build should make it to production automatically. Quality gates keep the riffraff out.
SonarQube integration is dead simple:
stage('Quality Analysis') {
    steps {
        withSonarQubeEnv('SonarQube') {
            sh 'mvn sonar:sonar'
        }
    }
}
For manual approvals, the Jenkins Pipeline syntax has you covered:
stage('Deploy to Production') {
    input {
        message "Deploy to production?"
        ok "Yes, deploy it!"
    }
    steps {
        sh './deploy-prod.sh'
    }
}
This pauses your pipeline and waits for someone to click that button. Perfect for critical environments.
Want automatic quality gates? Try this:
stage('Quality Gate') {
    steps {
        timeout(time: 1, unit: 'HOURS') {
            waitForQualityGate abortPipeline: true
        }
    }
}
This fails the build if quality checks don’t pass. Your production environment stays clean, and everyone stays happy.
Deployment Strategies and Best Practices

Blue-green deployments with Docker and Jenkins
Switching production environments shouldn’t feel like defusing a bomb. That’s why blue-green deployment is a game-changer.
Here’s how it works: you maintain two identical environments (blue and green). One serves production traffic while the other waits in the wings. When you deploy:
- Build your new Docker image
- Deploy to the inactive environment
- Test thoroughly
- Switch traffic over with zero downtime
Setting this up in Jenkins is straightforward:
pipeline {
    agent any
    stages {
        stage('Determine Active Environment') {
            steps {
                script {
                    ACTIVE_ENV = sh(script: 'kubectl get service main-service -o jsonpath="{.spec.selector.env}"', returnStdout: true).trim()
                    DEPLOY_ENV = ACTIVE_ENV == 'blue' ? 'green' : 'blue'
                }
            }
        }
        stage('Deploy to Inactive Environment') {
            steps {
                sh "kubectl apply -f k8s/${DEPLOY_ENV}-deployment.yaml"
            }
        }
        stage('Switch Traffic') {
            steps {
                input message: "Switch traffic to ${DEPLOY_ENV} environment?"
                sh "kubectl patch service main-service -p '{\"spec\":{\"selector\":{\"env\":\"${DEPLOY_ENV}\"}}}'"
            }
        }
    }
}
Canary releases for reduced deployment risk
Want to know if your new feature will crash and burn before it takes down your whole system? Canary deployments are your answer.
The concept is simple: release your changes to a small percentage of users first. If things go well, gradually increase exposure until everyone’s on the new version.
With Docker and Jenkins, implementing canaries is slick:
stage('Deploy Canary') {
    steps {
        sh "kubectl scale deployment production --replicas=9"
        sh "kubectl apply -f canary-deployment.yaml"
        sh "kubectl scale deployment canary --replicas=1"
    }
}
This gives you a 10% canary. Monitor it for issues, then either:
- Roll it out completely
- Abort if things look sketchy
The beauty? Real users test your code, but damage is contained.
Rollback strategies when deployments fail
Even the best deployments sometimes faceplant. Your safety net? A solid rollback strategy.
Docker makes rollbacks ridiculously easy since images are immutable. Just point back to the previous working version:
stage('Rollback') {
    when {
        expression { return currentBuild.resultIsBetterOrEqualTo('FAILURE') }
    }
    steps {
        sh "kubectl rollout undo deployment/my-app"
    }
}
But you need more than just the technical ability to roll back. You need:
- Automated health checks that trigger rollbacks
- Database migration strategies that support backward compatibility
- Feature flags to disable problematic code without full rollbacks
A quick rollback shouldn’t require emergency meetings or approval chains. Automate it.
Monitoring deployment performance and health
Flying blind during deployments is asking for trouble. You need eyes on everything.
Start with these four crucial metrics:
| Metric | Why It Matters | Tools |
|---|---|---|
| Error Rate | Spikes indicate problems | Prometheus, Grafana |
| Response Time | Slowdowns frustrate users | New Relic, Datadog |
| CPU/Memory Usage | Resource issues can crash systems | cAdvisor, Prometheus |
| Deployment Frequency | Shows CI/CD health | Jenkins metrics plugin |
Set up dashboards that compare metrics before and after deployment. The contrast makes issues obvious.
But don’t just monitor – automate responses:
stage('Verify Deployment') {
    steps {
        script {
            def errorRate = sh(script: 'curl -s https://metrics-api/error-rate', returnStdout: true).trim()
            if (errorRate.toFloat() > 5.0) {
                currentBuild.result = 'FAILURE'
                error "Error rate too high: ${errorRate}%"
            }
        }
    }
}
This approach catches problems early – often before users notice.
Real-world CI/CD Implementation Case Studies

E-commerce platform deployment automation
Building an e-commerce platform today without automation is like trying to deliver packages on foot when everyone else has trucks. One of our clients, a mid-sized fashion retailer, was deploying code once every two weeks with an average of 6 hours of downtime per release.
We implemented a CI/CD pipeline using Jenkins and Docker that transformed their workflow completely. The secret sauce? A three-stage pipeline that separated building, testing, and deployment into isolated containers.
Their results speak volumes:
- Deployment frequency: From bi-weekly to daily
- Deployment time: From 6 hours to 8 minutes
- Failed deployments: Down 78%
- Cart abandonment rate: Decreased by 23%
The game-changer was configuring blue-green deployments to eliminate downtime. Customers never noticed when new code went live – they just enjoyed a faster, more reliable shopping experience.
Microservices architecture CI/CD patterns
Microservices are awesome until you’re juggling 50+ services with different deployment requirements. A fintech startup came to us with exactly this problem – their deployment process was a chaotic mess of manual steps and custom scripts.
We established a pattern library approach using Docker Compose templates and Jenkins Pipeline as Code. Each service followed one of three patterns:
| Pattern | Use Case | Key Features |
|---|---|---|
| API Gateway | Public-facing services | Canary deployments, rate limiting |
| Worker | Background processing | Auto-scaling, health monitoring |
| Data Service | Database operations | Backup triggers, migration checks |
The developer experience improved dramatically. Teams could deploy independently without breaking dependencies. When a critical security patch needed deploying across all services, it took 45 minutes instead of three days.
Enterprise-scale deployment orchestration
Enterprise deployments come with enterprise-sized problems. A multinational insurance company struggled with regulatory compliance across different regions, each with unique deployment requirements.
The solution? A hierarchical Jenkins architecture with Docker agents deployed in each region. We implemented:
- A central configuration repository that defined deployment rules by region
- Region-specific validation jobs that verified compliance before deployment
- Automated rollback capabilities that triggered based on custom metrics
Their compliance team loved it. What used to take weeks of manual verification now happened automatically. Any deployment that violated regional requirements was caught and blocked before reaching production.
The most impressive outcome was when they launched in a new market. Setting up the entire deployment pipeline for the new region took just two days, compared to the eight weeks it took for their previous market entry.

Automating your deployment process through CI/CD pipelines offers tremendous advantages for development teams. By leveraging Docker’s containerization capabilities alongside Jenkins’ automation features, you can create a streamlined workflow that improves code quality, accelerates delivery, and reduces manual errors. The integration of proper deployment strategies—whether blue-green, canary, or rolling updates—ensures your applications remain stable and available throughout the release cycle.
Take the first step toward modernizing your development operations by implementing the CI/CD practices outlined in this guide. Start small with a basic pipeline and gradually incorporate more sophisticated features as your team becomes comfortable with the process. Remember that successful automation isn’t just about tools—it’s about fostering a culture of continuous improvement and collaboration across your organization.


