Ever stared at a mountain of data and thought, “There’s gold in here somewhere… if only I could find it”? You’re not alone. Thousands of data analysts and engineers hit this wall daily, trying to extract insights using systems that weren’t built for today’s data volumes.
That’s where Snowflake comes in. This cloud data warehouse is changing how businesses handle their most valuable asset: data.
In this beginner’s guide to Snowflake, I’ll walk you through everything you need to know to get started with cloud data warehousing – from setting up your first account to running your first queries, all without the technical headaches.
But first, let me show you something that shocked even our most experienced data engineers when they made the switch…
Understanding Snowflake and Cloud Data Warehousing

What is Snowflake and why it matters
Snowflake isn’t just another data warehouse. It’s a game-changer that runs entirely in the cloud, letting you stop worrying about hardware and start focusing on your data. Companies love it because you only pay for what you use, and it separates storage from computing—meaning no more performance bottlenecks during busy times.
Setting Up Your Snowflake Environment
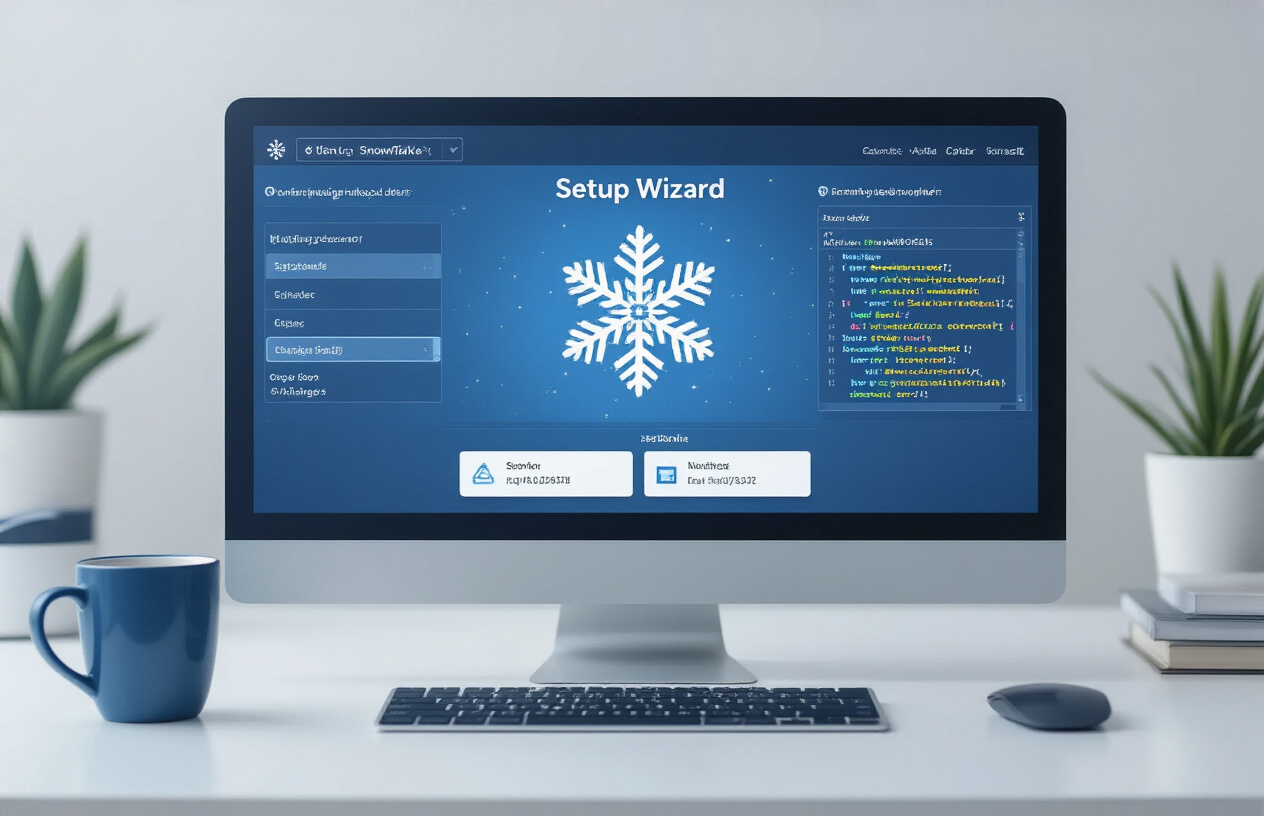
A. Creating your first Snowflake account
Getting a Snowflake account is dead simple. Just head to their website, click “Start Free Trial,” and fill out the form. Pick your cloud provider (AWS, Azure, or GCP) and region closest to you for better performance. The whole process takes about five minutes, and boom—you’re ready to dive into cloud data warehousing.
Loading Your First Data into Snowflake

A. Preparing your data for migration
Before dumping your data into Snowflake, take a minute to clean house. Remove duplicates, standardize formats, and map your data structures. Trust me, this prep work saves massive headaches later when you’re trying to analyze that messy dataset you rushed to upload.
Writing Your First Snowflake SQL Queries

Snowflake SQL syntax essentials
Snowflake SQL feels familiar if you know standard SQL, but with some cool extras. The basic syntax follows SELECT-FROM-WHERE patterns, but Snowflake adds special functions like FLATTEN for semi-structured data and supports case-insensitive identifiers by default. Just remember those double quotes when you need case sensitivity!
Integrating Snowflake with Your Existing Tools

Connecting BI tools to your Snowflake instance
Snowflake plays nice with practically every BI tool you love. Tableau, Power BI, Looker? No problem. Just grab your Snowflake account details, punch them into your favorite visualization tool, and boom—you’re building dashboards from cloud data in minutes. Most connections work through standard JDBC/ODBC drivers, making setup surprisingly painless.
ETL/ELT options for Snowflake
Gone are the days of painful data pipelines. Snowflake works with both traditional ETL tools like Informatica and modern cloud-native options like Fivetran or Matillion. Many users are switching to ELT (load first, transform in Snowflake) thanks to Snowflake’s computing power. Just pick what fits your workflow and budget—Snowflake’s flexibility has your back.
Using Snowflake with popular programming languages
Python fans, rejoice! The snowflake-connector-python library makes querying dead simple. Java and Node.js developers get robust SDKs too. Even R users can tap into Snowflake’s power through dedicated packages. The best part? Most code examples are copy-paste ready, so you’ll be running data pipelines in your favorite language before lunch.
Mobile access options
Need data on the go? Snowflake’s got you covered with responsive web interfaces that work surprisingly well on tablets and phones. For serious mobile warriors, many partner BI tools offer dedicated mobile apps connecting directly to your Snowflake instance. Perfect for checking those critical metrics while waiting for your morning coffee.
Scaling Your Snowflake Usage

A. When and how to resize compute resources
Snowflake’s beauty? You can resize warehouses on the fly without downtime. Hit performance issues? Scale up from Small to Large during peak hours. When demand drops, scale back down to save costs. The T-shirt sizing model (XS to 4XL) makes this ridiculously simple.

Embarking on your Snowflake journey opens up powerful cloud data warehousing capabilities that can transform how your organization handles data. From understanding the foundational concepts to setting up your environment, loading data, writing SQL queries, and integrating with existing tools, you now have the essential knowledge to begin leveraging Snowflake’s robust features. The platform’s ability to scale seamlessly with your needs ensures that your data solution can grow alongside your business.
Ready to take your data management to the next level? Start small with a proof-of-concept project, experiment with the features we’ve covered, and gradually expand your usage as you become more comfortable. Remember that Snowflake’s extensive documentation and community resources are available whenever you need additional guidance. Your data warehousing journey is just beginning—embrace the cloud-based flexibility and performance that Snowflake offers.