


Starting your cloud journey can feel overwhelming, but setting up your first AWS account is easier than you think. This guide is perfect for complete beginners, small business owners, students, and anyone curious about Amazon Web Services who has zero cloud experience.
AWS account setup doesn’t require a computer science degree or years of technical training. You just need an email address, a phone number, and about 15 minutes to get started. The best part? You can create a free AWS account that gives you access to hundreds of services without paying upfront.
We’ll walk you through the complete AWS account creation step by step process, starting with what AWS actually is and why millions of businesses rely on it. You’ll learn how to secure your new AWS account like a pro using multi-factor authentication and proper user permissions. We’ll also cover how to navigate the AWS console without feeling lost in its dozens of menus and services.
By the end of this AWS beginner guide, you’ll have a fully functional account, know how to avoid those sneaky hidden costs that catch new users off guard, and understand the essential first steps that set you up for long-term success in the cloud.
Understanding AWS and Why You Need It
What Amazon Web Services offers for beginners
Amazon Web Services provides a comprehensive cloud platform that transforms how beginners approach web hosting and application deployment. The service offers over 200 cloud services, from basic web hosting to advanced machine learning tools, all accessible through a user-friendly interface. New users get access to compute power, storage solutions, databases, and networking tools without needing physical servers. The AWS free tier gives beginners 12 months of free access to popular services like EC2 instances, S3 storage, and RDS databases, making it perfect for learning and small projects.
Key benefits of cloud computing over traditional hosting
Cloud computing eliminates the headaches of traditional hosting by removing hardware maintenance, server management, and capacity planning concerns. Your applications automatically scale up during traffic spikes and scale down during quiet periods, ensuring optimal performance without manual intervention. Unlike traditional hosting where you’re stuck with fixed server specifications, AWS lets you upgrade or downgrade resources instantly. You get global reach through AWS data centers worldwide, backup automation, and enterprise-level security features that would cost thousands to implement independently.
Cost advantages and pay-as-you-use pricing model
AWS revolutionizes cost management with its pay-as-you-go approach, charging only for resources you actually consume rather than flat monthly fees. This pricing model means you can start projects for just pennies per hour and scale costs alongside your growth. Traditional hosting often requires upfront hardware investments and long-term contracts, while AWS offers no minimum commitments or termination fees. The free tier includes 750 hours monthly of t2.micro instances, 5GB of S3 storage, and 25GB of DynamoDB storage, giving beginners substantial resources to experiment without spending money.
Preparing for Your AWS Account Setup
Essential information and documents you’ll need
Before diving into your AWS account setup, gather your personal identification documents, including a valid government-issued ID or passport. You’ll also need a working phone number for verification purposes and a valid credit or debit card, even if you plan to stay within the free tier. Keep your billing address handy, as AWS requires accurate location information for tax and compliance purposes.
Choosing the right email address for your account
Your email address becomes your AWS root account identifier, so pick wisely. Avoid using work emails that might become inaccessible if you change jobs. Create a dedicated email specifically for AWS if you’re planning serious cloud projects. This approach keeps your AWS communications organized and ensures you won’t lose access to critical account notifications or billing alerts.
Understanding AWS billing and payment methods
AWS operates on a pay-as-you-go model, charging only for resources you actually use. While the free tier covers many basic services for 12 months, you’ll still need to provide payment information during AWS account creation. Accepted payment methods include major credit cards and debit cards from most countries. Set up billing alerts immediately to avoid unexpected charges as you explore AWS services.
Setting realistic expectations for your first month
Your first month with AWS should focus on exploration rather than production workloads. Expect to spend time learning the console interface and understanding how different services work together. The free tier provides generous limits for experimentation, but monitor your usage closely. Plan to invest several hours learning basic concepts like regions, availability zones, and service pricing models before launching any significant projects.
Step-by-Step AWS Account Creation Process
Navigating to the AWS sign-up page correctly
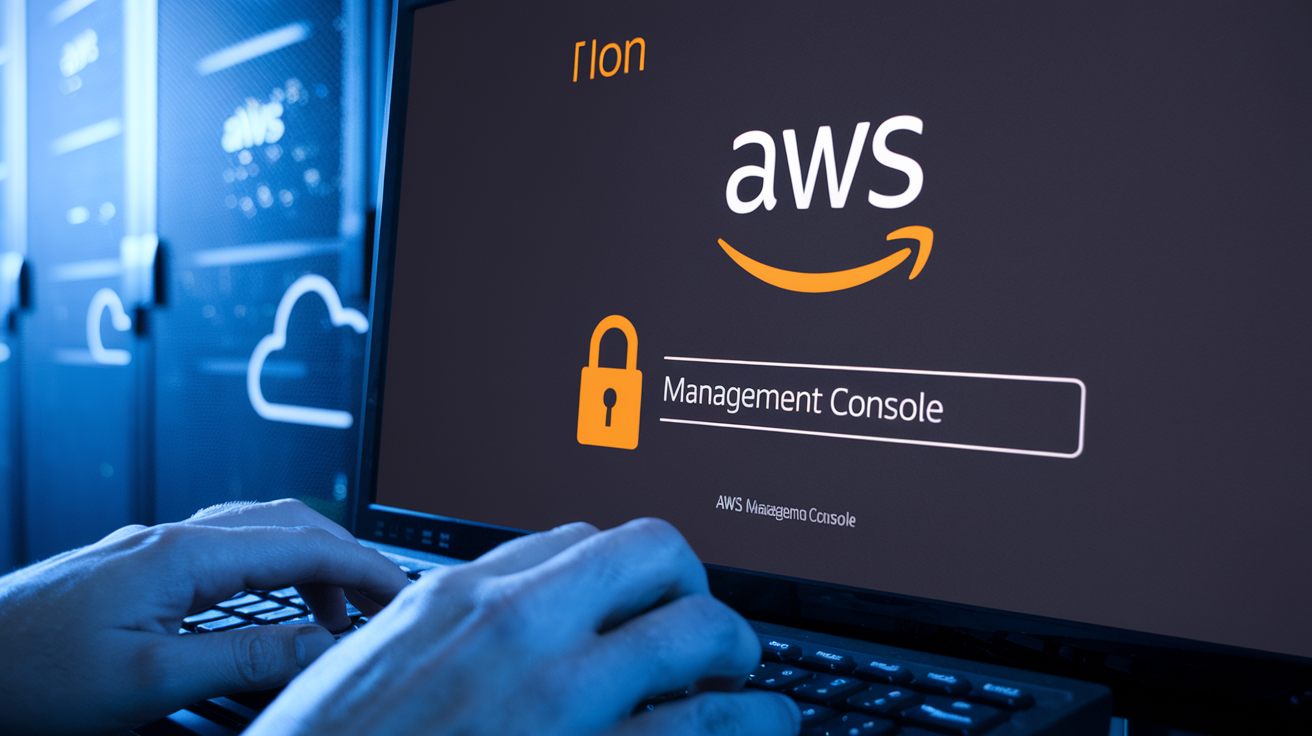
Getting to the right AWS sign-up page might seem obvious, but beginners often land on confusing partner sites or outdated tutorials. Head directly to aws.amazon.com and look for the bright orange “Create an AWS Account” button in the top right corner. Avoid clicking on promotional banners or third-party links that promise “faster” account setup – these can lead you to reseller pages with hidden fees. When you click the official button, you’ll be redirected to portal.aws.amazon.com/billing/signup – this is your green light that you’re on the authentic AWS registration page.
Completing personal and business information accurately
Your AWS account creation step by step starts with choosing between personal and professional account types. Personal accounts work perfectly for learning and small projects, while professional accounts offer additional billing features for businesses. Fill out your full legal name exactly as it appears on your credit card – mismatches can trigger account verification delays. For your address, use your actual residential or business address rather than a PO Box, as AWS may require address verification for certain services. Choose a strong, unique password that you haven’t used elsewhere, and consider using a password manager to store it securely.
Adding and verifying your payment method securely
AWS requires a valid credit or debit card during free AWS account setup, even though you won’t be charged immediately. This verification step confirms your identity and prevents abuse of free tier services. Enter your card details on the secure payment page – look for the padlock icon in your browser’s address bar. AWS will place a temporary $1 authorization hold on your card that typically disappears within 3-5 business days. Avoid using prepaid cards or virtual credit card numbers, as these often fail verification. If you’re concerned about unexpected charges, set up billing alerts immediately after account creation to monitor your spending.
Phone verification process made simple
The final step in your AWS account creation requires phone verification to confirm your identity. Choose between receiving an automated voice call or SMS text message – both options work equally well. When prompted, enter a phone number you can access immediately, as the verification code expires quickly. For voice verification, AWS will call and provide a PIN that you’ll need to enter on the webpage. For SMS verification, simply type the code you receive into the verification box. International numbers work fine, but ensure you select the correct country code from the dropdown menu to avoid verification failures.
Securing Your New AWS Account Like a Pro
Setting up multi-factor authentication immediately
Right after creating your AWS account, enable MFA on your root user account. This adds an extra security layer beyond just your password. You can use authenticator apps like Google Authenticator or Microsoft Authenticator, or even hardware devices for maximum protection. Navigate to the Security Credentials section in your account settings and follow the MFA setup wizard. This single step dramatically reduces your risk of account compromise.
Creating strong passwords and security policies
Your AWS root password should be unique, complex, and never reused from other accounts. Create passwords with at least 12 characters combining uppercase, lowercase, numbers, and symbols. Store these credentials in a reputable password manager rather than writing them down. When you create IAM users later, enforce strong password policies organization-wide through the IAM console. Set requirements for password length, character complexity, and regular rotation to maintain account security standards.
Understanding root user vs IAM user differences
Your root user has complete access to everything in your AWS account, including billing information and the ability to delete your entire account. Think of it as the master key to your digital kingdom. IAM users, on the other hand, only have permissions you specifically grant them. Best practice dictates using your root user only for initial setup and emergency situations. For daily AWS work, create IAM users with limited permissions based on what each person actually needs to do their job.
Navigating the AWS Console Without Getting Lost
Tour of the main dashboard and key sections
The AWS console dashboard serves as your mission control center, displaying recent services, cost summaries, and account health. The top navigation bar houses your account settings, support options, and global search. The left sidebar organizes services by categories like Compute, Storage, Database, and Security. Your recently used services appear prominently for quick access, while the service favorites section lets you pin frequently needed tools.
Finding and bookmarking essential services quickly
Pin your most-used services to the top navigation bar by clicking the star icon next to each service name. Create custom shortcuts by accessing the Services menu and selecting “Pin to toolbar” for EC2, S3, RDS, and other critical services. The AWS console remembers your recently accessed services, displaying them in the “Recently visited” section. You can also organize services into custom groups through the “All services” dropdown menu for better workflow management.
Understanding regions and availability zones
AWS operates across multiple geographic regions worldwide, each containing several isolated data centers called availability zones. The region selector in the top-right corner shows your current location – always verify you’re in the correct region before launching resources. Different regions offer varying services, pricing, and compliance features. Some services like IAM and CloudFront operate globally, while others like EC2 and RDS are region-specific. Choose regions based on your users’ location, data residency requirements, and service availability.
Using the search function effectively
The global search bar at the top of the console finds services, resources, and documentation instantly. Type partial service names like “EC2” or “Lambda” to jump directly to those consoles. Search also locates specific resources using instance IDs, bucket names, or database identifiers. Use filters to narrow results by service type or region. The search remembers your recent queries and suggests related services as you type, making navigation faster as you become familiar with AWS terminology.
Essential First Steps After Account Activation
Setting up billing alerts to avoid surprise charges
AWS billing can catch beginners off guard, so your first priority should be enabling billing alerts. Navigate to the Billing Dashboard and create CloudWatch billing alerts for different spending thresholds – start with $10, $25, and $50 alerts. Set up email notifications so you’ll know immediately when charges accumulate. This proactive approach prevents shocking monthly bills and keeps your AWS account setup within budget.
Exploring the AWS Free Tier offerings
The AWS Free Tier gives new users 12 months of free access to popular services like EC2, S3, and RDS with generous usage limits. Take advantage of 750 hours monthly for t2.micro EC2 instances, 5GB of S3 storage, and 750 hours of RDS database time. Understanding these limits helps you practice AWS skills without spending money while learning the platform’s capabilities and building real projects.
Creating your first IAM user for daily operations
Stop using your root account immediately after setup – create an IAM user for daily AWS operations instead. Go to the IAM console, create a new user with programmatic and console access, attach necessary policies like PowerUserAccess for learning purposes, and download the access keys securely. This AWS account security best practice protects your root credentials while giving you operational flexibility for your AWS beginner journey.
Avoiding Common Beginner Mistakes and Hidden Costs
Services That Can Unexpectedly Drain Your Budget
EC2 instances left running 24/7 are the biggest budget killers for beginners. Many new users spin up multiple instances for testing and forget they’re still charging hourly rates. RDS databases, Elastic Load Balancers, and NAT Gateways also rack up costs quickly when left unattended. Data storage services like S3 can surprise you with retrieval fees, especially when using Glacier storage classes without understanding the access patterns.
Properly Shutting Down Resources When Not Needed
Stop EC2 instances instead of just logging out – stopping saves compute costs while preserving your configuration. Terminate instances you no longer need completely to avoid storage charges. Delete unused EBS volumes, release Elastic IP addresses, and remove empty S3 buckets. Set up automated shutdown schedules using AWS Lambda or Instance Scheduler to stop development environments during nights and weekends. Always check your resource inventory before ending work sessions.
Understanding Data Transfer Charges and How to Minimize Them
Data moving between AWS regions costs significantly more than transfers within the same region. Outbound internet traffic from AWS to your users incurs charges after the first GB monthly. CloudFront CDN can reduce these costs by caching content closer to users. Keep databases and applications in the same Availability Zone when possible. Monitor your CloudWatch metrics to identify unexpected data transfer spikes that might indicate configuration issues or security problems.
Setting Up Cost Monitoring and Budget Controls
AWS Budgets should be your first priority after AWS account setup – create alerts when spending hits 50%, 80%, and 100% of your monthly limit. Cost Explorer helps track spending patterns across services and regions. Enable billing alerts in CloudWatch to get email notifications about unusual charges. Use AWS Cost Anomaly Detection to catch unexpected spending spikes automatically. Tag all resources consistently so you can track costs by project, environment, or team for better accountability and cost allocation.
Setting up your AWS account might seem overwhelming at first, but breaking it down into manageable steps makes the whole process much smoother. You now have the roadmap to create your account safely, secure it properly, and start exploring the AWS console without feeling completely lost. The key is taking your time with each security step and not rushing into services you don’t understand yet.
Remember to keep a close eye on your billing dashboard during your first few weeks. Many beginners get surprised by unexpected charges simply because they forgot to turn off resources or didn’t understand the free tier limits. Start small, experiment with the basic services, and gradually expand your knowledge. AWS offers incredible opportunities for learning and building, so enjoy the journey and don’t be afraid to make mistakes along the way – that’s how you’ll learn best.


