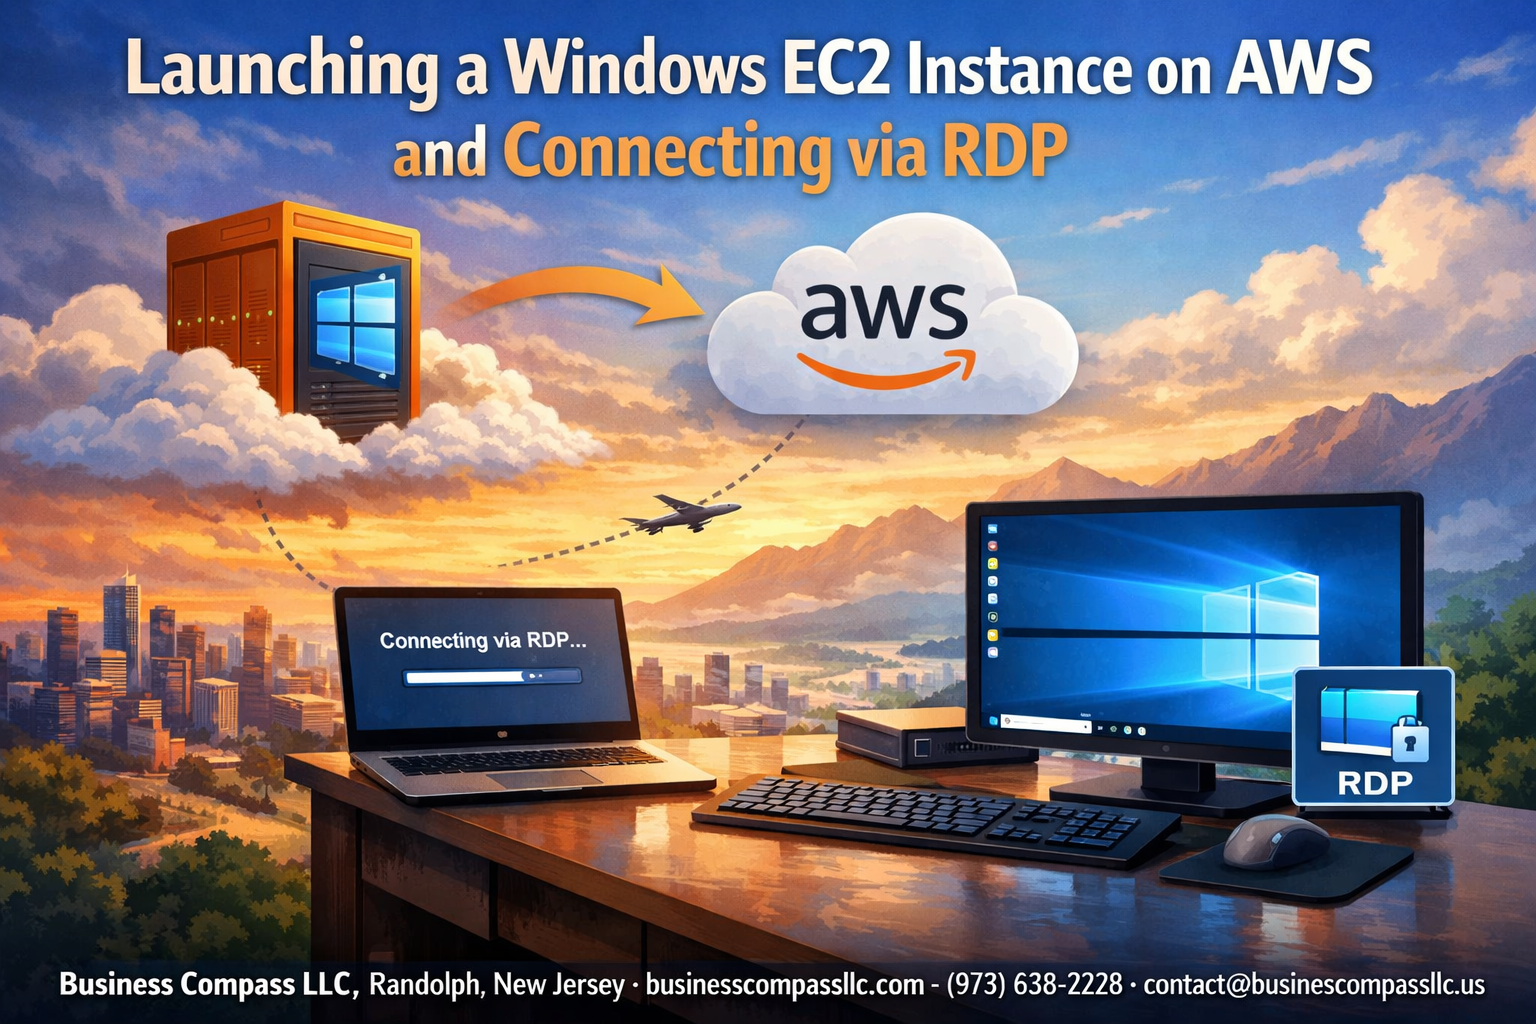
Getting Your Windows EC2 Instance Running on AWS
Setting up a Windows EC2 instance AWS environment can seem tricky at first, but it’s actually pretty straightforward once you know the steps. This guide walks you through launching Windows server AWS instances and getting connected through Remote Desktop Protocol (RDP).
Who this is for: System administrators, developers, and IT professionals who need to deploy Windows-based applications or services in the cloud. Great for beginners who want hands-on experience with AWS EC2 Windows server deployment.
We’ll cover the complete process from start to finish. First, you’ll learn how to choose the right Windows AMI configuration and set up your instance specs. Then we’ll dive into AWS EC2 security groups RDP settings to make sure your remote connections are both secure and functional. Finally, we’ll walk through the actual steps to connect Windows EC2 remote desktop so you can start using your new cloud-based Windows machine.
By the end, you’ll have a fully operational AWS Windows instance setup with reliable AWS RDP access configuration that you can use for your projects.
Setting Up Your AWS Account and Navigating the EC2 Dashboard
Creating your free AWS account with proper billing alerts
Sign up for an AWS free tier account at aws.amazon.com, which includes 750 hours of Windows EC2 instance usage monthly for your first year. During registration, provide a valid credit card for verification and set up billing alerts immediately to avoid unexpected charges. Configure alerts at $5, $10, and $20 thresholds to monitor your Windows EC2 instance usage and prevent surprise bills when launching your Windows server AWS deployment.
Accessing the EC2 service through the AWS Management Console
After logging into the AWS Management Console, locate EC2 under the “Compute” services section or use the search bar to quickly find it. The console dashboard displays all AWS services organized by categories, making navigation straightforward for your Windows EC2 instance setup. Click on EC2 to access the service where you’ll manage your Windows AMI configuration and launch instances.
Selecting the optimal AWS region for your Windows instance
Choose an AWS region closest to your users or your physical location to minimize latency for your AWS EC2 RDP connection. Popular regions like US-East-1 (Virginia) or US-West-2 (Oregon) offer the most comprehensive service availability and competitive pricing. Check the region selector in the top-right corner of the console before proceeding with your AWS Windows instance setup to ensure you’re deploying in your preferred location.
Understanding the EC2 dashboard layout and key features
The EC2 dashboard provides a comprehensive overview of your running instances, security groups, key pairs, and volumes. Key sections include the “Instances” tab for managing your Windows EC2 servers, “Security Groups” for configuring AWS EC2 security groups RDP access, and “Key Pairs” for secure authentication. Familiarize yourself with the “Launch Instance” button and resource limits displayed on the dashboard before starting your EC2 Windows server deployment process.
Choosing the Right Windows AMI and Instance Configuration
Selecting Windows Server versions that meet your specific needs
Windows Server 2019 and 2022 are the most popular choices for launching a Windows EC2 instance on AWS, offering robust security features and long-term support. Server 2019 provides excellent stability for production workloads, while Server 2022 includes enhanced security capabilities like secured-core server technology. Consider your application requirements when selecting between Core and Desktop Experience editions – Core offers better performance and reduced attack surface, while Desktop Experience provides the familiar GUI interface.
Comparing instance types to balance performance and cost
General-purpose t3 instances work well for light to moderate workloads and provide burstable performance at competitive pricing. For consistent high-performance requirements, m5 instances deliver balanced compute, memory, and networking resources ideal for Windows server applications. Memory-optimized r5 instances excel when running database servers or in-memory applications that require substantial RAM allocation.
Configuring storage options for optimal speed and reliability
EBS gp3 volumes offer the best balance of performance and cost-effectiveness for most Windows AMI configurations, providing consistent baseline performance with the ability to provision additional IOPS independently. For high-performance applications requiring ultra-low latency, consider io2 volumes that guarantee specific IOPS levels. Always encrypt your root volume during AWS EC2 Windows instance setup to ensure data security and compliance with organizational policies.
Configuring Essential Security Settings for Remote Access
Creating and Managing Key Pairs for Secure Authentication
AWS key pairs provide the foundation for secure access to your Windows EC2 instance. When launching your instance, you’ll need to either create a new key pair or select an existing one from your AWS account. The private key file (.pem) acts as your digital credential, so download and store it securely – AWS won’t provide another copy. For Windows EC2 instances, this key pair encrypts the administrator password, which you’ll decrypt later to establish your RDP connection.
Setting Up Security Groups with Proper RDP Port Access
Security groups function as virtual firewalls controlling traffic to your AWS EC2 RDP connection. Create a dedicated security group specifically for your Windows server with an inbound rule allowing RDP traffic on port 3389. Restrict the source IP to your specific address or trusted network range rather than leaving it open to the entire internet (0.0.0.0/0). Add your security group to the instance during launch, and remember you can modify these AWS EC2 security groups RDP rules anytime without restarting your instance.
Implementing Additional Firewall Rules for Enhanced Protection
Beyond basic RDP access, consider implementing layered security for your Windows EC2 instance setup. Create separate security group rules for specific services you’ll run, such as HTTP (port 80) or HTTPS (port 443) if hosting web applications. Use AWS Systems Manager Session Manager as an alternative access method, reducing reliance on direct RDP connections. Set up CloudWatch monitoring and VPC Flow Logs to track connection attempts and identify potential security threats targeting your Windows AMI configuration.
Enabling Necessary Windows Features for Remote Connectivity
Your Windows EC2 instance comes pre-configured with Remote Desktop enabled, but verify the settings match your requirements. Access the instance through the AWS console’s connect feature to check Windows Firewall settings and ensure Remote Desktop connections are permitted. Enable Network Level Authentication for added security, and consider configuring automatic Windows updates to maintain system security. For production environments, disable unnecessary Windows services and features to reduce the attack surface while maintaining essential functionality for your AWS Windows instance setup.
Launching Your Windows EC2 Instance Successfully

Reviewing All Configuration Settings Before Deployment
Before hitting that launch button, take a moment to double-check your Windows EC2 instance AWS configuration. Review your chosen Windows AMI configuration, instance type, storage settings, and AWS EC2 security groups RDP rules. Make sure port 3389 is open for RDP access and your key pair is selected. This quick review prevents costly mistakes and ensures your AWS Windows instance setup meets your specific requirements.
Monitoring the Launch Process and Instance Status Checks
Once you launch your Windows server AWS instance, AWS begins the deployment process which typically takes 2-3 minutes. Watch the instance state transition from “pending” to “running” in your EC2 dashboard. AWS automatically performs system status checks and instance status checks to verify your EC2 Windows server deployment is healthy. Green checkmarks indicate your instance is ready for AWS RDP connection.
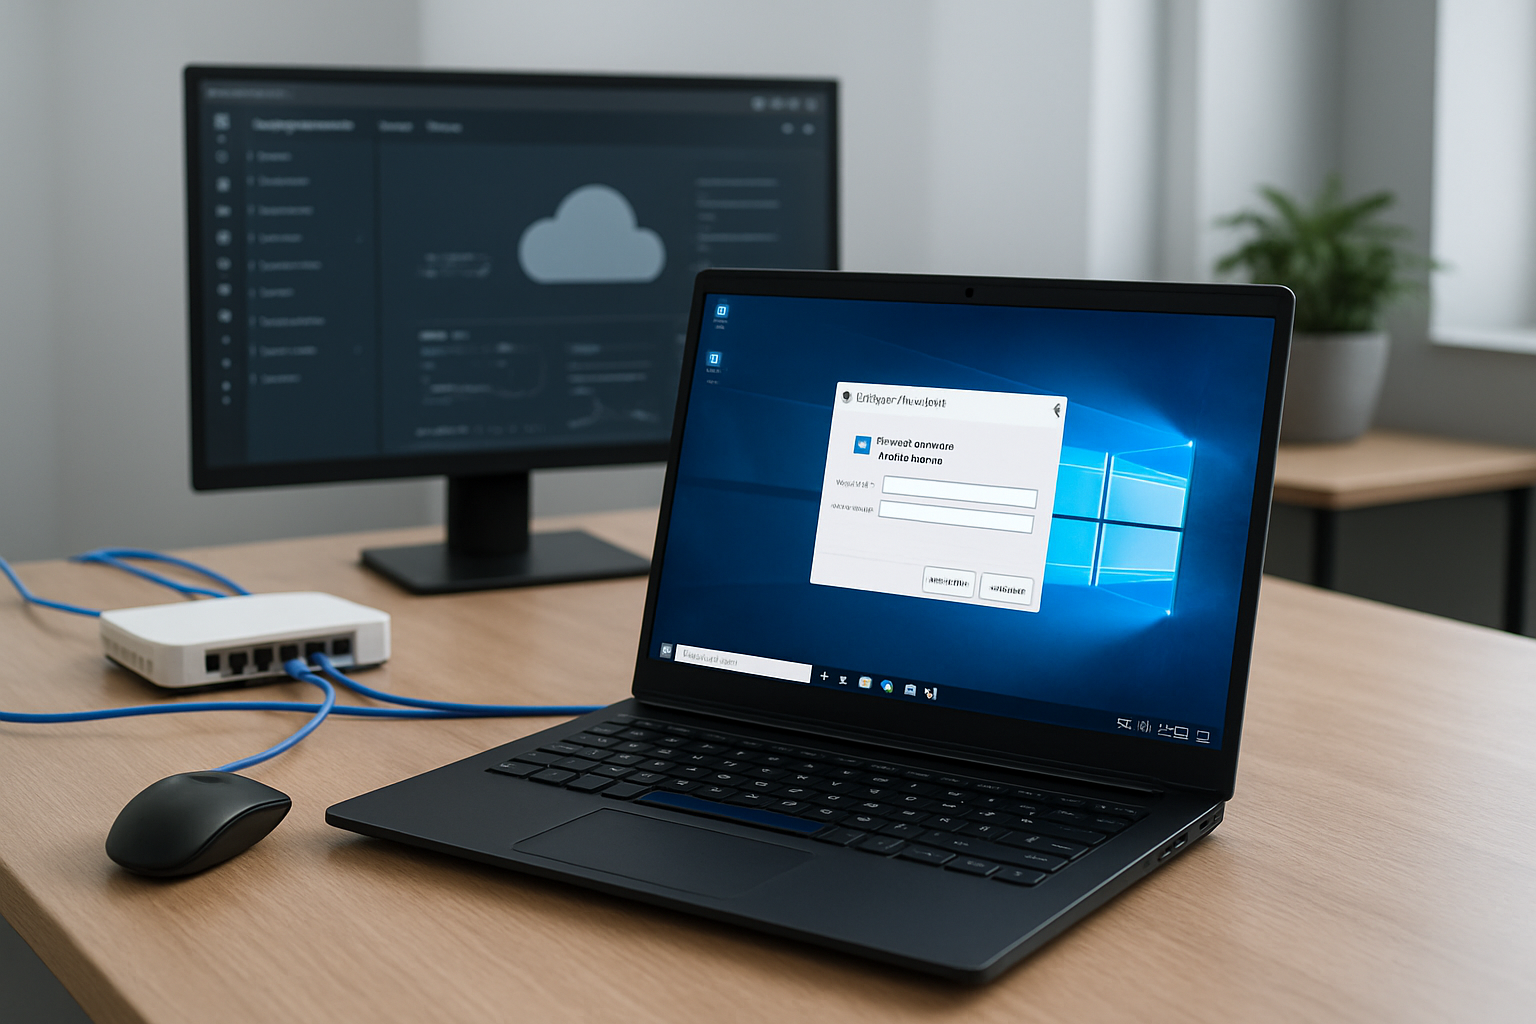
Retrieving Administrator Credentials from AWS Console
Your new Windows instance needs administrator credentials for remote desktop access. Navigate to your instance in the EC2 console, right-click, and select “Get Windows Password.” Upload your private key file (.pem) to decrypt the automatically generated administrator password. Store these credentials securely – you’ll need them to establish your connect Windows EC2 remote desktop session and complete your Windows EC2 instance tutorial.
Establishing RDP Connection to Your Windows Instance
Downloading and decrypting your administrator password
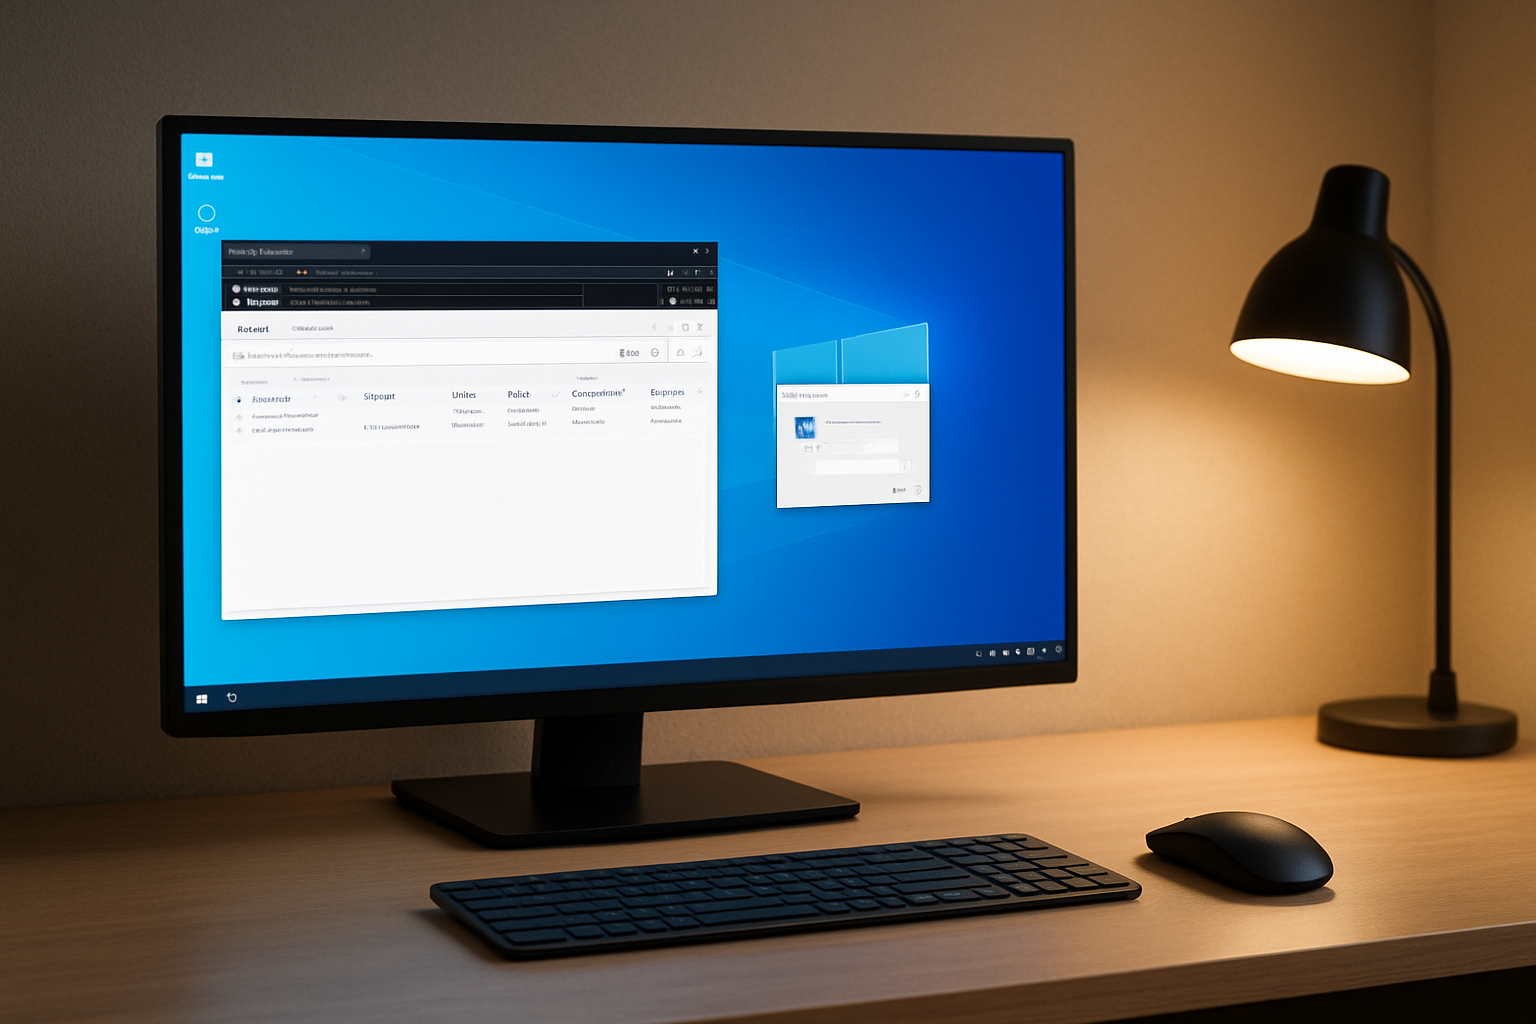
Your AWS EC2 Windows instance comes with an encrypted administrator password that you’ll need to decrypt before establishing an RDP connection. Navigate to the EC2 dashboard, select your instance, and click “Connect.” Choose the RDP tab and download the remote desktop file. Click “Get Password” and upload your private key file (.pem) that you created during launch. AWS will decrypt and display your administrator password – copy this immediately as you’ll need it for remote desktop access.
Configuring Remote Desktop Connection with proper settings
Open Remote Desktop Connection on your local machine and enter your instance’s public IP address. Use “Administrator” as the username and paste the decrypted password. Before connecting, click “Show Options” to configure advanced settings like screen resolution and local resource sharing. Enable clipboard sharing and drive redirection for seamless file transfers between your local machine and the Windows EC2 instance. Save these connection settings for future use to streamline your AWS RDP access.
Troubleshooting common connection issues and error messages
Connection failures often stem from security group misconfigurations or network issues. Verify that port 3389 is open in your security group rules and that your instance’s public IP hasn’t changed after reboot. If you receive certificate warnings, accept them as they’re normal for new instances. Network-level authentication errors can be resolved by disabling this setting in Remote Desktop Connection’s advanced options. Check your instance status in the EC2 console – instances must be in “running” state before accepting connections.
Optimizing RDP performance for smooth remote operations
Adjust your connection settings based on your internet speed for optimal performance. For faster connections, use higher color depth and enable desktop composition. On slower networks, reduce color quality to 16-bit and disable visual effects like menu animations. Configure local resource redirection selectively – only enable clipboard and specific drives you actually need. Consider using RDP compression and persistent bitmap caching to reduce bandwidth usage during your remote sessions.
Setting up persistent connections for ongoing access
Create saved RDP connection files for quick access to your Windows EC2 instance. Configure automatic reconnection settings in Remote Desktop Connection to handle brief network interruptions. Set up connection broker services if managing multiple instances regularly. Consider using AWS Systems Manager Session Manager as an alternative connection method that doesn’t require direct internet access. For enhanced security, implement multi-factor authentication and regularly rotate your administrator password through the EC2 console.
Getting your Windows EC2 instance up and running is really just about following the right steps in order. We walked through everything from setting up your AWS account to picking the perfect Windows AMI, configuring those crucial security settings, and finally connecting through RDP. The key things to remember are choosing an instance size that matches your needs, setting up your security groups properly to allow RDP access, and keeping track of your key pair for authentication.
Now that you’ve got the basics down, you can start exploring what makes AWS EC2 so powerful for Windows workloads. Take some time to experiment with different instance types, set up automated backups, and maybe even try scaling your setup. The beauty of cloud computing is that you can always adjust things as you learn more about what works best for your specific projects.