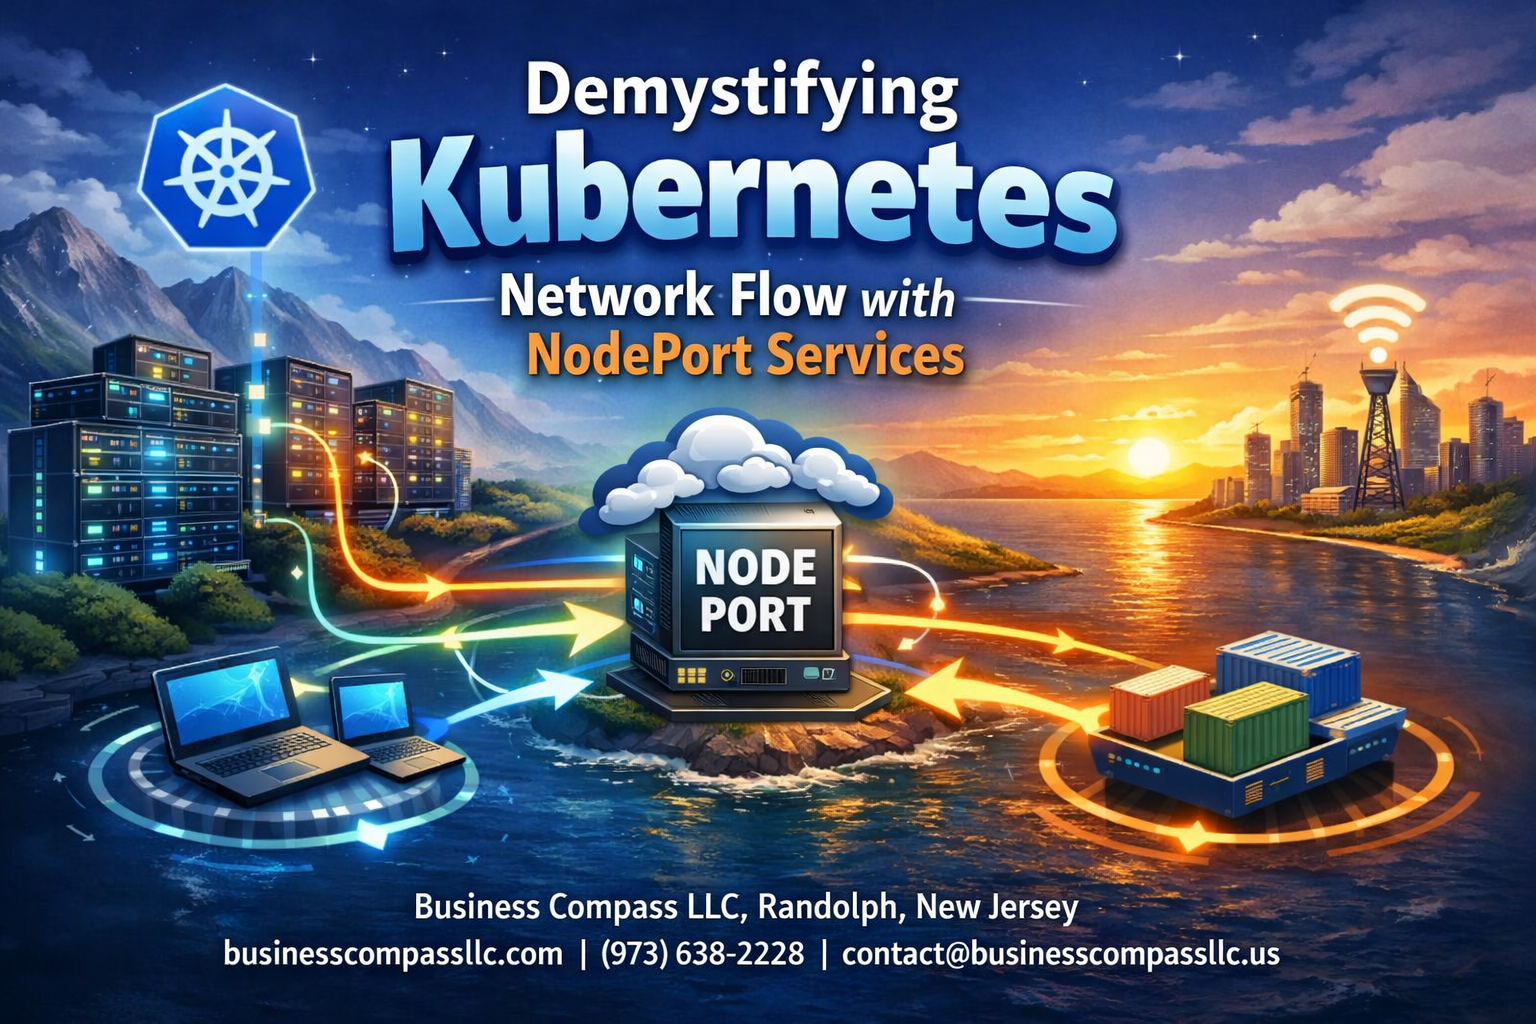
NodePort services often confuse developers who need to expose their Kubernetes applications to external traffic. Many struggle with understanding how Kubernetes network flow actually works when traffic hits a NodePort service, leading to connectivity issues and suboptimal configurations.
This guide is for DevOps engineers, platform administrators, and developers who want to master NodePort service configuration and understand the complete traffic routing path in their clusters. You’ll learn how NodePort differs from ClusterIP services and when to choose each option for Kubernetes external access.
We’ll walk through the step-by-step network traffic flow patterns that occur when requests reach your NodePort services, showing exactly how packets travel through your cluster. You’ll also discover practical NodePort troubleshooting techniques to quickly diagnose and fix common connectivity problems. Finally, we’ll cover NodePort best practices for optimal performance, including advanced networking strategies that help you avoid bottlenecks and security pitfalls.
By the end, you’ll have a clear mental map of Kubernetes service networking with NodePort and the confidence to implement reliable external access for your applications.
Understanding NodePort Services in Kubernetes Architecture

Core concepts of Kubernetes networking fundamentals
Kubernetes networking operates on a flat network model where every pod gets its own IP address and can communicate with other pods across nodes without NAT. This design creates a unified network space where containers can talk to each other using standard networking protocols. The cluster networking relies on several key components: the Container Network Interface (CNI) plugin handles pod-to-pod communication, kube-proxy manages service traffic distribution, and the DNS system resolves service names to IP addresses.
The networking architecture uses three primary IP address ranges: pod IPs for container communication, service IPs for stable endpoints, and node IPs for external connectivity. Each service type – ClusterIP, NodePort, and LoadBalancer – builds upon this foundation to provide different levels of access control and external connectivity options.
Services act as stable network endpoints that abstract away the dynamic nature of pod IP addresses. When pods restart or get rescheduled, their IP addresses change, but services maintain consistent access points through label selectors and endpoint management.
How NodePort services differ from ClusterIP and LoadBalancer services
ClusterIP services provide internal cluster connectivity only, creating a virtual IP that’s accessible from within the cluster. These services work perfectly for pod-to-pod communication but can’t handle external traffic directly. The service IP exists only in the cluster’s internal routing tables.
NodePort service configuration extends ClusterIP functionality by opening a specific port on every node in the cluster. This creates a direct path for external traffic to reach your applications without requiring additional infrastructure. When external clients connect to any node’s IP address on the NodePort, the traffic gets automatically forwarded to the appropriate backend pods.
LoadBalancer services build on NodePort by integrating with cloud provider load balancers. While NodePort exposes services on node IPs directly, LoadBalancer services provision external load balancers that distribute traffic across the NodePort endpoints. This provides better traffic distribution and health checking capabilities.
The key difference lies in accessibility: ClusterIP stays internal, NodePort opens cluster boundaries, and LoadBalancer adds external load balancing infrastructure. Each service type serves different use cases depending on your traffic requirements and infrastructure constraints.
Port allocation and range configuration for NodePort services
Kubernetes automatically assigns NodePort services from a default range of 30000-32767, though you can specify custom ports within this range. The system reserves these high-numbered ports to avoid conflicts with standard application ports running on cluster nodes. When you create a NodePort service without specifying a port, Kubernetes picks an available port from this range randomly.
You can customize the NodePort range by modifying the --service-node-port-range flag in the kube-apiserver configuration. This flexibility allows organizations to align with existing firewall rules or security policies. However, changing this range requires careful planning since it affects all existing NodePort services.
NodePort traffic routing works through iptables rules that kube-proxy maintains on each node. These rules redirect incoming traffic on the NodePort to the service’s endpoints, regardless of which node receives the initial request. This means you can hit any node’s IP on the NodePort and reach your application pods running anywhere in the cluster.
The port allocation system ensures no conflicts between different NodePort services. Once a port gets assigned, Kubernetes prevents other services from claiming the same port, maintaining consistent connectivity across the cluster infrastructure.
Network Traffic Flow Patterns with NodePort Implementation

External client request routing through cluster nodes
When external clients need to access applications inside your Kubernetes cluster through NodePort services, the traffic follows a specific routing pattern that every DevOps engineer should understand. The magic happens when you expose a service on a static port across all cluster nodes, typically in the range of 30000-32767.
Here’s how the flow works: An external client sends a request to any node’s IP address on the designated NodePort. The node receives this traffic and immediately forwards it to the appropriate service, regardless of whether that node actually hosts any pods for the service. This routing mechanism uses iptables rules that kube-proxy maintains on each node.
The beauty of NodePort traffic routing lies in its simplicity and redundancy. If one node goes down, clients can still reach your application through any other healthy node in the cluster. The traffic gets distributed automatically based on the service’s configuration, creating a highly available entry point for external access.
Kubernetes network flow becomes particularly interesting when you consider that the receiving node might not host the target pod. In such cases, the node performs an additional hop to reach the correct destination pod, which could be running on a completely different node. This cross-node communication happens transparently through the cluster’s internal networking.
Internal pod-to-pod communication mechanisms
Pod-to-pod communication within a Kubernetes cluster operates on different principles compared to external traffic routing. When pods need to communicate with services internally, they typically use ClusterIP addresses rather than going through the NodePort mechanism.
However, pods can still access NodePort services using the cluster’s internal networking. When a pod makes a request to a NodePort service, it can use either the service’s ClusterIP or access it through the NodePort on any cluster node. The choice often depends on your application architecture and networking requirements.
The internal communication flow bypasses many of the external routing complexities. Pods communicate directly through the cluster’s CNI (Container Network Interface) plugin, which creates a flat network where every pod gets its own IP address. This approach eliminates the need for port mapping and NAT translation that external clients experience.
Service meshes and network policies can influence how internal pod-to-pod communication behaves with NodePort services. When implementing security policies, you might restrict which pods can access specific NodePort services, creating additional routing considerations within your cluster.
Service discovery and endpoint resolution processes
Service discovery with NodePort services involves multiple layers of DNS resolution and endpoint management. Kubernetes automatically creates DNS records for your NodePort services, allowing pods to discover them using standard DNS lookups.
The endpoint resolution process starts when kube-proxy identifies healthy pods backing your NodePort service. These endpoints get stored in the Endpoints object, which kube-proxy continuously monitors for changes. When pods become unavailable or new ones come online, the endpoint list updates automatically.
DNS plays a crucial role in NodePort service networking. Pods can resolve NodePort services using their service name within the cluster, getting back the ClusterIP address. For external access, you’ll need to manage DNS records pointing to your node IPs manually or through external DNS controllers.
Endpoint resolution becomes more complex in multi-zone deployments. Kubernetes tries to route traffic to pods in the same zone when possible, reducing latency and network costs. This topology-aware routing affects how your NodePort services distribute traffic across available endpoints.
Load balancing algorithms across multiple pod replicas
NodePort service configuration determines how traffic gets distributed among your pod replicas. By default, Kubernetes uses a round-robin approach combined with session affinity options to balance the load effectively.
The load balancing happens at two levels: first at the node level when external traffic arrives, and then at the pod level when distributing requests among available replicas. Each node runs kube-proxy, which maintains the current list of healthy endpoints and applies the configured load balancing algorithm.
Session affinity settings can significantly impact your load balancing behavior. When you enable session affinity (also called sticky sessions), Kubernetes routes subsequent requests from the same client IP to the same backend pod. This approach works well for stateful applications but might create uneven load distribution.
Random and least-connection algorithms provide alternatives to round-robin distribution. The choice depends on your application characteristics and performance requirements. Long-lived connections might benefit from least-connection balancing, while stateless applications typically work well with random distribution.
Health checks and readiness probes directly influence load balancing decisions. Unhealthy pods automatically get removed from the endpoint list, preventing traffic from reaching failed instances. This automatic failover capability makes NodePort services resilient to individual pod failures while maintaining service availability.
Configuring NodePort Services for Optimal Performance

YAML Manifest Structure and Essential Configuration Parameters
Creating a robust NodePort service configuration starts with understanding the core structure of your YAML manifest. The service type must be explicitly set to “NodePort” within the spec section, and you’ll need to define both the target port (where your application listens) and the node port (the external access point).
apiVersion: v1
kind: Service
metadata:
  name: my-nodeport-service
  labels:
    app: web-application
spec:
  type: NodePort
  selector:
    app: web-application
  ports:
  - port: 80
    targetPort: 8080
    nodePort: 30080
    protocol: TCP
The selector field plays a critical role in Kubernetes service networking by matching pods with specific labels. Your port configuration requires three key parameters: the service port (internal cluster communication), target port (application’s listening port), and node port (external access point ranging from 30000-32767).
Resource limits and health checks significantly impact NodePort service configuration performance. Adding readiness and liveness probes ensures traffic only routes to healthy pods, while resource requests and limits prevent resource starvation that could affect network flow.
Session affinity can be configured using sessionAffinity: ClientIP when you need sticky sessions, though this should be used carefully as it can create load balancing issues in high-traffic scenarios.
Port Mapping Strategies for Production Environments
Production NodePort traffic routing demands careful consideration of port allocation and load distribution. Rather than relying on random port assignment, explicitly define node ports within your organization’s approved range to maintain consistency across deployments.
Load balancer integration becomes essential when running NodePort services at scale. Position a cloud load balancer or ingress controller in front of your NodePort services to distribute traffic across multiple nodes and provide SSL termination. This approach prevents single points of failure and improves overall system resilience.
Consider implementing multiple NodePort services with different port ranges for various application tiers. Database services might use ports 30100-30199, while web services occupy 30200-30299. This systematic approach simplifies firewall rules and monitoring configurations.
Network policies should complement your port mapping strategy by restricting traffic flow between namespaces and pods. Define explicit ingress and egress rules that align with your security requirements while maintaining optimal performance.
For high-availability setups, deploy NodePort services across multiple nodes in different availability zones. This geographic distribution ensures service availability even during node failures or maintenance windows.
Security Considerations for Exposing Services Externally
Kubernetes external access through NodePort services creates potential security vulnerabilities that require proactive mitigation. Every node in your cluster becomes an entry point for external traffic, expanding your attack surface significantly compared to internal ClusterIP services.
Network segmentation should be your first line of defense. Implement firewall rules that restrict NodePort access to specific source IP ranges or trusted networks. Many organizations create DMZ zones specifically for nodes running NodePort services, isolating them from internal infrastructure.
TLS encryption becomes mandatory when exposing services externally through NodePort configurations. While NodePort itself doesn’t provide SSL termination, you can implement TLS at the application level or use a reverse proxy like NGINX to handle certificate management and encryption.
Authentication and authorization mechanisms must be strengthened for externally accessible services. Implement API keys, JWT tokens, or OAuth2 flows depending on your application requirements. Never rely solely on network-level security for protecting sensitive endpoints.
Regular security scanning of exposed NodePort services helps identify configuration drift and potential vulnerabilities. Tools like Falco or Twistlock can monitor network traffic patterns and alert on suspicious activity targeting your NodePort endpoints.
Pod security contexts should enforce non-root user execution and read-only root filesystems for applications running behind NodePort services. These restrictions limit the potential damage if an attacker successfully compromises your application through the exposed service.
Troubleshooting Common NodePort Connectivity Issues

Diagnosing network policy conflicts and firewall restrictions
Network policies and firewall rules often create the most frustrating NodePort troubleshooting scenarios. When your Kubernetes NodePort service suddenly becomes unreachable, start by checking if network policies are blocking traffic flow. Use kubectl get networkpolicies -A to list all policies across namespaces, then examine each policy’s ingress and egress rules.
Common firewall issues include cloud provider security groups blocking the NodePort range (30000-32767 by default) or corporate firewalls restricting external access. On AWS, ensure your security groups allow inbound traffic on the specific NodePort. For GCP, check firewall rules using gcloud compute firewall-rules list. On-premises clusters might face iptables conflicts where custom rules interfere with kube-proxy’s NAT chains.
Test connectivity systematically by checking if the service works locally on the node (curl localhost:nodeport) before testing external access. This isolates whether the issue lies in the service configuration or external network restrictions.
Resolving DNS resolution problems in multi-node clusters
DNS issues in multi-node Kubernetes clusters can make NodePort troubleshooting particularly challenging. CoreDNS misconfigurations often prevent proper service discovery, even when the underlying NodePort functionality works correctly. Check CoreDNS logs using kubectl logs -n kube-system -l k8s-app=kube-dns to identify resolution failures.
Service discovery problems frequently occur when pods try to reach NodePort services using internal DNS names but encounter stale DNS cache entries. The kubelet’s DNS configuration on worker nodes might point to incorrect nameservers, causing intermittent connectivity issues. Verify /etc/resolv.conf on each node matches your cluster’s DNS setup.
Cross-node communication problems often stem from CNI plugin misconfigurations where pod-to-pod networking works within nodes but fails across nodes. This affects NodePort services when traffic routing depends on inter-node communication. Use kubectl get nodes -o wide to verify all nodes show ready status and check that your CNI plugin (Calico, Flannel, or Weave) spans all nodes correctly.
Monitoring tools for tracking service endpoint health
Effective NodePort troubleshooting requires proper monitoring tools to track endpoint health and traffic patterns. Prometheus with the kube-state-metrics exporter provides detailed insights into NodePort service behavior. Monitor key metrics like kube_service_info and kube_endpoint_info to track service configuration changes and endpoint availability.
Use kubectl get endpoints service-name -o yaml to verify that your NodePort service has healthy endpoints. Missing or unhealthy endpoints indicate backend pod issues rather than NodePort networking problems. The endpoints object shows which pods are receiving traffic and their readiness status.
Network monitoring tools like Istio’s service mesh or Linkerd provide advanced traffic visibility for NodePort services. These tools help identify traffic distribution problems and latency issues between external clients and your services. For simpler setups, enable kube-proxy metrics and use tools like Grafana to visualize connection patterns and identify bottlenecks.
Performance bottlenecks and traffic distribution problems
NodePort traffic distribution problems often manifest as uneven load across backend pods or nodes experiencing disproportionate traffic volumes. The default kube-proxy mode uses iptables rules that can become inefficient with large numbers of services. Switch to IPVS mode for better performance: kubectl edit configmap kube-proxy -n kube-system and set mode: "ipvs".
External load balancers forwarding traffic to NodePort services might create hot spots if they consistently route to the same nodes. Check your load balancer’s health check configuration and ensure it distributes traffic evenly across all healthy nodes. Some cloud load balancers default to session affinity, which can cause uneven distribution.
Resource constraints on nodes handling NodePort traffic can create performance bottlenecks. Monitor CPU and memory usage on nodes, particularly for network-intensive workloads. High connection counts or bandwidth usage might require adjusting node specifications or implementing connection pooling in your applications.
Container runtime networking configuration conflicts
Container runtime networking issues can severely impact NodePort service connectivity. Docker’s bridge networking conflicts with certain CNI plugins, especially when custom bridge configurations override Kubernetes networking. Check docker daemon configuration in /etc/docker/daemon.json for conflicting network settings.
CRI-O and containerd runtime configurations sometimes interfere with NodePort traffic flow when they use different network namespaces or CNI plugin versions than expected. Verify runtime configuration matches your CNI plugin requirements using kubectl describe node node-name to check runtime version and CNI details.
Network namespace isolation problems occur when containers can’t reach host network interfaces where NodePort services bind. This affects runtimes with strict security policies or custom seccomp profiles. Test by running a privileged pod that can access host networking: kubectl run debug --image=nicolaka/netshoot --rm -it --restart=Never --overrides='{"spec":Network":true}}' to diagnose host-level connectivity issues.
Runtime-specific iptables rules might conflict with kube-proxy’s NAT chains, especially in mixed runtime environments. Check for conflicting rules using iptables -t nat -L and look for custom chains that might redirect NodePort traffic incorrectly.
Advanced NodePort Networking Strategies

Multi-cluster service mesh integration techniques
Integrating NodePort services into multi-cluster service mesh architectures opens up powerful possibilities for distributed Kubernetes deployments. When working with service meshes like Istio or Linkerd across multiple clusters, NodePort services act as the critical entry points that enable cross-cluster communication patterns.
Service mesh integration with NodePort configurations requires careful consideration of network policies and traffic routing rules. Each cluster exposes specific services through designated NodePort ranges, allowing the service mesh control plane to discover and manage these endpoints across the distributed infrastructure. The mesh proxy sidecars automatically handle load balancing and traffic distribution between clusters while maintaining end-to-end encryption.
Cross-cluster service discovery becomes seamless when NodePort services are properly configured within the mesh. The service registry synchronizes endpoint information across clusters, enabling applications to consume services regardless of their physical location. This approach supports active-active deployments where workloads can failover between clusters transparently.
Traffic policies within the service mesh can prioritize local cluster traffic while falling back to remote NodePort endpoints during outages or capacity constraints. Implementing circuit breakers and retry policies at the mesh level provides additional resilience for cross-cluster NodePort communications.
Hybrid cloud deployment patterns with NodePort services
Hybrid cloud architectures leverage NodePort services to bridge on-premises Kubernetes clusters with public cloud environments. This deployment pattern enables organizations to maintain sensitive workloads on-premises while extending capacity and capabilities to cloud providers.
NodePort services in hybrid deployments typically handle north-south traffic patterns where external clients need consistent access points regardless of workload location. Cloud load balancers can distribute traffic across NodePort endpoints spanning multiple environments, providing seamless failover capabilities during maintenance windows or disaster recovery scenarios.
Network connectivity between hybrid environments often relies on VPN tunnels or dedicated connections. NodePort services simplify firewall configurations by providing predictable port ranges that security teams can easily whitelist. The static nature of NodePort allocations makes hybrid networking more manageable compared to dynamic port assignments.
Data locality considerations become important when implementing hybrid NodePort patterns. Applications can use intelligent routing based on client geography or data residency requirements, directing traffic to the most appropriate cluster through NodePort endpoints. This approach minimizes latency while ensuring compliance with regional data protection regulations.
Implementing custom ingress controllers for enhanced routing
Custom ingress controllers paired with NodePort services enable sophisticated traffic routing scenarios beyond standard ingress capabilities. Building custom controllers allows teams to implement business-specific routing logic, authentication mechanisms, or integration with proprietary load balancing systems.
Advanced routing patterns through custom ingress controllers can include weighted deployments, canary releases, and A/B testing frameworks. The controller watches NodePort service endpoints and dynamically adjusts traffic distribution based on custom metrics or business rules. This approach provides fine-grained control over how requests flow through the Kubernetes network infrastructure.
Integration with external systems becomes straightforward when custom ingress controllers manage NodePort traffic routing. Controllers can interface with service discovery platforms, monitoring systems, or CI/CD pipelines to automatically adjust routing configurations based on deployment events or performance metrics.
Custom controllers also enable advanced security features like dynamic certificate management, rate limiting, and geographic traffic restrictions. By controlling how external traffic reaches NodePort services, these controllers act as intelligent gatekeepers that can implement complex security policies while maintaining high availability and performance standards.

NodePort services give you a straightforward way to expose your Kubernetes applications to the outside world. By understanding how traffic flows through your cluster and properly configuring your services, you can avoid most connectivity headaches before they start. The key is getting the basics right – proper port allocation, security group settings, and network policies that work with your setup rather than against it.
When things go wrong, having a solid troubleshooting approach saves hours of frustration. Start with the simple stuff like checking if your pods are actually running and healthy, then work your way up through the networking stack. Remember that NodePort isn’t always the perfect solution for every scenario, but when you need quick external access without the complexity of load balancers or ingress controllers, it gets the job done. Take the time to experiment with these concepts in a test environment – your future self will thank you when production issues arise.