Setting up an AWS EC2 instance with secure remote access and comprehensive monitoring doesn’t have to be overwhelming. This guide walks system administrators, DevOps engineers, and cloud professionals through the complete AWS EC2 instance setup process, from initial deployment to ongoing cost management.
You’ll master the essentials of launching your first EC2 instance while implementing robust security measures. We’ll cover remote root access configuration using secure SSH practices that protect your server from unauthorized access. You’ll also discover how AWS usage monitoring tools like CloudWatch can track your instance performance and spending, helping you avoid surprise bills while maintaining optimal system health.
By the end, you’ll have a production-ready EC2 instance with proper security controls and monitoring in place, plus the knowledge to fine-tune both performance and costs as your needs grow.
Setting Up Your AWS Environment for EC2 Deployment
Creating and configuring your AWS account
Before launching your first EC2 instance, you need a properly configured AWS account. Sign up at aws.amazon.com and complete the verification process, including payment method setup. Enable billing alerts immediately to track spending and avoid unexpected charges. Configure your root account with multi-factor authentication (MFA) for enhanced security. Set up AWS CLI and configure your credentials using aws configure command. This foundational setup ensures smooth EC2 instance deployment and proper access management from day one.
Understanding IAM roles and permissions for EC2
IAM roles provide secure, temporary credentials for your EC2 instances without embedding permanent access keys. Create an IAM user with programmatic access and attach the AmazonEC2FullAccess policy for comprehensive EC2 management capabilities. For production environments, follow the principle of least privilege by creating custom policies that grant only necessary permissions. Set up instance profiles to allow your EC2 instances to securely access other AWS services like S3 or CloudWatch. Properly configured IAM roles eliminate security vulnerabilities while enabling seamless service integration.
Selecting the optimal AWS region for your instance
Your AWS region choice directly impacts latency, compliance, and costs for your EC2 deployment. Choose regions closest to your target users to minimize network latency and improve application performance. Consider data residency requirements and regulatory compliance needs for your specific use case. Compare pricing across regions, as costs vary significantly between locations. Popular regions like us-east-1 (N. Virginia) offer the broadest service availability and typically lowest prices, while newer regions might have limited instance types but better performance characteristics.
Launching and Configuring Your EC2 Instance
Choosing the right Amazon Machine Image for your needs
Your AMI selection forms the foundation of your EC2 instance deployment guide. Amazon Linux 2 provides excellent AWS integration and security updates, making it perfect for production environments. Ubuntu offers broader software compatibility and community support for development workloads. Windows Server AMIs work best when you need Microsoft-specific applications. Red Hat Enterprise Linux delivers enterprise-grade stability with commercial support. Consider your application requirements, licensing costs, and team expertise when making this decision. Pre-configured AMIs can save significant setup time for specific use cases like web servers or databases.
Selecting instance type based on performance requirements
Matching your workload to the right instance type directly impacts both performance and costs in your AWS cost optimization strategy. General-purpose instances (t3, m5) handle most web applications and small databases efficiently. Compute-optimized instances (c5) excel at CPU-intensive tasks like batch processing and scientific computing. Memory-optimized instances (r5, x1) power in-memory databases and real-time analytics. Storage-optimized instances (i3) deliver high sequential read/write access for distributed file systems. Start with smaller instances and scale up based on actual usage patterns rather than overprovisioning from day one.
| Instance Family | Use Case | CPU | Memory | Best For |
|---|---|---|---|---|
| t3 (General) | Web servers, small DBs | Burstable | 0.5-32 GB | Development, low-traffic apps |
| m5 (General) | Balanced workloads | 2-96 vCPUs | 8-384 GB | Production web apps |
| c5 (Compute) | CPU-intensive | 2-96 vCPUs | 4-192 GB | Scientific computing, batch jobs |
| r5 (Memory) | Memory-intensive | 2-96 vCPUs | 16-768 GB | In-memory databases, analytics |
Configuring security groups for secure remote access
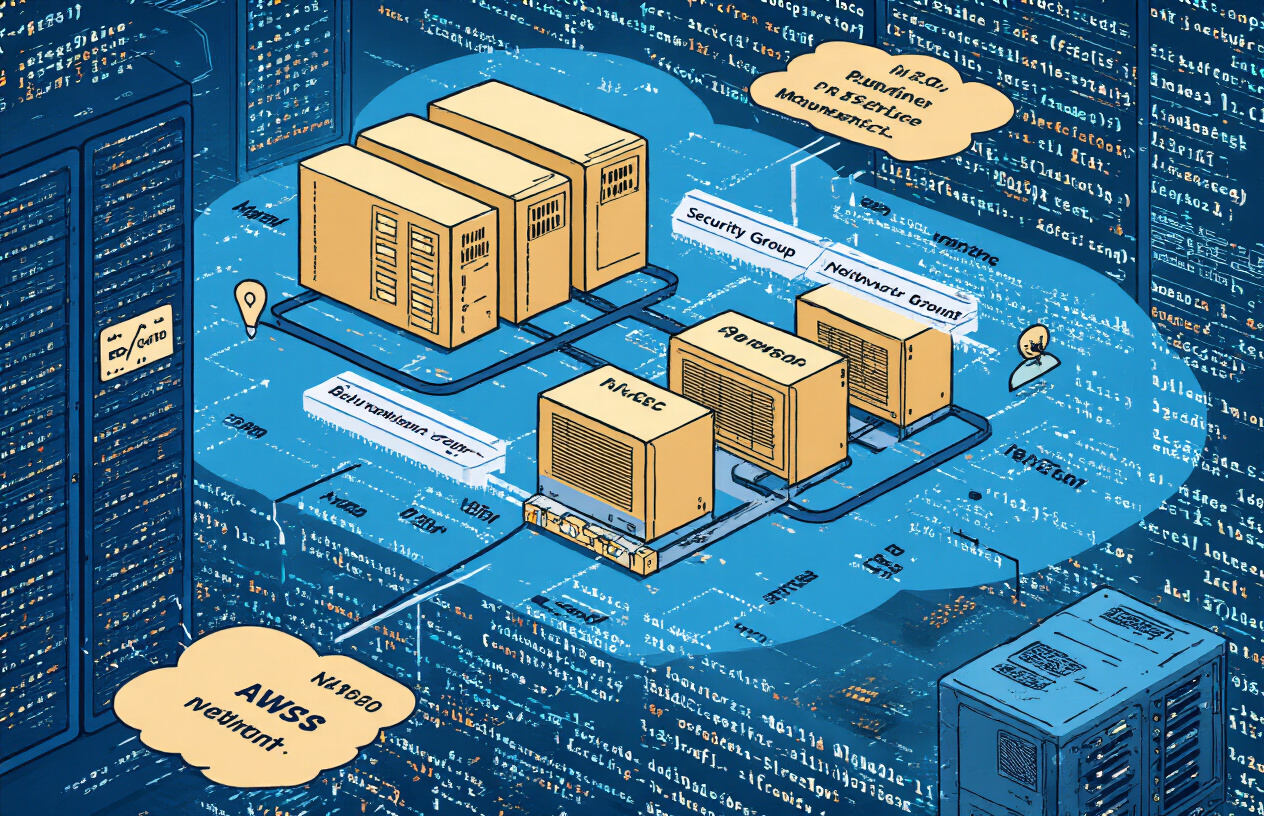
Security groups act as virtual firewalls controlling inbound and outbound traffic for your AWS EC2 instance setup. Create a dedicated security group for SSH access with port 22 open only to your specific IP addresses or trusted networks. Never use 0.0.0.0/0 for SSH access in production environments. Add HTTP (port 80) and HTTPS (port 443) rules only if your instance serves web traffic. Implement the principle of least privilege by restricting access to only necessary ports and protocols. Consider using AWS Systems Manager Session Manager for secure shell access without exposing SSH ports to the internet.
Essential Security Group Rules:
- SSH (port 22): Restrict to your IP range
- HTTP (port 80): Open to 0.0.0.0/0 only for web servers
- HTTPS (port 443): Open to 0.0.0.0/0 only for web servers
- Custom ports: Limit to specific source security groups or IP ranges
Setting up key pairs for SSH authentication
SSH key pairs provide secure SSH access AWS authentication without passwords, significantly reducing security risks. Generate your key pair through the AWS console or import existing public keys you’ve created locally. Download and securely store your private key file immediately after creation – AWS doesn’t provide access to it later. Set proper file permissions (chmod 400) on your private key to prevent unauthorized access. Use different key pairs for different environments or projects to maintain security isolation. Consider rotating key pairs regularly and removing unused ones from your AWS account.
Key Management Best Practices:
- Store private keys securely with restricted file permissions
- Use separate key pairs for development and production
- Rotate keys every 90 days for enhanced security
- Never share private keys via email or messaging platforms
- Create backup copies stored in secure, encrypted locations
Establishing Secure Remote Root Access
Connecting to your instance via SSH with proper credentials
After launching your EC2 instance, you’ll need the private key file (.pem) generated during setup. Connect using ssh -i your-key.pem ec2-user@your-instance-ip for Amazon Linux instances, or replace ec2-user with ubuntu for Ubuntu instances. Always verify the connection fingerprint on first login and store your private key in a secure location with restricted permissions (chmod 400).
Configuring sudo privileges for administrative tasks
Most AWS AMIs provide default users with sudo access without password prompts. For Amazon Linux, the ec2-user account has full sudo privileges, while Ubuntu instances use the ubuntu user. You can add new users to the sudo group using sudo usermod -aG sudo username or create custom sudoers rules in /etc/sudoers.d/ for granular permission control based on your security requirements.
Implementing security best practices for root access
Direct root SSH access should be disabled in /etc/ssh/sshd_config by setting PermitRootLogin no. Use security groups to restrict SSH access to specific IP addresses rather than 0.0.0.0/0. Enable key-based authentication only by setting PasswordAuthentication no. Regular key rotation, session logging, and implementing fail2ban for intrusion prevention add extra security layers to your AWS EC2 instance deployment.
Setting up additional authentication methods for enhanced security
Multi-factor authentication strengthens your secure SSH access AWS setup significantly. Install Google Authenticator PAM module with sudo yum install google-authenticator-libpam and configure /etc/pam.d/sshd to require both key and token authentication. Consider implementing certificate-based authentication or integrating with AWS Systems Manager Session Manager for additional security layers while maintaining operational efficiency.
Installing and Configuring AWS Usage Monitoring Tools
Setting up CloudWatch for comprehensive instance monitoring
CloudWatch serves as your primary AWS usage monitoring tools dashboard for tracking EC2 performance metrics. Navigate to the CloudWatch console and enable detailed monitoring for your instance to collect data at one-minute intervals instead of the default five-minute periods. Configure basic metrics like CPU utilization, disk I/O, and network traffic through the EC2 dashboard by selecting your instance and clicking “Enable Detailed Monitoring.” Set up CloudWatch Logs agent on your EC2 instance to stream system logs, application logs, and custom log files directly to CloudWatch for centralized monitoring and analysis.
Creating custom metrics for specific resource tracking
Custom metrics give you granular visibility into application-specific performance indicators beyond standard system metrics. Install the CloudWatch agent on your EC2 instance using the following command: wget https://s3.amazonaws.com/amazoncloudwatch-agent/amazon_linux/amd64/latest/amazon-cloudwatch-agent.rpm && sudo rpm -U ./amazon-cloudwatch-agent.rpm. Configure custom metrics by editing the CloudWatch agent configuration file to track memory usage, disk space utilization, and application response times. Create namespace hierarchies for organizing metrics logically, such as “CustomApp/Performance” or “System/Resources,” making it easier to filter and analyze data in the CloudWatch dashboard.
Configuring billing alerts to control costs
AWS cost optimization starts with proactive billing alerts that prevent unexpected charges from spiraling out of control. Access the Billing and Cost Management console and navigate to “Budgets” to create cost thresholds for your EC2 usage. Set up multiple alert levels: one at 50% of your monthly budget for early warning, another at 80% for immediate attention, and a final alert at 100% for emergency action. Configure SNS topics to send email notifications when billing thresholds are exceeded, and consider setting up SMS alerts for critical budget overruns that require immediate intervention.
Installing AWS CLI for command-line monitoring capabilities
AWS CLI transforms your terminal into a powerful monitoring control center for real-time EC2 performance tuning and cost tracking. Install AWS CLI on your EC2 instance using curl "https://awscli.amazonaws.com/awscli-exe-linux-x86_64.zip" -o "awscliv2.zip" && unzip awscliv2.zip && sudo ./aws/install. Configure credentials using aws configure and input your access key, secret key, and preferred region. Create monitoring scripts that combine CloudWatch commands like aws cloudwatch get-metric-statistics with billing commands such as aws ce get-cost-and-usage to generate comprehensive usage reports. Set up cron jobs to automate these monitoring tasks and receive regular updates about your instance performance and costs.
Optimizing Performance and Cost Management
Right-sizing your instance based on usage patterns
Monitor your EC2 performance tuning metrics through CloudWatch to identify whether your current instance type matches actual resource consumption. CPU utilization below 30% consistently suggests downsizing opportunities, while memory or compute bottlenecks indicate upgrade needs. Use AWS Compute Optimizer recommendations to analyze historical usage data and receive specific instance type suggestions that balance performance with AWS cost optimization goals.
Implementing automated scaling based on demand
Configure Auto Scaling Groups with CloudWatch alarms to dynamically adjust capacity based on real-time metrics like CPU usage, network traffic, or custom application metrics. Set scale-out policies when demand increases and scale-in policies during low usage periods. Launch templates ensure new instances maintain consistent configurations including security groups and monitoring agents, enabling seamless horizontal scaling while maintaining operational standards.
Leveraging spot instances for cost-effective computing
Spot instances offer up to 90% savings compared to On-Demand pricing for fault-tolerant workloads like batch processing, data analysis, and development environments. Implement spot fleet requests with multiple instance types across different availability zones to maximize availability and minimize interruption risks. Use mixed instance policies in Auto Scaling Groups to combine spot and On-Demand instances, ensuring critical workloads remain operational while optimizing costs through strategic spot instance utilization.
Setting up an EC2 instance with proper remote access and monitoring doesn’t have to be complicated. You’ve learned how to prepare your AWS environment, launch your instance with the right configuration, and establish secure remote connections. The monitoring tools we covered will help you keep track of your AWS spending and performance metrics, so you won’t get any surprise bills at the end of the month.
Now it’s time to put this knowledge into action. Start with a small instance to practice these steps, then scale up as you get more comfortable. Remember to regularly check your monitoring dashboards and adjust your instance size based on actual usage patterns. Your future self will thank you for taking the time to set up proper monitoring from day one.


