Have you ever dreamed of having a powerful computer at your fingertips, ready to tackle any task without breaking the bank? 💻💪 Enter Azure Virtual Machines – your gateway to limitless computing potential in the cloud!
Imagine being able to spin up a high-performance server in minutes, scale it effortlessly as your needs grow, and only pay for what you use. 🚀 That’s the magic of Azure VMs! Whether you’re a developer testing new applications, a business owner looking to reduce IT costs, or just someone curious about cloud computing, Azure Virtual Machines offer a flexible and cost-effective solution for all your computing needs.
In this beginner’s guide, we’ll take you on a journey through the world of Azure VMs. From understanding what they are and setting up your Azure account, to deploying your first VM and optimizing costs, we’ve got you covered. 🛠️ So, buckle up and get ready to unlock the power of the cloud with Azure Virtual Machines!
Understanding Azure Virtual Machines

What are Azure VMs?
Azure Virtual Machines (VMs) are scalable, on-demand computing resources provided by Microsoft’s Azure cloud platform. They offer a flexible and cost-effective solution for businesses and developers to run applications and workloads in the cloud.
Benefits of using Azure VMs
- Scalability: Easily adjust resources to meet changing demands
- Cost-effectiveness: Pay only for what you use
- Global availability: Deploy VMs in multiple regions worldwide
- Security: Built-in security features and compliance certifications
- Integration: Seamless integration with other Azure services
Common use cases
Azure VMs are versatile and can be used for various purposes:
- Web and application hosting
- Development and testing environments
- Big data analytics
- Disaster recovery and backup
- High-performance computing
| Use Case | Description |
|---|---|
| Web Hosting | Run websites and web applications |
| Dev/Test | Create isolated environments for development and testing |
| Analytics | Process and analyze large datasets |
| DR/Backup | Ensure business continuity and data protection |
| HPC | Perform complex calculations and simulations |
Pricing models
Azure offers flexible pricing options to suit different needs:
- Pay-as-you-go: Pay only for the compute capacity you use
- Reserved Instances: Save money by committing to a one-year or three-year term
- Spot Instances: Take advantage of unused Azure capacity at significant discounts
Understanding these pricing models helps you optimize costs while leveraging the power of Azure VMs. Next, we’ll explore how to set up your Azure account to start using these virtual machines.
Setting Up Your Azure Account

A. Creating a Microsoft Azure account
To begin your Azure journey, you’ll need to create a Microsoft Azure account. This process is straightforward and can be completed in a few simple steps:
- Visit the Azure website
- Click on “Start free” or “Create a free account”
- Sign in with your Microsoft account or create a new one
- Provide necessary personal information
- Verify your identity with a phone number or credit card
| Account Type | Features | Best For |
|---|---|---|
| Free Account | $200 credit for 30 days, Free services | New users, Testing |
| Pay-As-You-Go | Pay only for what you use, No upfront costs | Small to medium projects |
| Enterprise Agreement | Volume discounts, Customized terms | Large organizations |
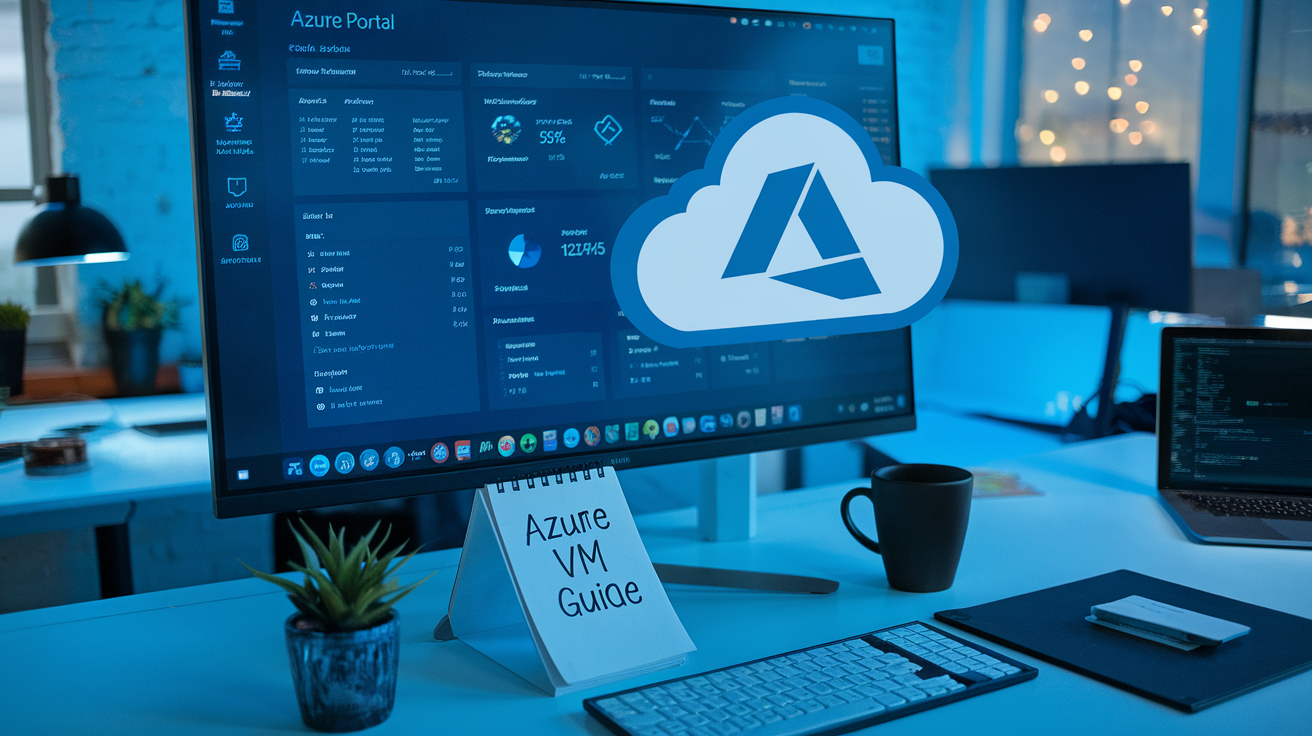
B. Navigating the Azure portal
Once your account is set up, you’ll access Azure services through the Azure portal. This web-based interface is your central hub for managing all Azure resources. Key features include:
- Dashboard: Customizable overview of your resources
- Azure services: A comprehensive list of available services
- Resource groups: Logical containers for related resources
- Notifications: Important alerts and updates
- Cloud Shell: Built-in command-line interface
C. Understanding Azure subscriptions
Azure subscriptions are crucial for managing access, usage, and billing. Here’s what you need to know:
- Definition: A logical container for your Azure resources
- Types: Free, Pay-As-You-Go, Enterprise Agreement
- Management: Control access and organize resources
- Billing: Each subscription has its own billing reports
Understanding these concepts will help you effectively manage your Azure environment and prepare you for deploying your first Azure Virtual Machine.
Choosing the Right VM Configuration

Selecting VM sizes
When choosing an Azure VM size, consider your workload requirements:
| VM Series | Best For | Key Features |
|---|---|---|
| B-series | Low-cost, burstable | Ideal for dev/test environments |
| D-series | General purpose | Balanced CPU-to-memory ratio |
| F-series | Compute-optimized | High CPU-to-memory ratio |
| E-series | Memory-optimized | High memory-to-CPU ratio |
Select a size that matches your application’s needs while balancing performance and cost.
Choosing the appropriate operating system
Azure supports various operating systems:
- Windows Server
- Ubuntu
- CentOS
- Red Hat Enterprise Linux
- SUSE Linux Enterprise Server
Choose an OS based on your application requirements, team expertise, and licensing considerations.
Determining storage requirements
Consider these factors for storage:
- Capacity needs
- Performance requirements (IOPS)
- Cost considerations
Azure offers different storage options:
- Standard HDD: Cost-effective for dev/test
- Standard SSD: Better performance, still economical
- Premium SSD: High-performance for production workloads
Considering networking options
Networking is crucial for VM connectivity and security:
- Virtual Network: Isolate and segment your VMs
- Network Security Groups: Control inbound/outbound traffic
- Load Balancer: Distribute traffic across multiple VMs
- VPN Gateway: Connect your on-premises network to Azure
Now that we’ve covered VM configuration options, let’s move on to deploying your first Azure VM.
Deploying Your First Azure VM

Step-by-step VM creation process
To deploy your first Azure VM, follow these steps:
- Log in to the Azure portal
- Click on “Create a resource”
- Select “Virtual Machine”
- Choose your subscription and resource group
- Enter a name for your VM
- Select the region and availability options
- Choose your VM image and size
Configuring basic settings
When configuring your Azure VM, consider the following settings:
| Setting | Description |
|---|---|
| Authentication type | Choose between password or SSH public key |
| Username | Create an admin username for the VM |
| Password/SSH key | Set a strong password or provide your SSH public key |
| Inbound port rules | Select which ports to open for incoming traffic |
Setting up networking and security groups
Networking is crucial for your VM’s connectivity and security:
- Create a new virtual network or select an existing one
- Configure the subnet
- Assign a public IP address (if needed)
- Set up Network Security Groups (NSGs) to control inbound and outbound traffic
Connecting to your new VM
Once your VM is deployed, you can connect to it using:
- For Windows VMs: Remote Desktop Protocol (RDP)
- For Linux VMs: Secure Shell (SSH)
Ensure you have the necessary client software installed on your local machine and use the VM’s public IP address or DNS name to establish the connection.
Managing and Monitoring Azure VMs

A. Starting, stopping, and restarting VMs
Managing Azure VMs is straightforward with the Azure portal. Here’s a quick guide on basic VM operations:
-
Starting a VM:
- Navigate to the VM in the Azure portal
- Click “Start” in the top menu
- Wait for the VM to boot up (usually takes a few minutes)
-
Stopping a VM:
- Select the VM in the portal
- Click “Stop” in the top menu
- Choose between “Shut down” (OS shutdown) or “Stop” (forced shutdown)
-
Restarting a VM:
- Find the VM in the Azure portal
- Click “Restart” in the top menu
- Confirm the action
| Operation | Effect on Billing | Use Case |
|---|---|---|
| Start | Billing begins | Resume work after maintenance |
| Stop | Billing stops* | Conserve resources during idle periods |
| Restart | Billing continues | Apply updates or resolve issues |
*Note: You’re still billed for associated storage
B. Resizing VMs
As your workload changes, you may need to adjust your VM’s size. Here’s how:
- Stop the VM (required for most size changes)
- In the VM settings, select “Size”
- Choose a new size from the available options
- Click “Resize” and confirm
- Start the VM once resizing is complete
C. Monitoring VM performance
Azure provides robust tools for monitoring VM performance:
- Azure Monitor: Collects and analyzes performance data
- Metrics: View CPU, disk, and network usage
- Log Analytics: Deeper insights into VM operations
D. Setting up alerts and notifications
Proactive monitoring involves setting up alerts:
- In the VM menu, select “Alerts”
- Click “New alert rule”
- Define conditions (e.g., CPU usage > 90%)
- Set up action groups (email, SMS, etc.)
- Name and create the alert
E. Implementing backups and disaster recovery
Protect your VMs with Azure Backup and Site Recovery:
-
Azure Backup:
- Navigate to “Backup” in VM settings
- Configure backup policy (frequency, retention)
- Enable backup
-
Azure Site Recovery:
- Set up a recovery vault
- Configure replication settings
- Test failover regularly
These management practices ensure your Azure VMs run smoothly and remain protected. Next, we’ll explore how to optimize costs for your Azure VMs, helping you make the most of your cloud budget.
Optimizing Costs for Azure VMs

Understanding Azure pricing
Azure VM pricing can be complex, but understanding it is crucial for cost optimization. Azure uses a pay-as-you-go model, where you’re billed for the resources you consume. The main factors affecting VM costs are:
- VM size (CPU, RAM, storage)
- Operating system
- Region
- Usage duration
Here’s a comparison of pricing factors:
| Factor | Impact on Cost |
|---|---|
| VM Size | Larger VMs cost more |
| OS | Windows VMs typically cost more than Linux |
| Region | Prices vary by geographic location |
| Usage | Longer runtime increases costs |
Implementing auto-shutdown
Auto-shutdown is an effective way to reduce costs for non-production VMs. By automatically turning off VMs during non-business hours, you can significantly lower your Azure bill. Here’s how to implement it:
- Navigate to the VM in Azure Portal
- Select “Auto-shutdown” under Settings
- Set the shutdown time and time zone
- Enable email notifications (optional)
Using Azure Reserved Instances
Azure Reserved Instances (RIs) offer substantial discounts for long-term VM commitments. Key benefits include:
- Up to 72% savings compared to pay-as-you-go pricing
- 1-year or 3-year term options
- Flexibility to exchange or cancel reservations
Leveraging Azure Hybrid Benefit
For organizations with existing Windows Server or SQL Server licenses, Azure Hybrid Benefit can provide significant cost savings. This benefit allows you to use on-premises licenses in Azure, reducing the overall cost of running Windows VMs. To maximize savings:
- Assess your current license inventory
- Identify eligible workloads for migration
- Apply Azure Hybrid Benefit during VM creation or to existing VMs
By implementing these cost optimization strategies, you can significantly reduce your Azure VM expenses while maintaining the performance and reliability you need. Next, we’ll explore how to scale your Azure VMs and ensure high availability for your applications.
Scaling and High Availability

Vertical vs. horizontal scaling
When it comes to scaling Azure Virtual Machines, you have two primary options: vertical and horizontal scaling. Let’s compare these approaches:
| Scaling Type | Definition | Pros | Cons |
|---|---|---|---|
| Vertical Scaling | Increasing the resources (CPU, RAM) of existing VMs | Simple to implement, no application changes required | Limited by hardware constraints, potential downtime |
| Horizontal Scaling | Adding more VM instances to distribute the load | Highly scalable, improved fault tolerance | Requires load balancing, may need application modifications |
Vertical scaling, also known as “scaling up,” is ideal for applications with sudden, short-term spikes in demand. Horizontal scaling, or “scaling out,” is better suited for applications with sustained growth and high availability requirements.
Creating VM scale sets
VM scale sets in Azure automate the process of horizontal scaling. They allow you to manage, configure, and update a group of identical VMs centrally. Here’s a quick list of benefits:
- Automatic scaling based on performance metrics or schedules
- Integration with Azure Load Balancer for even distribution of traffic
- Support for up to 1,000 VMs in a single scale set
Implementing load balancers
Azure Load Balancer is crucial for distributing incoming traffic across multiple VM instances. It offers:
- Layer 4 (TCP, UDP) load balancing
- Health probes to detect and remove unhealthy instances
- Public and internal load balancing options
Utilizing availability sets and zones
To ensure high availability, Azure provides two key features:
- Availability Sets: Group VMs within a data center to protect against hardware failures and planned maintenance.
- Availability Zones: Distribute VMs across physically separate data centers within an Azure region for protection against data center-wide failures.
By implementing these scaling and high availability strategies, you can build robust and resilient applications on Azure VMs. Next, we’ll recap the key points covered in this guide and provide some final thoughts on getting started with Azure Virtual Machines.

Azure Virtual Machines offer a powerful and flexible solution for businesses looking to leverage cloud computing. From understanding the basics to deploying your first VM, this guide has covered the essential steps to get you started. We’ve explored how to set up your Azure account, choose the right VM configuration, and manage your resources effectively.
As you embark on your Azure VM journey, remember to continually monitor and optimize your usage to ensure cost-effectiveness. Take advantage of scaling options and high availability features to meet your growing business needs. With the knowledge gained from this guide, you’re well-equipped to harness the full potential of Azure Virtual Machines and drive your organization’s digital transformation forward.